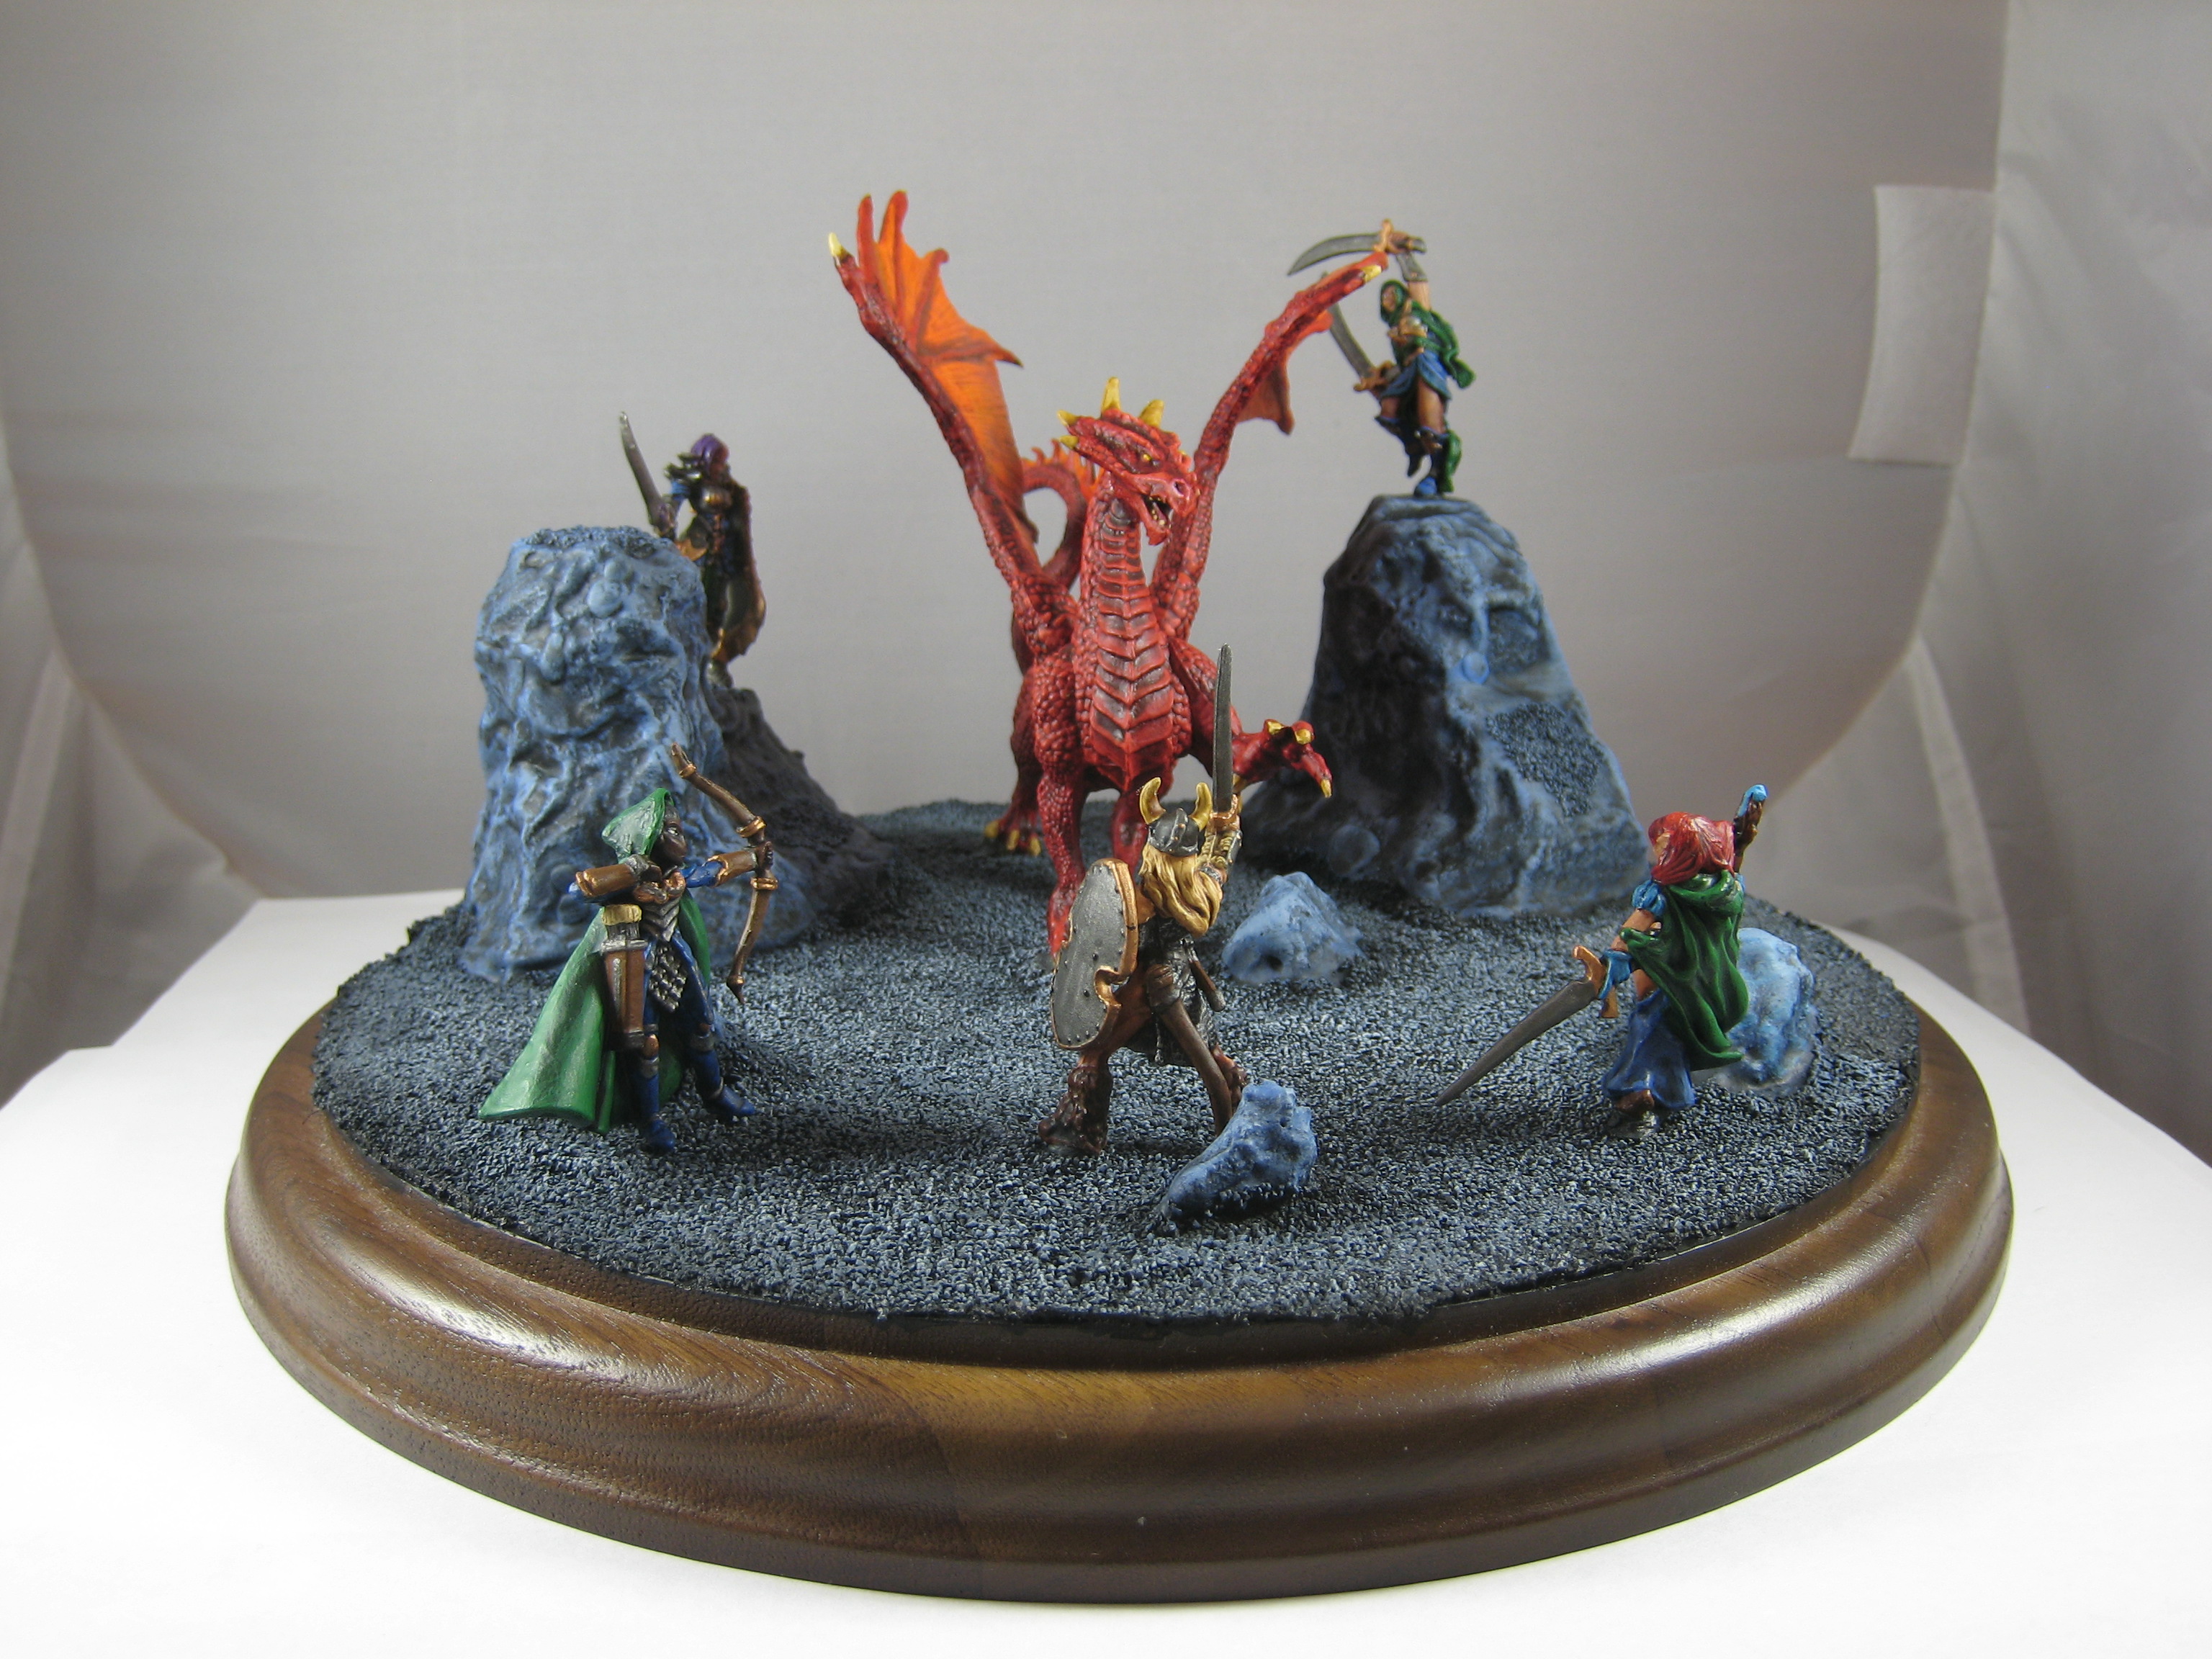
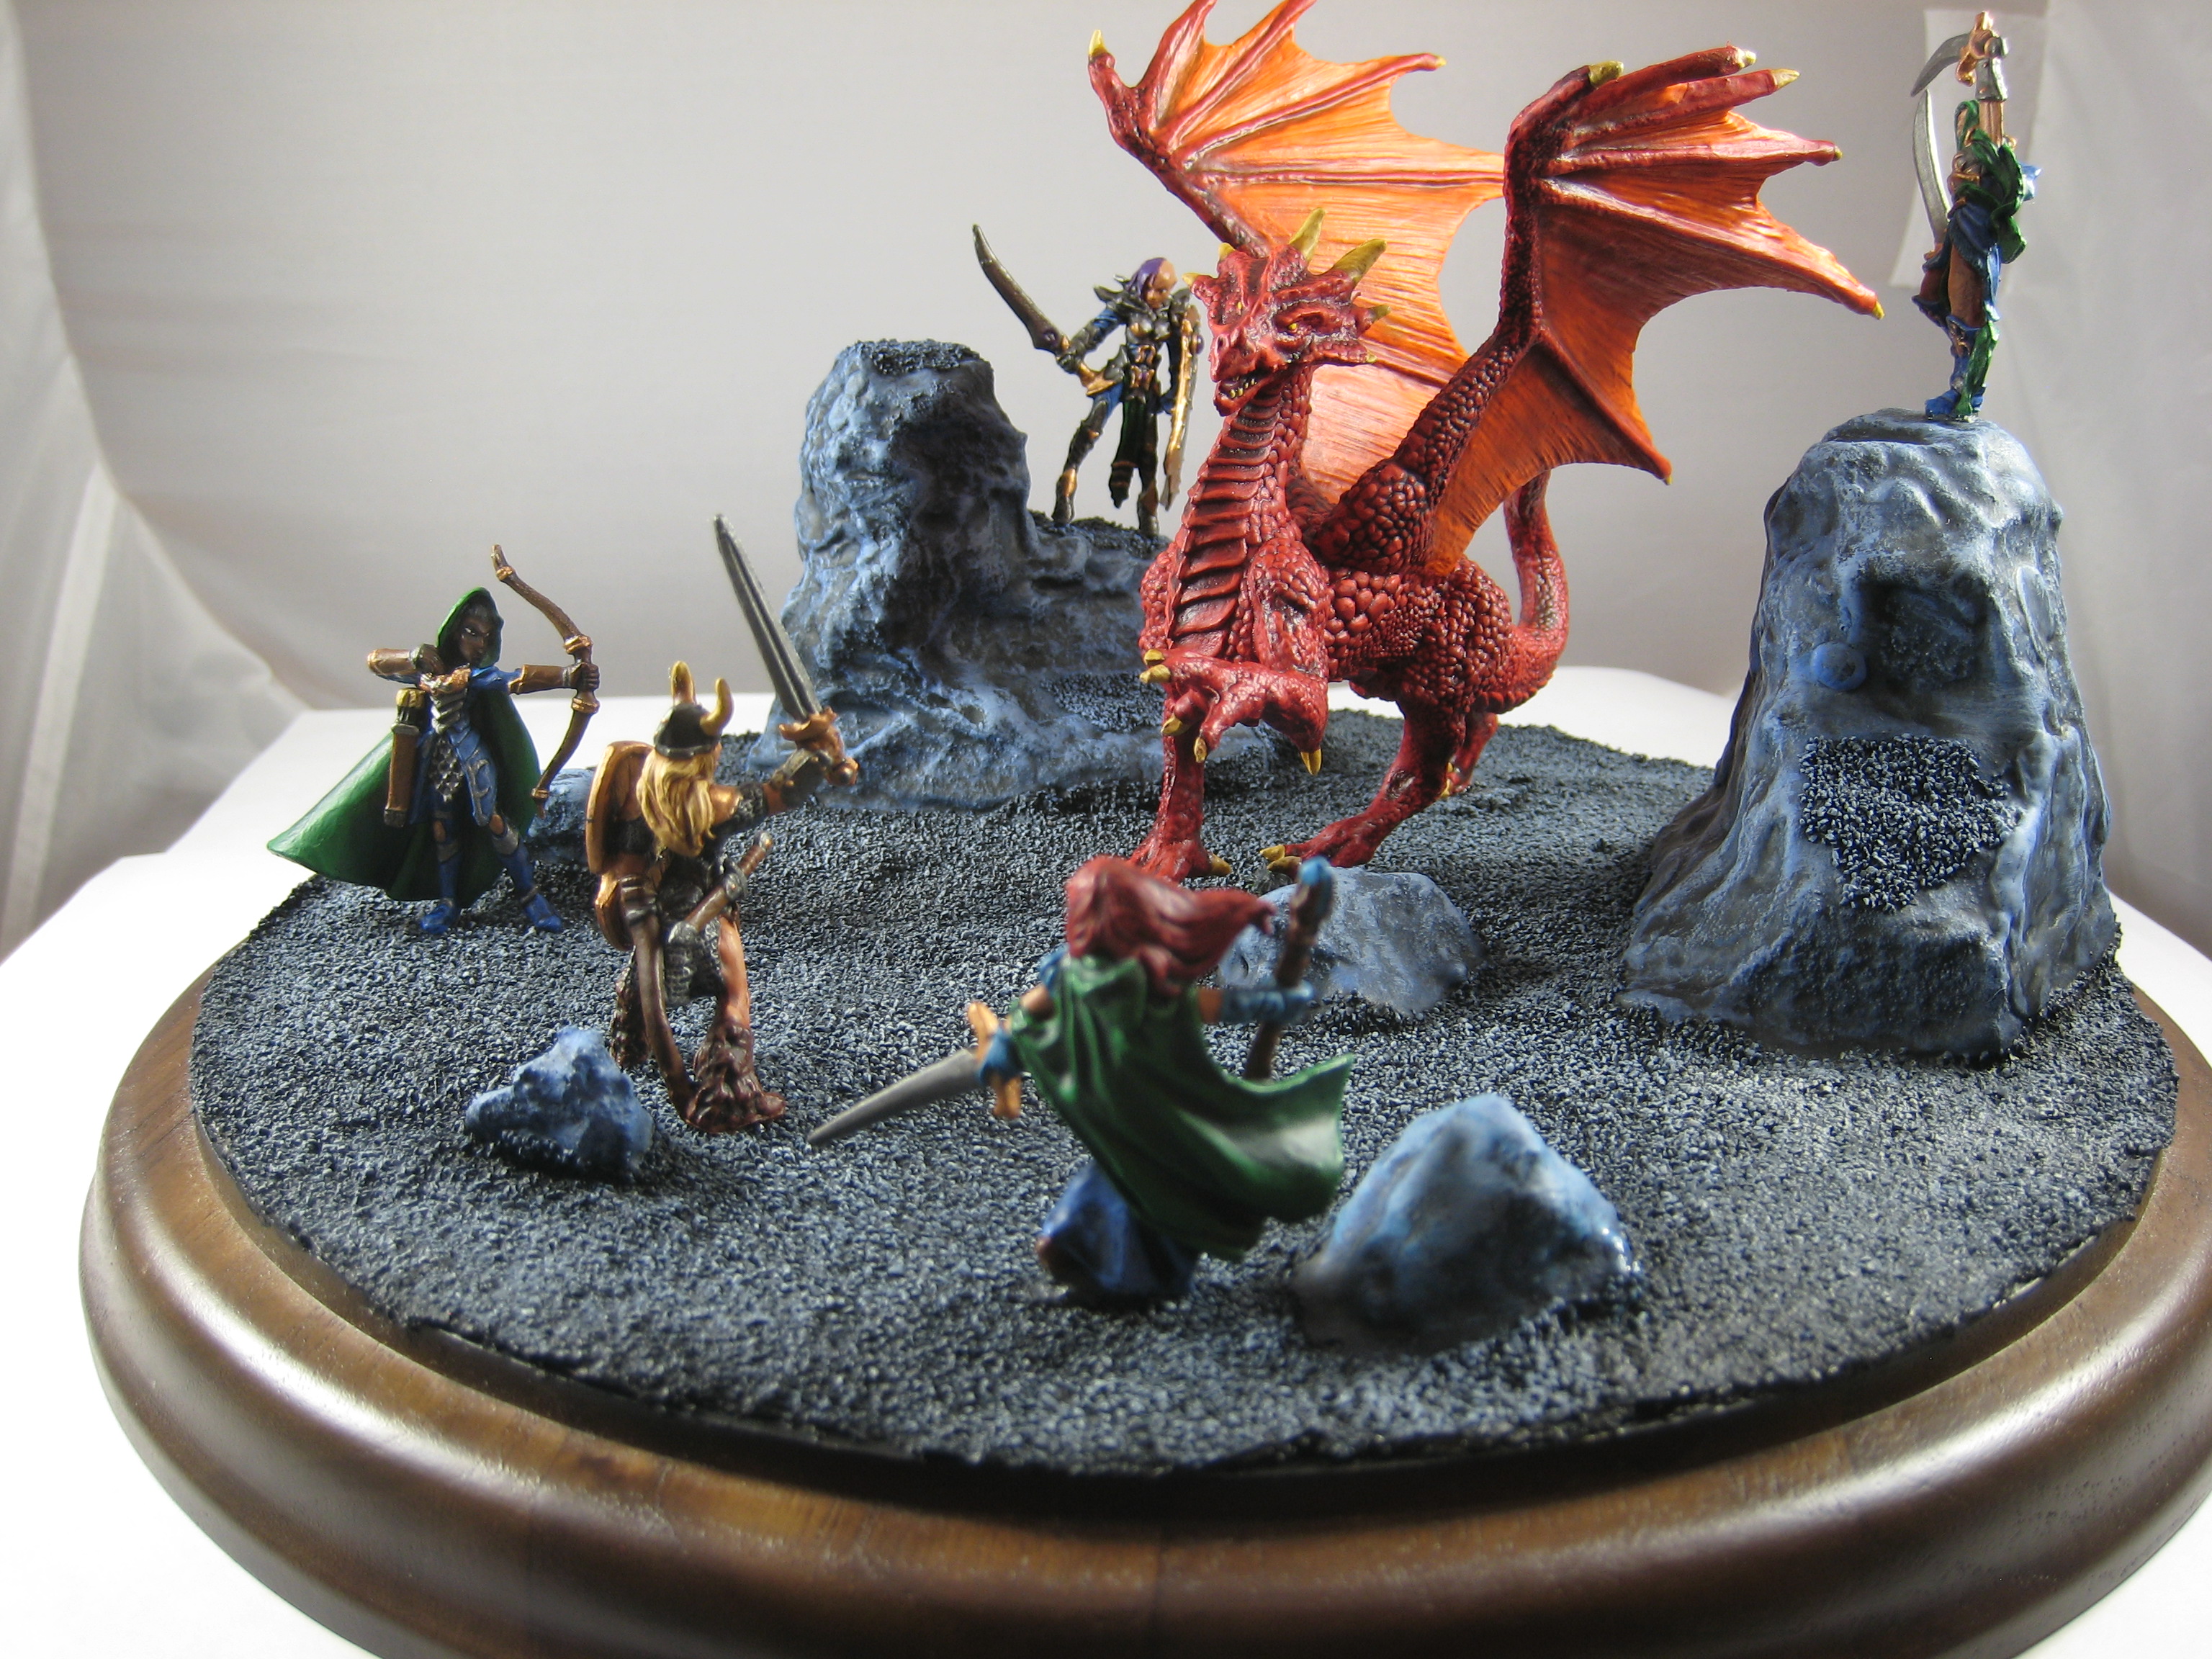
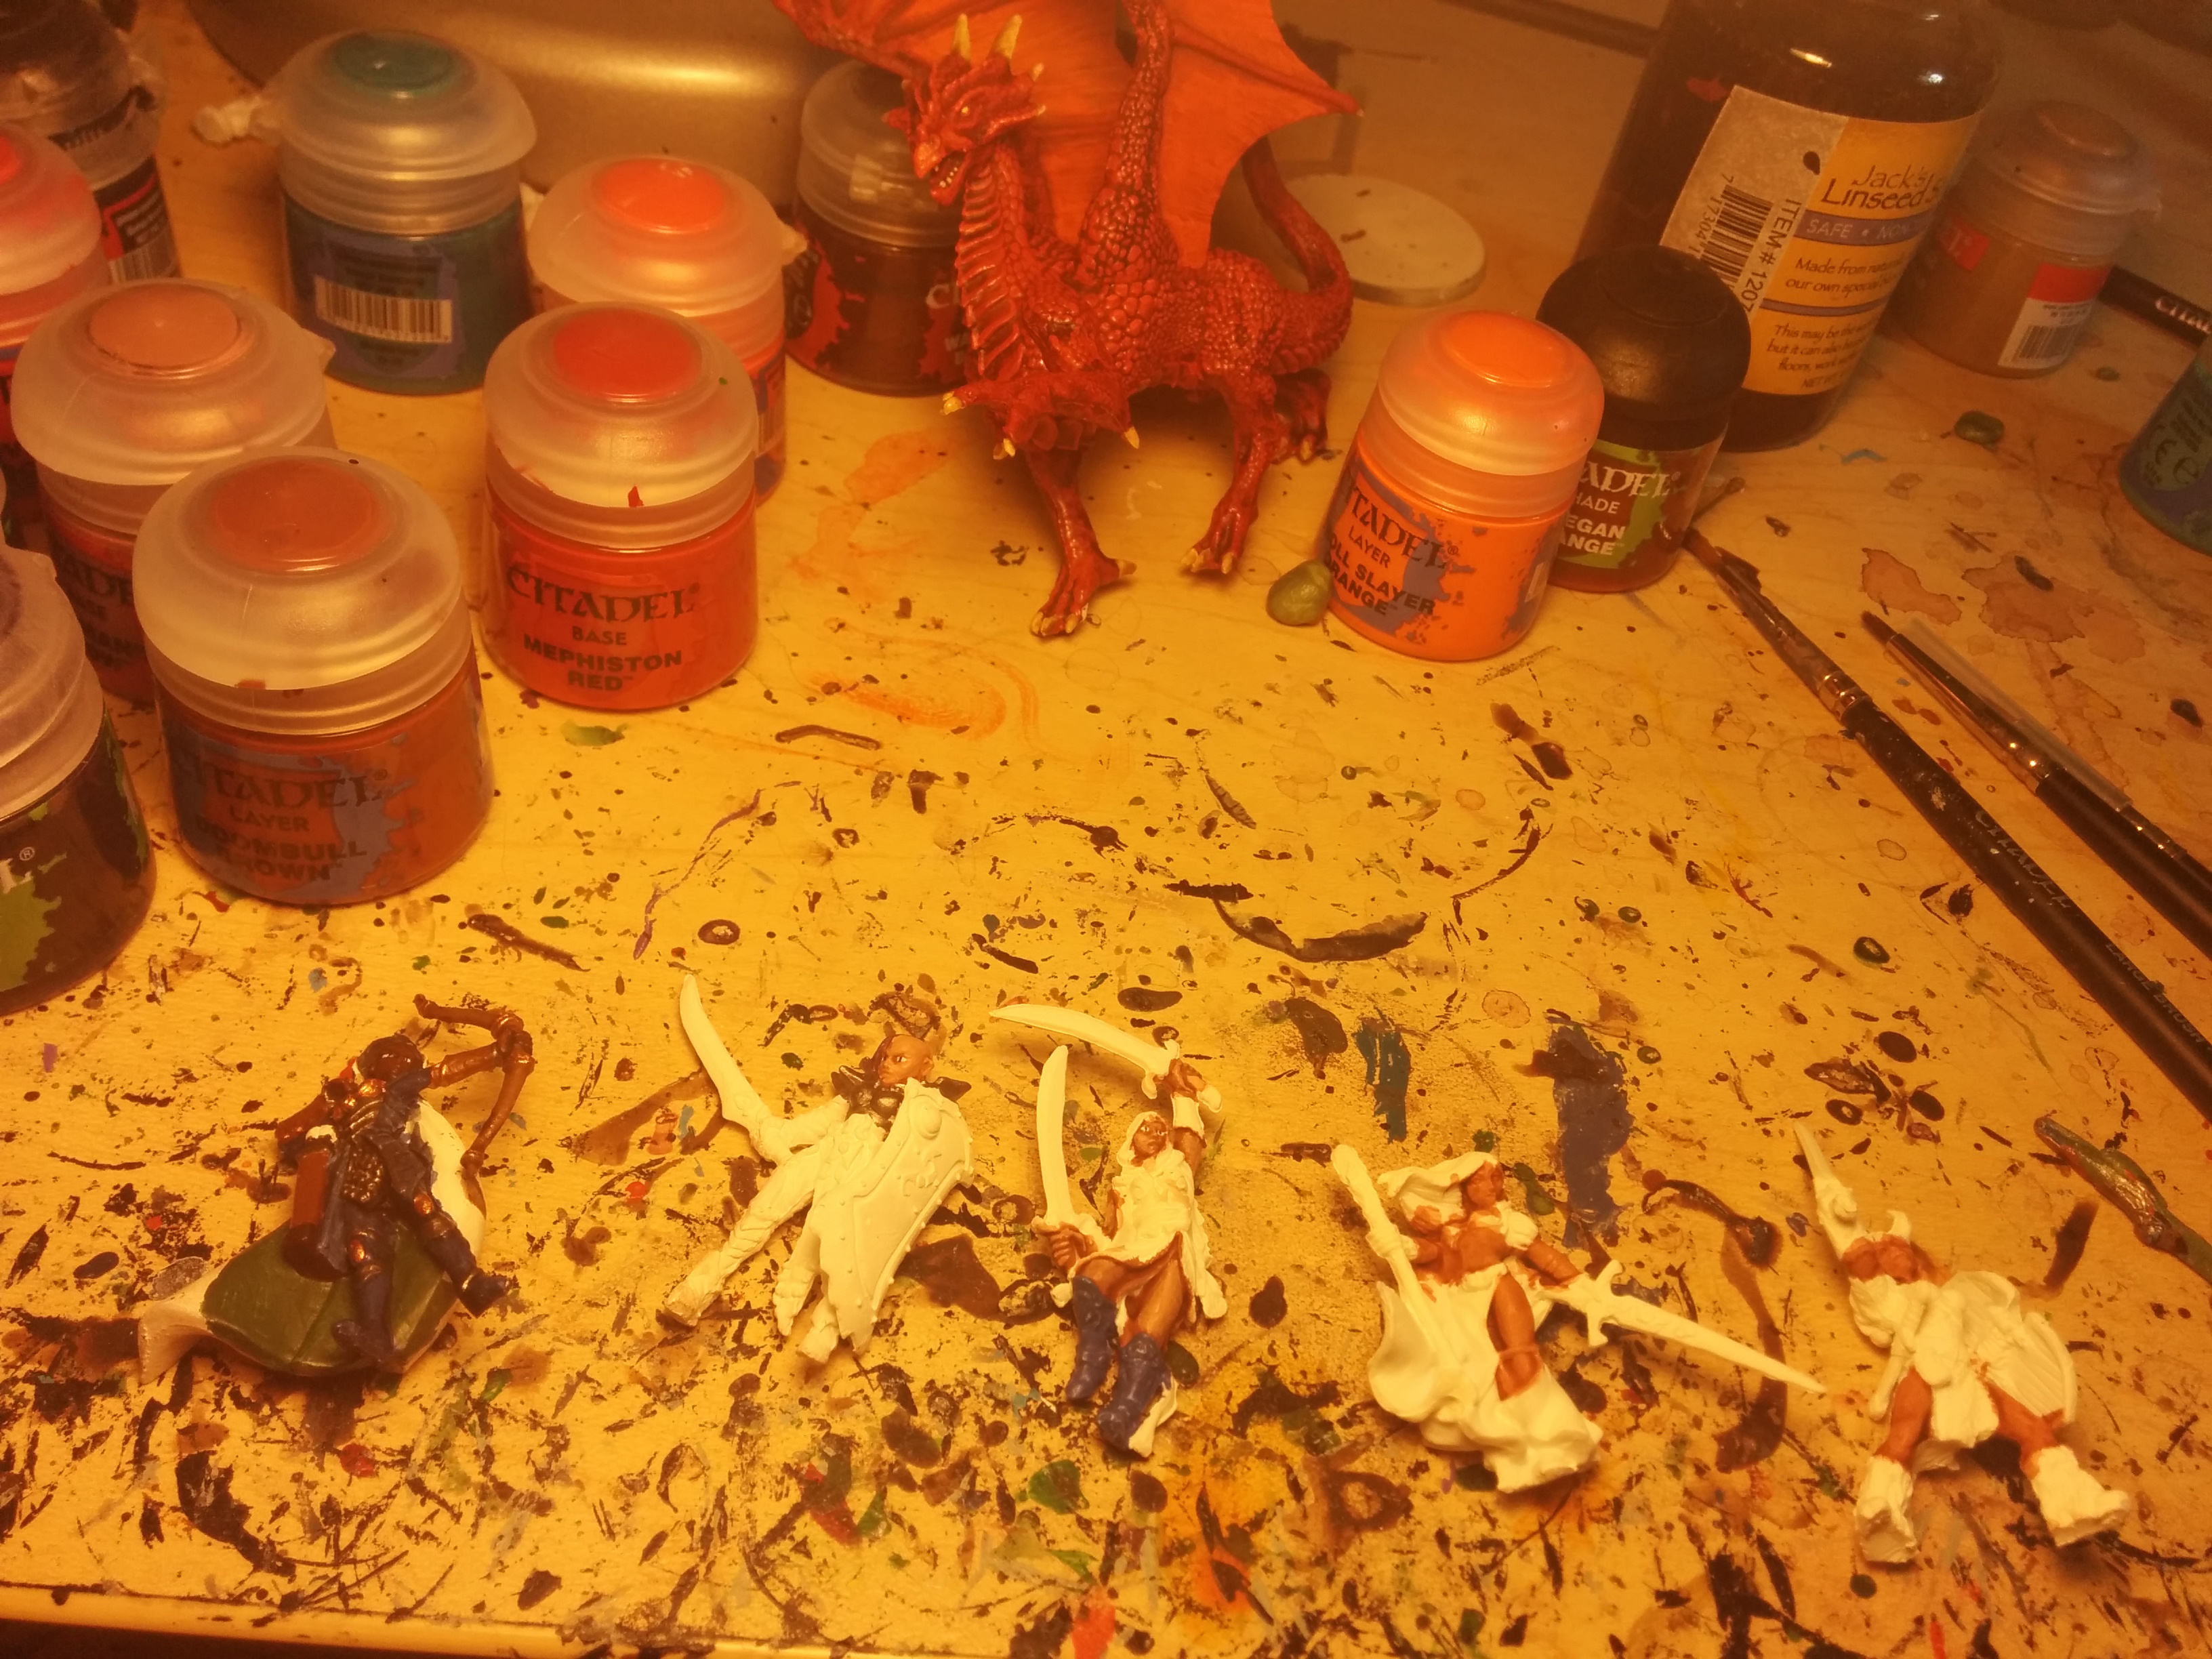
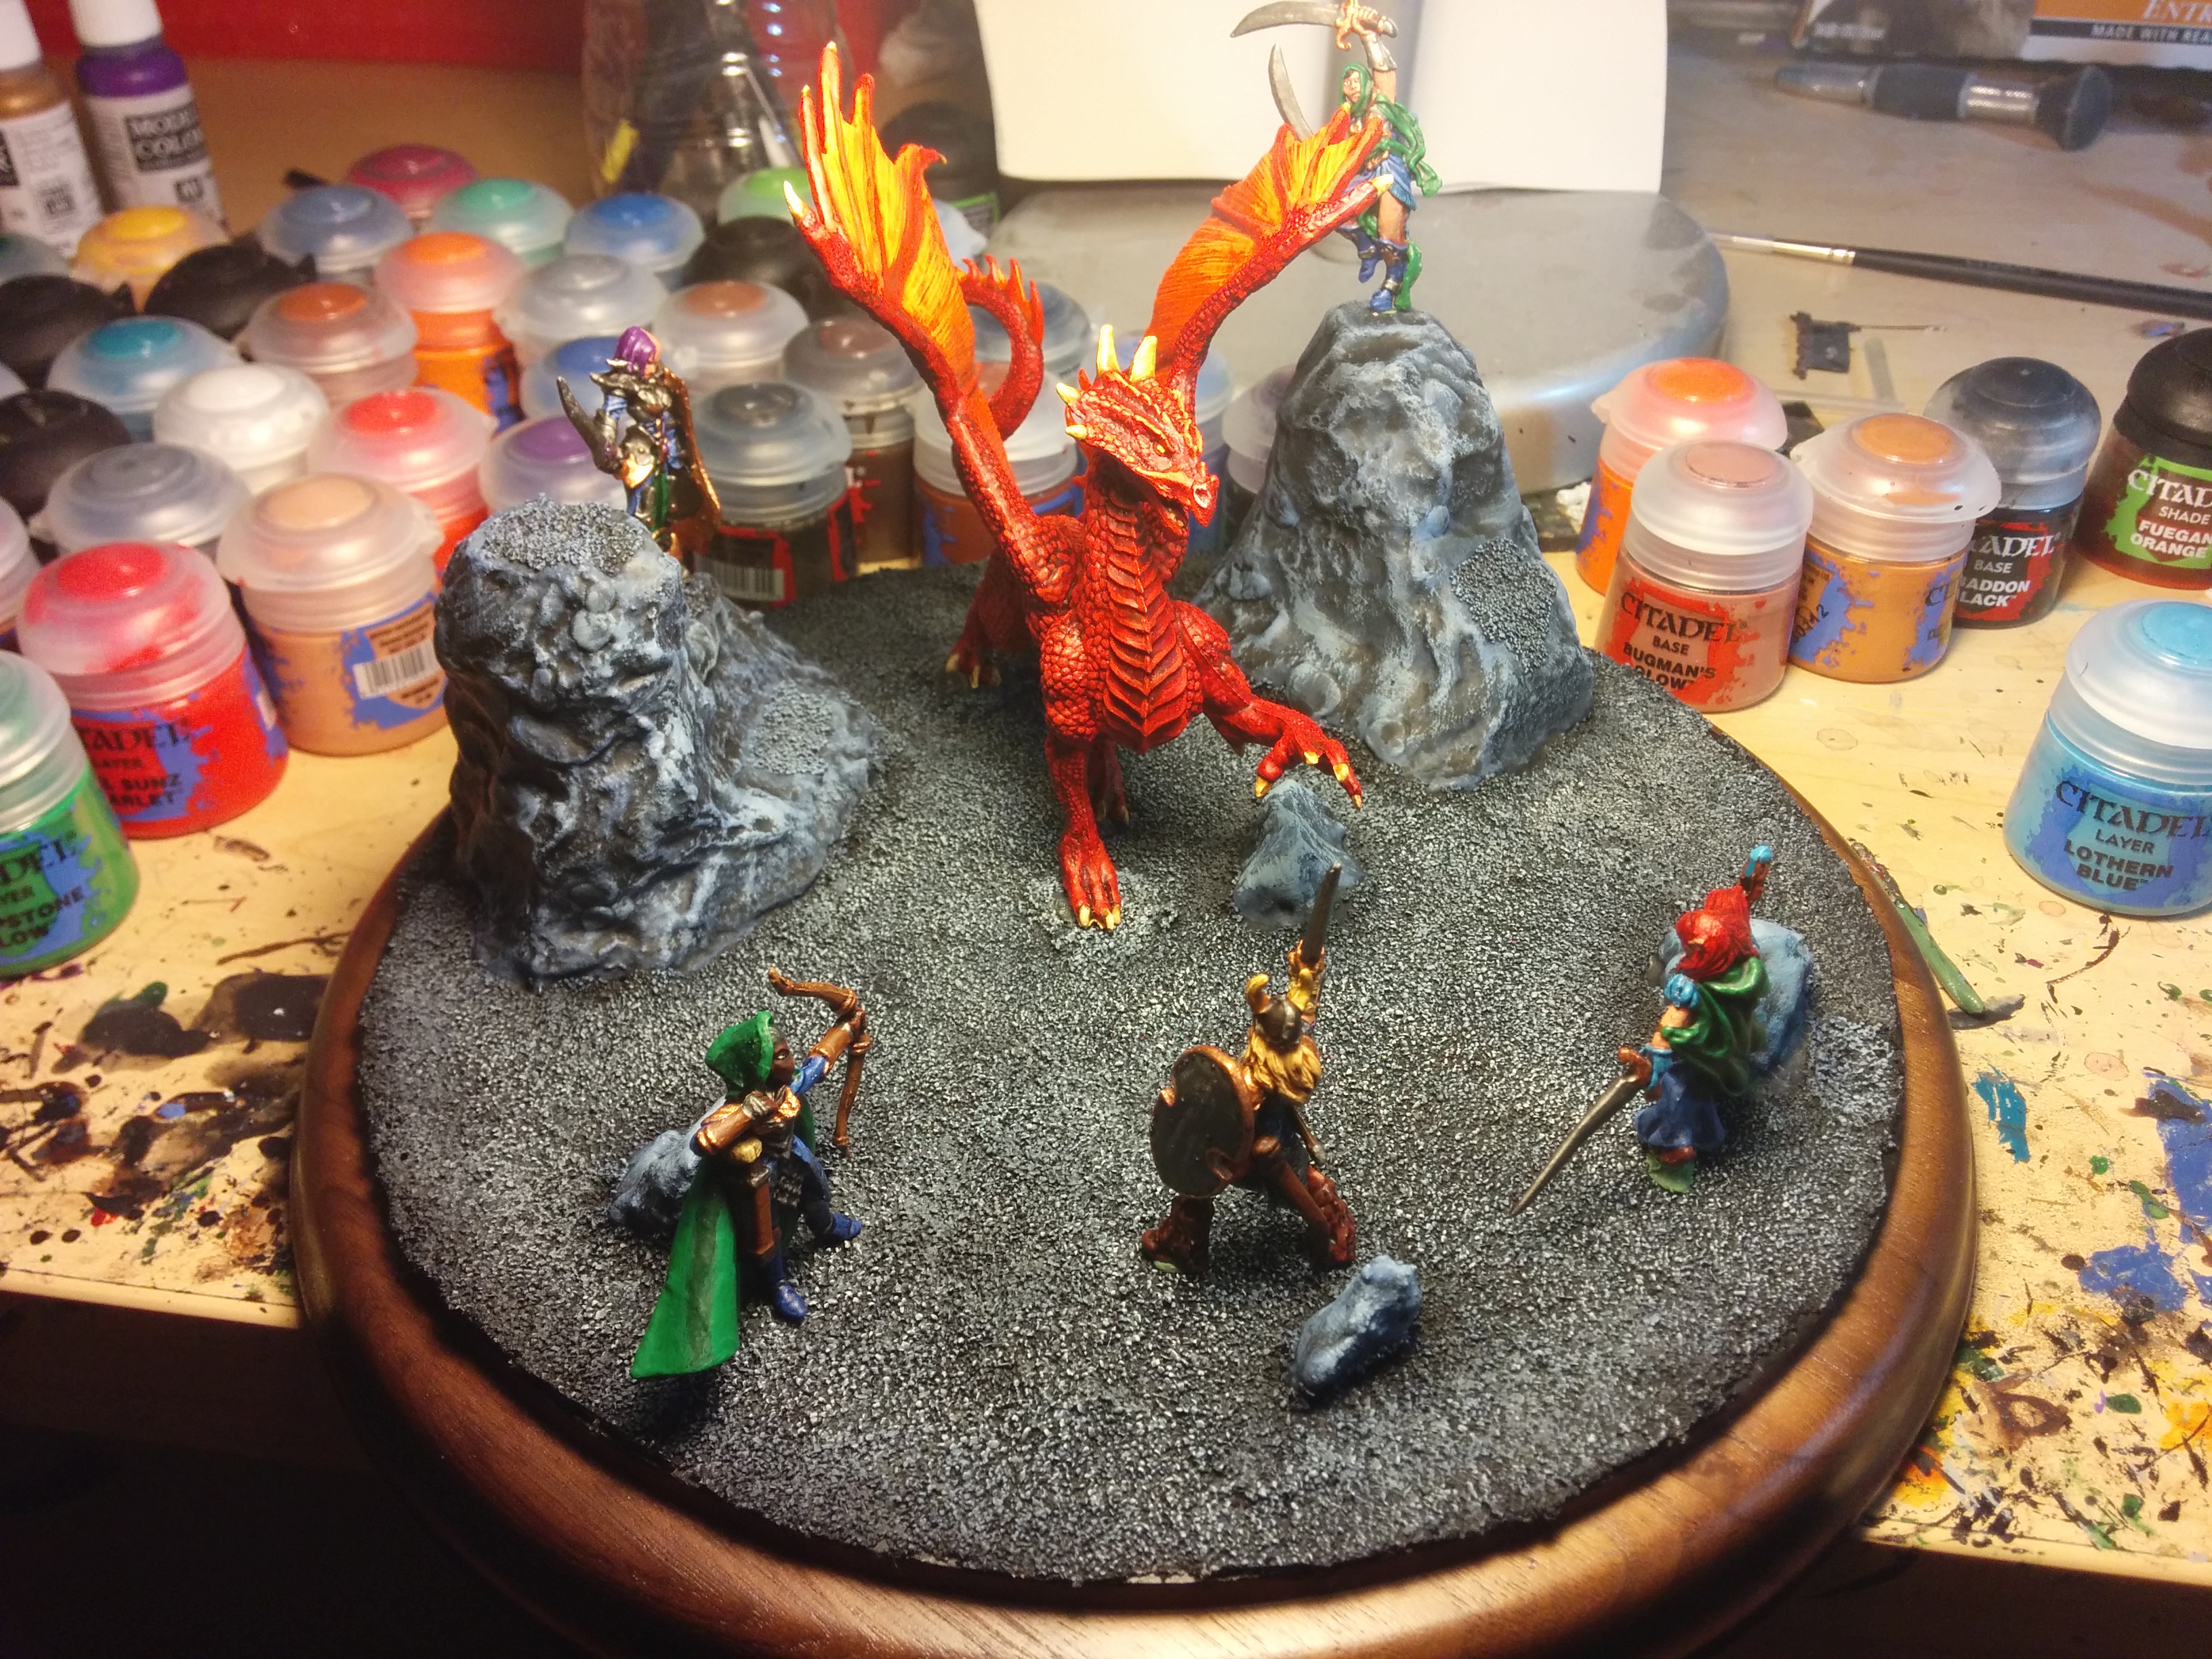
I finally finished up my new painting project! The brave adventuring party faces off against the most dangerous foe of all. (Unless you count my cat, worst nightmare of any miniature.) These are all from the Reaper Bones II kickstarter — I was poking through the giant pile of minis and trying to figure out something more interesting to do than just painting them one by one.
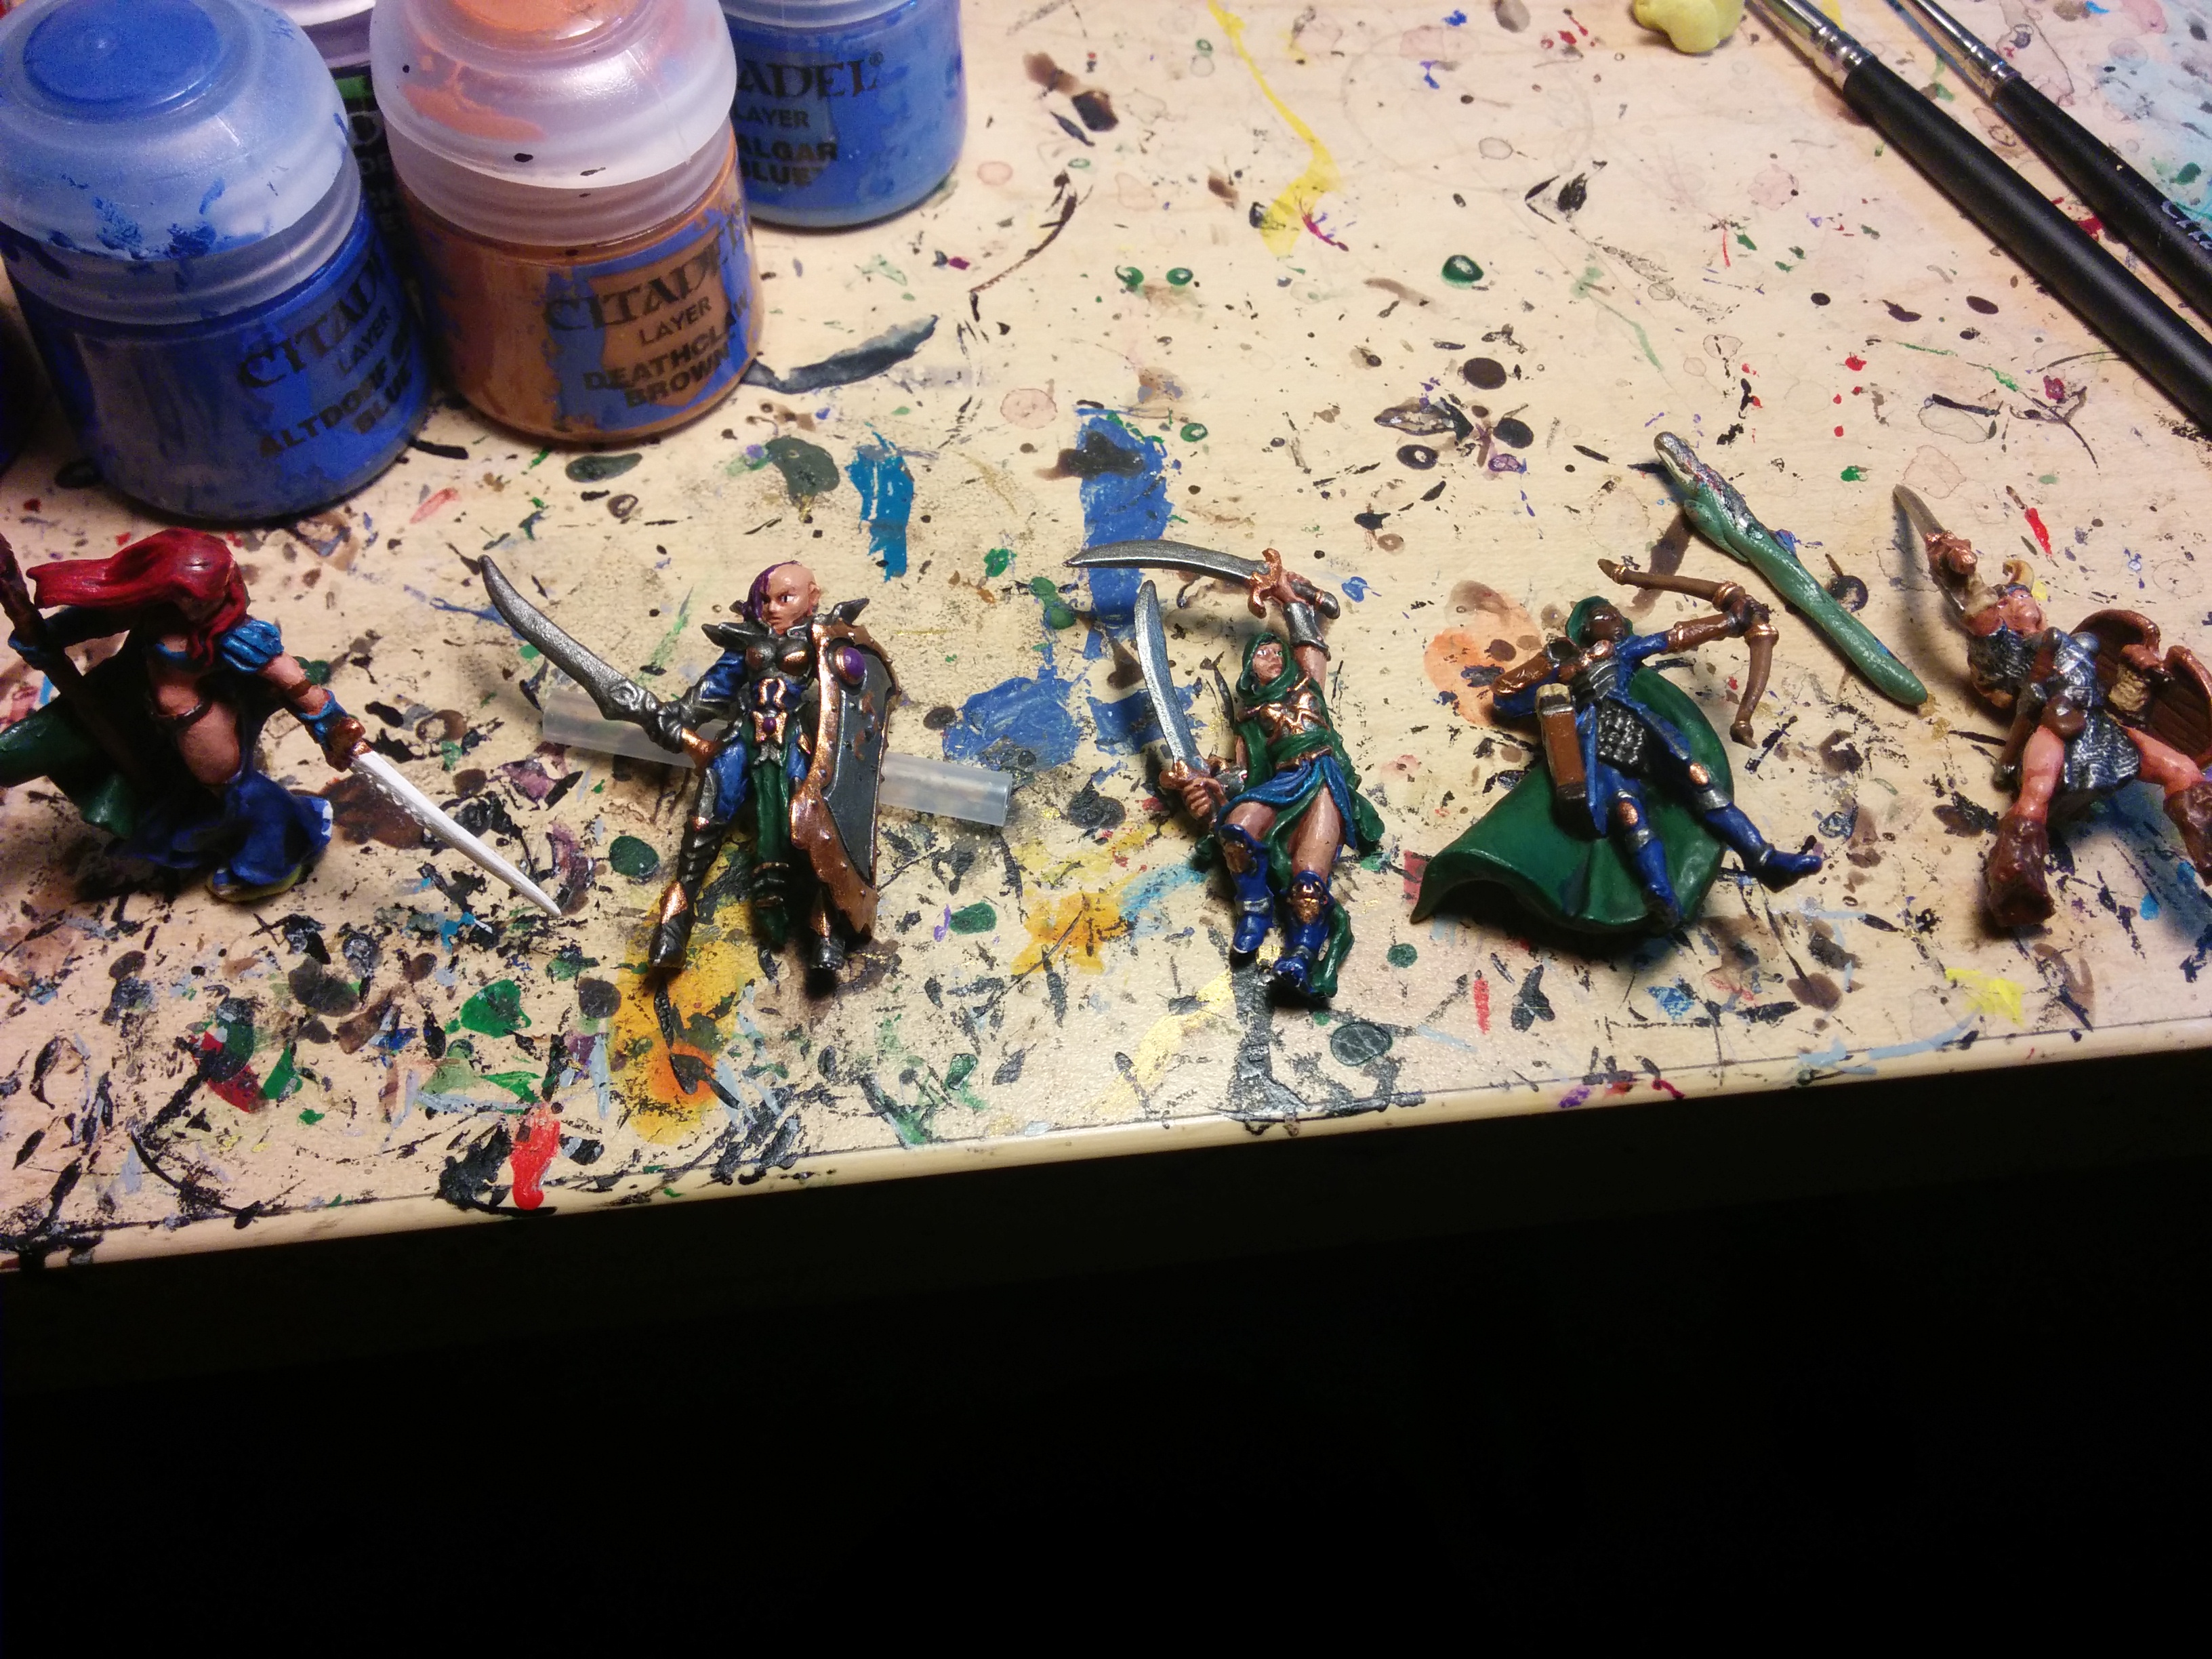
Let’s meet our adventuring party!
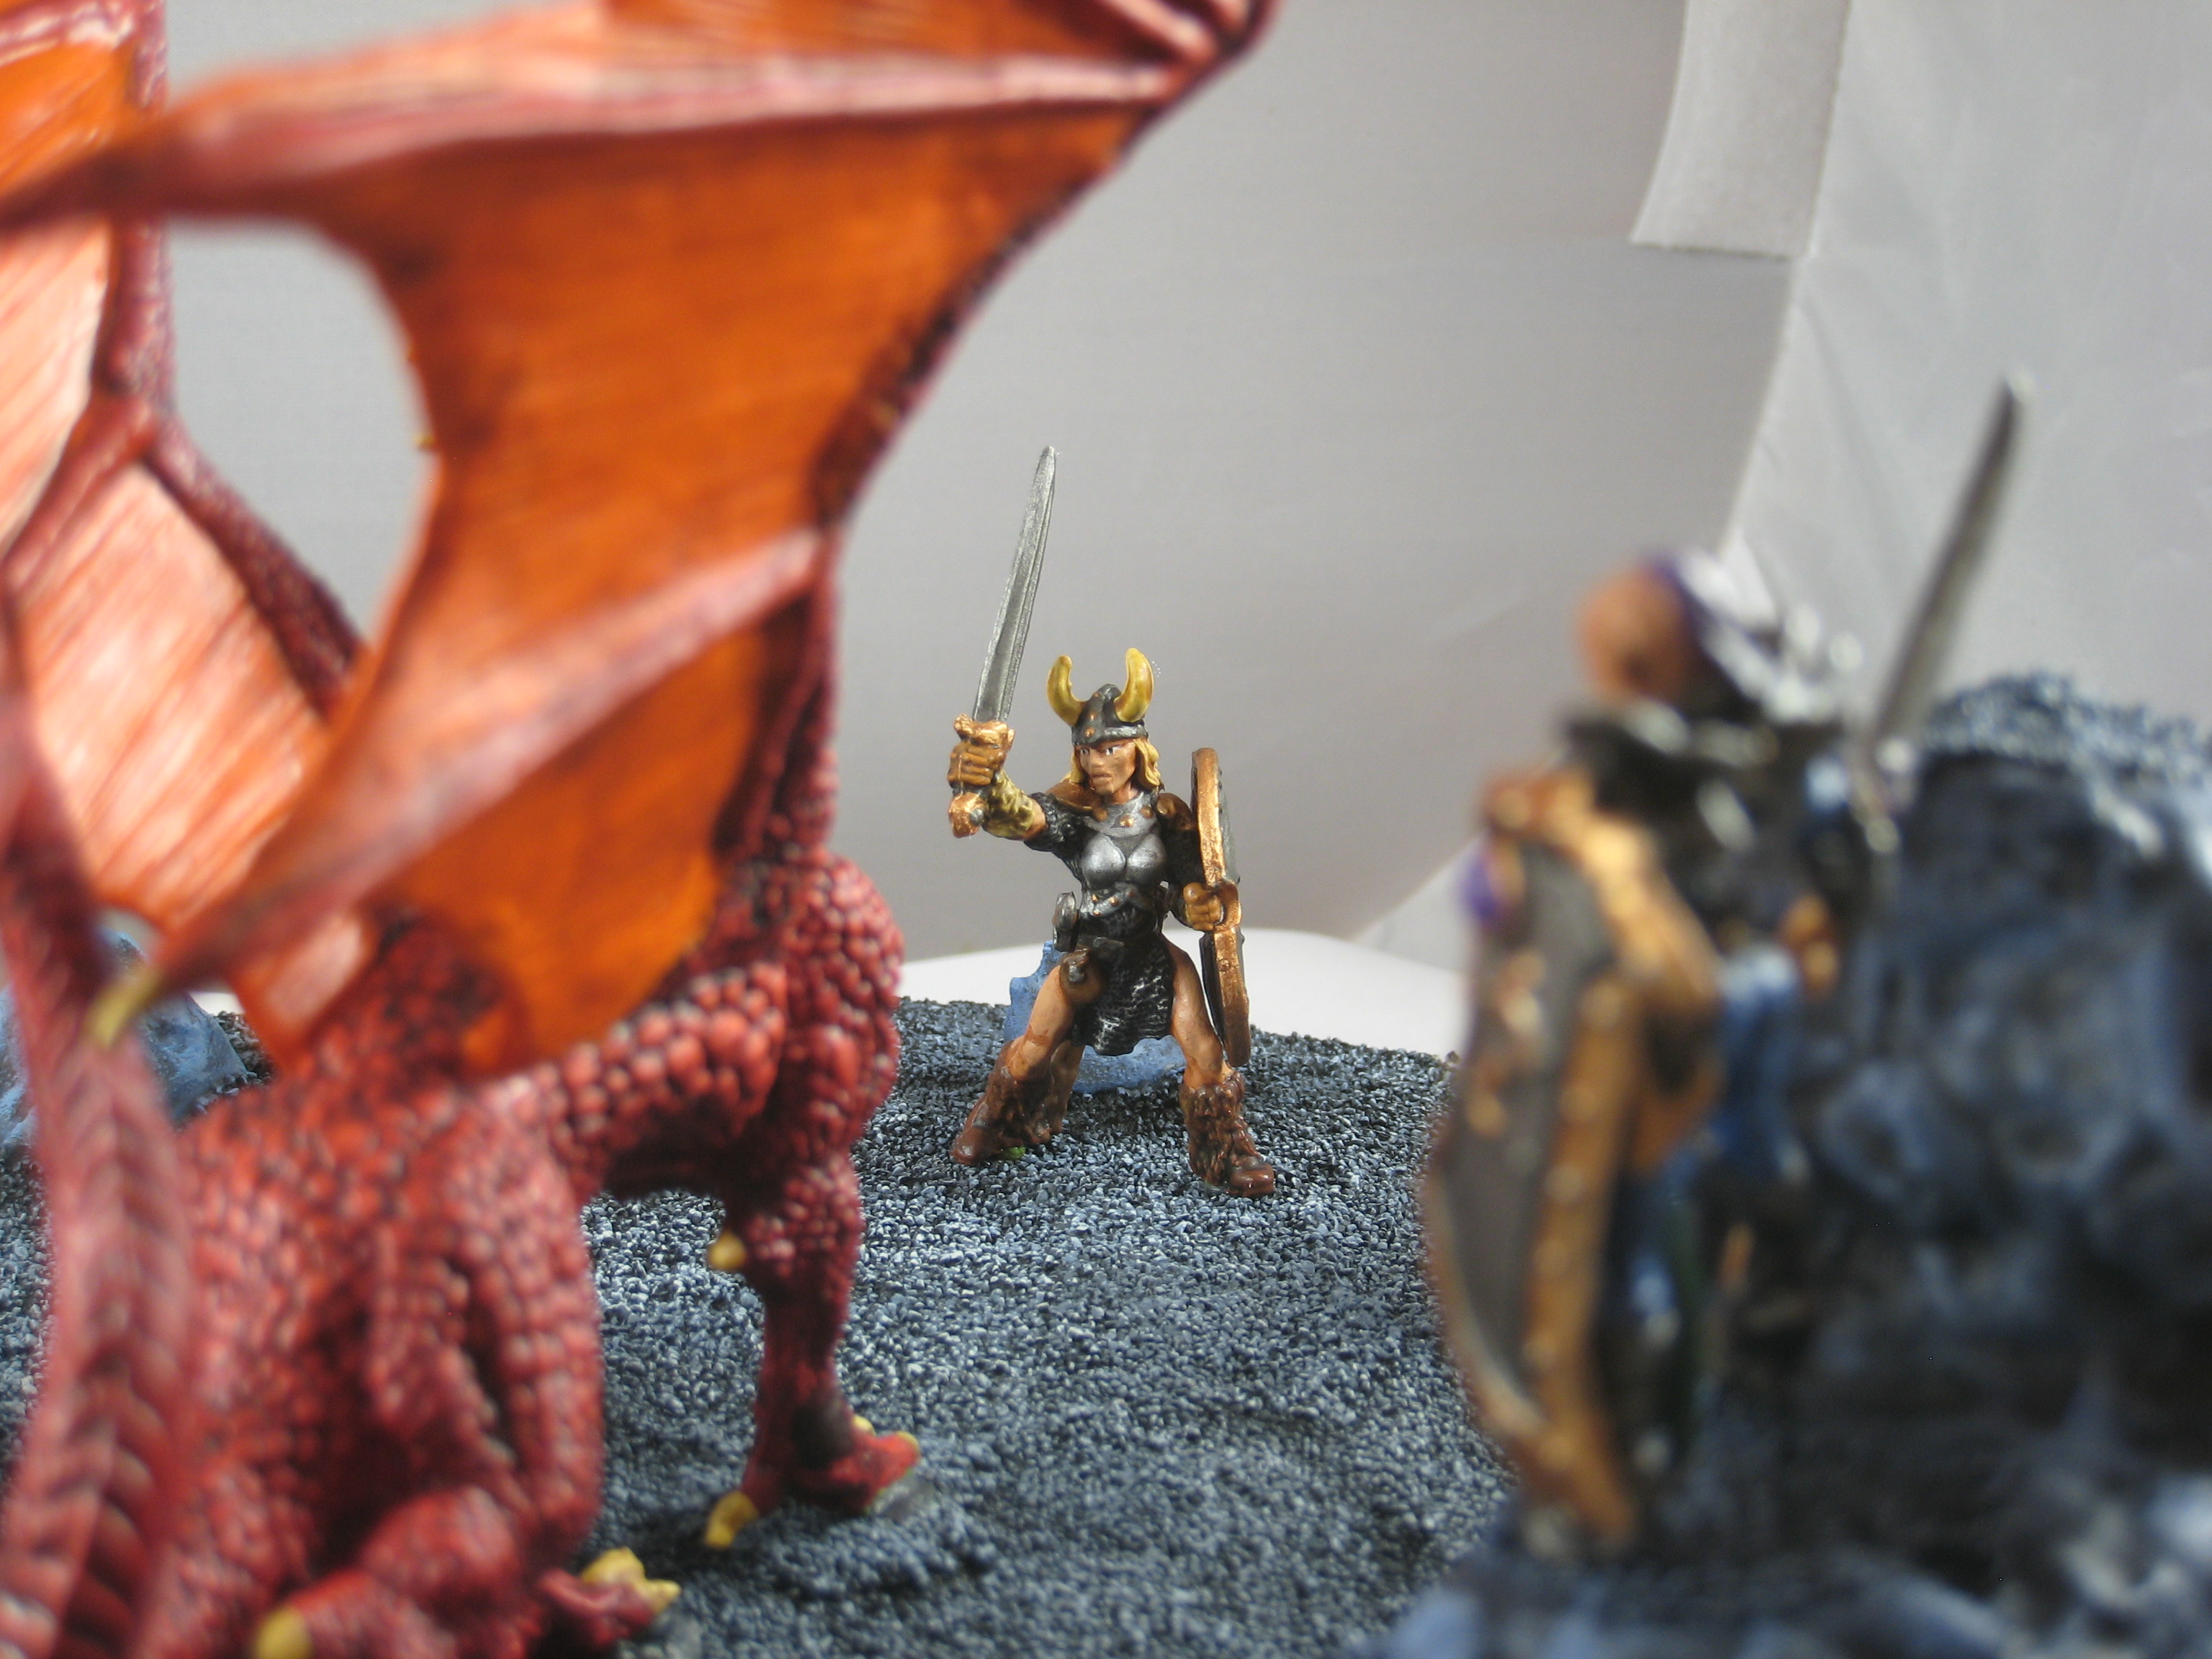
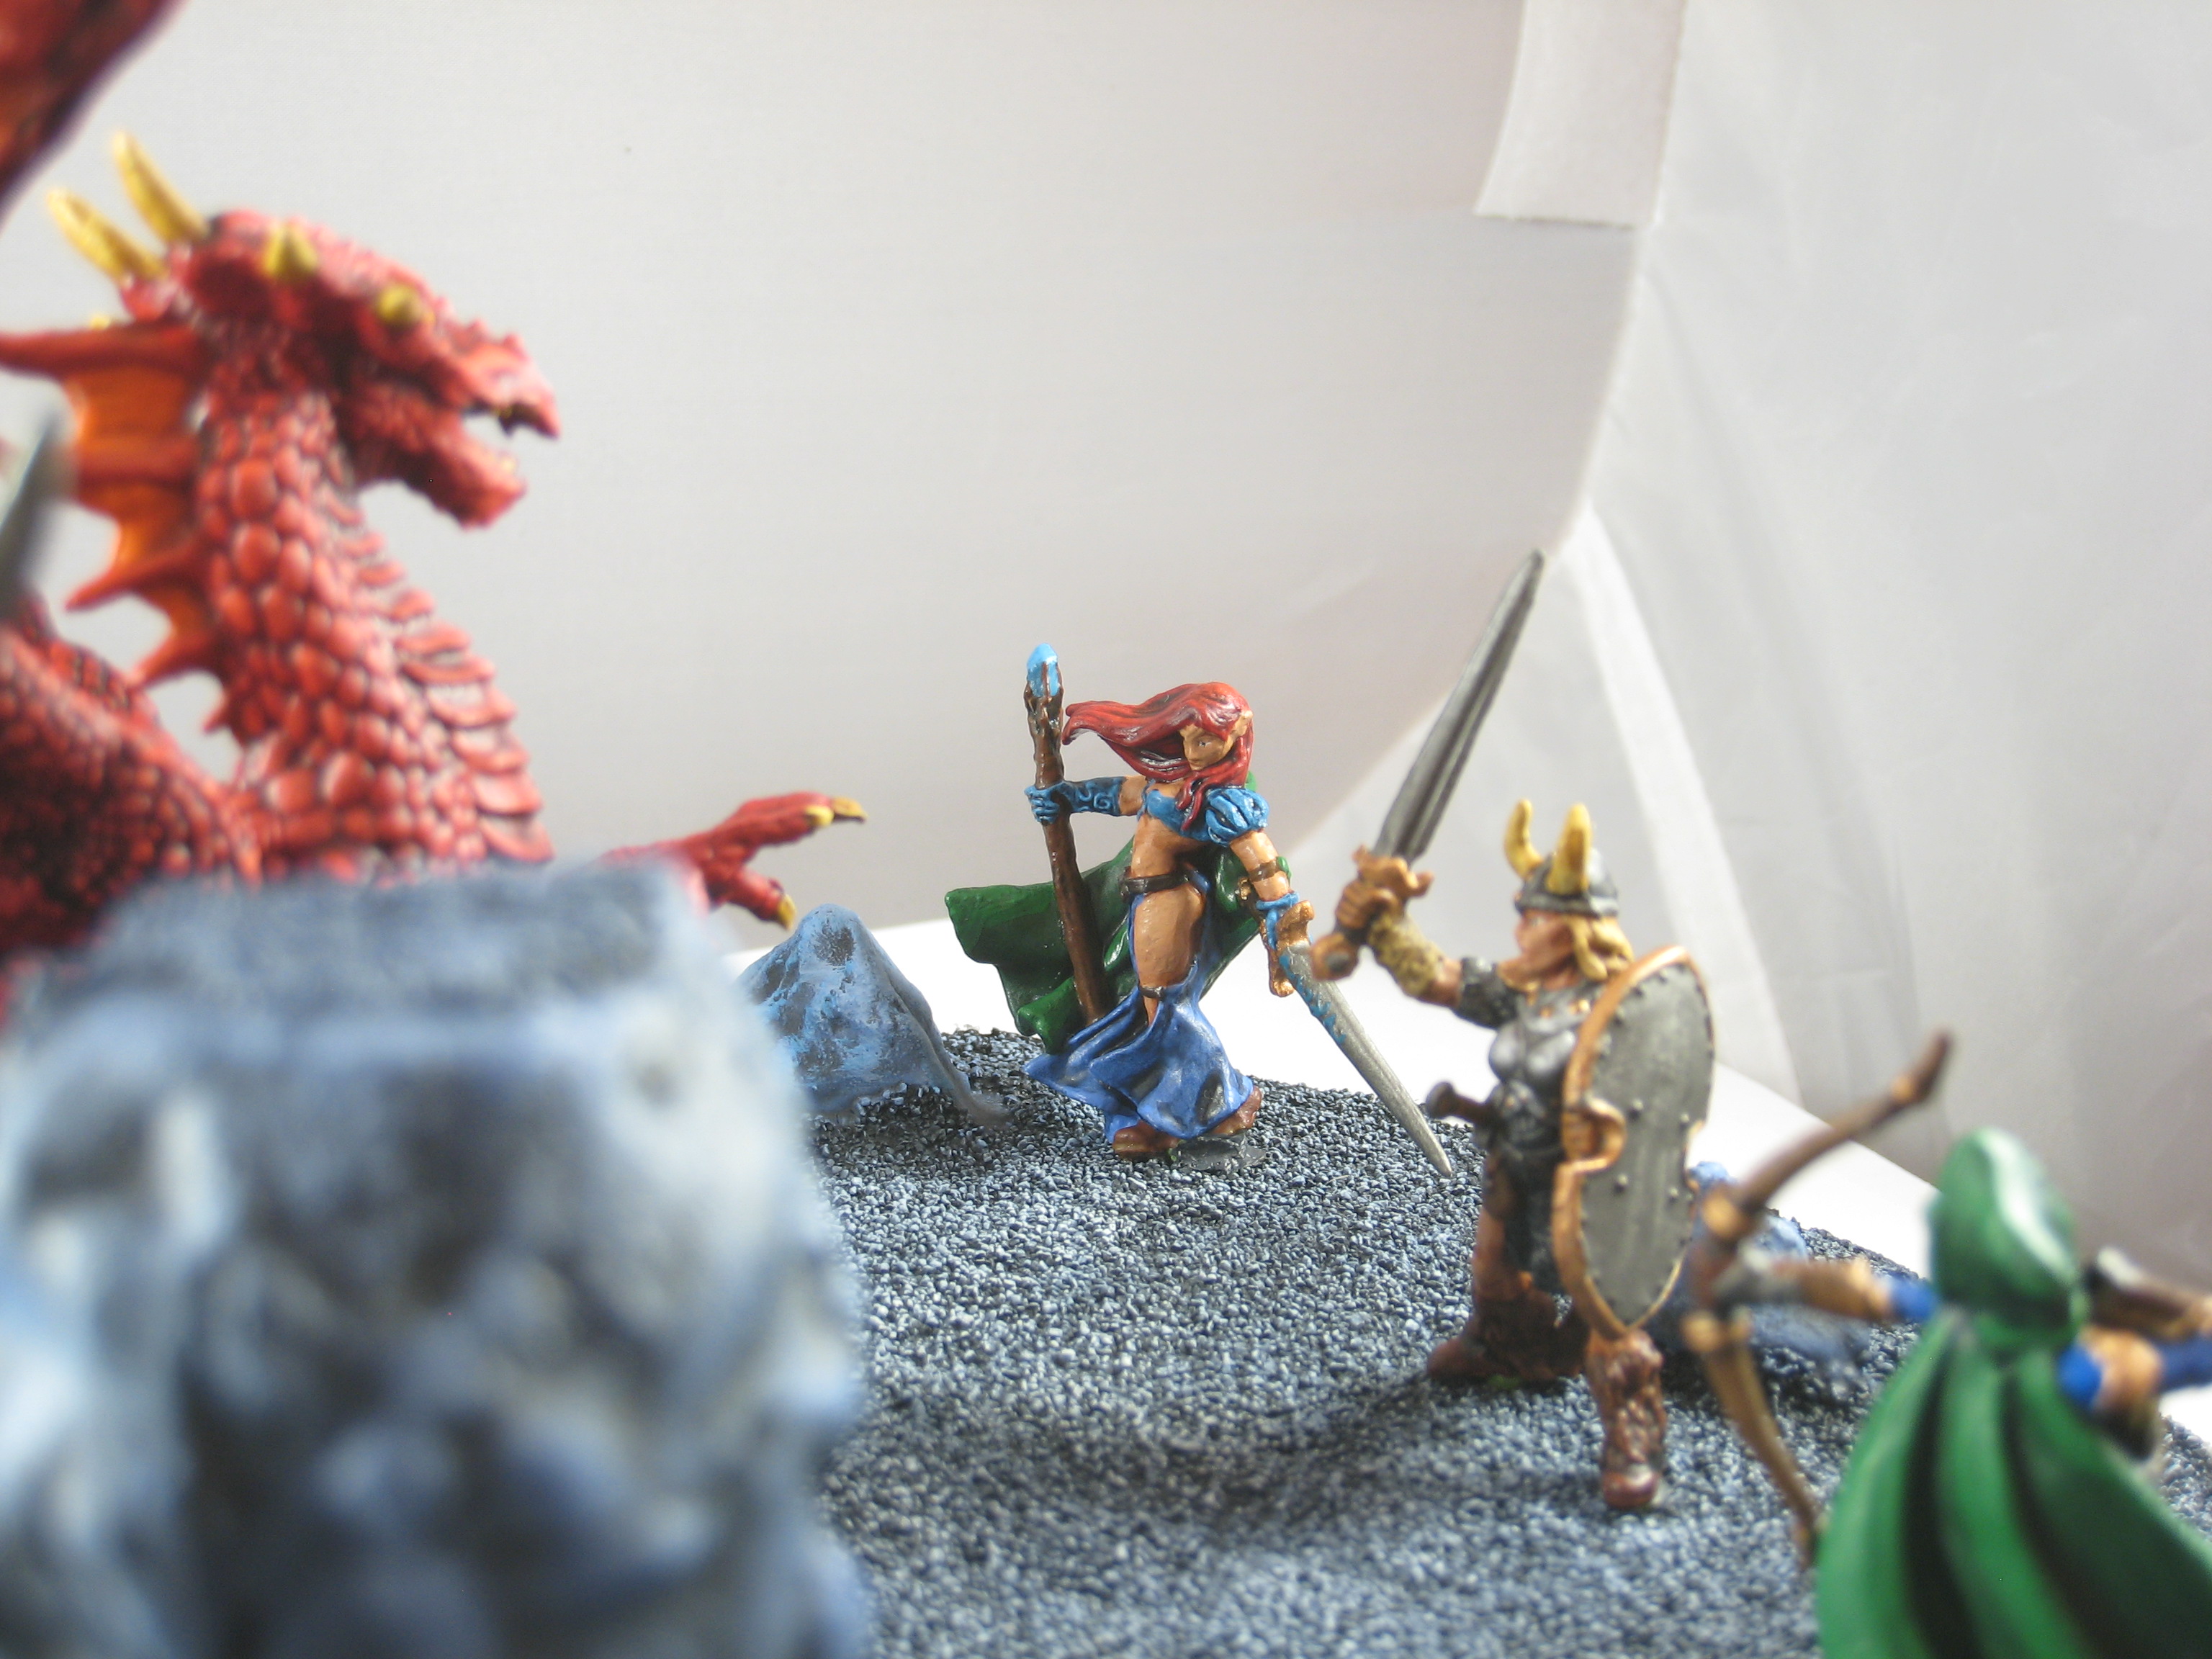
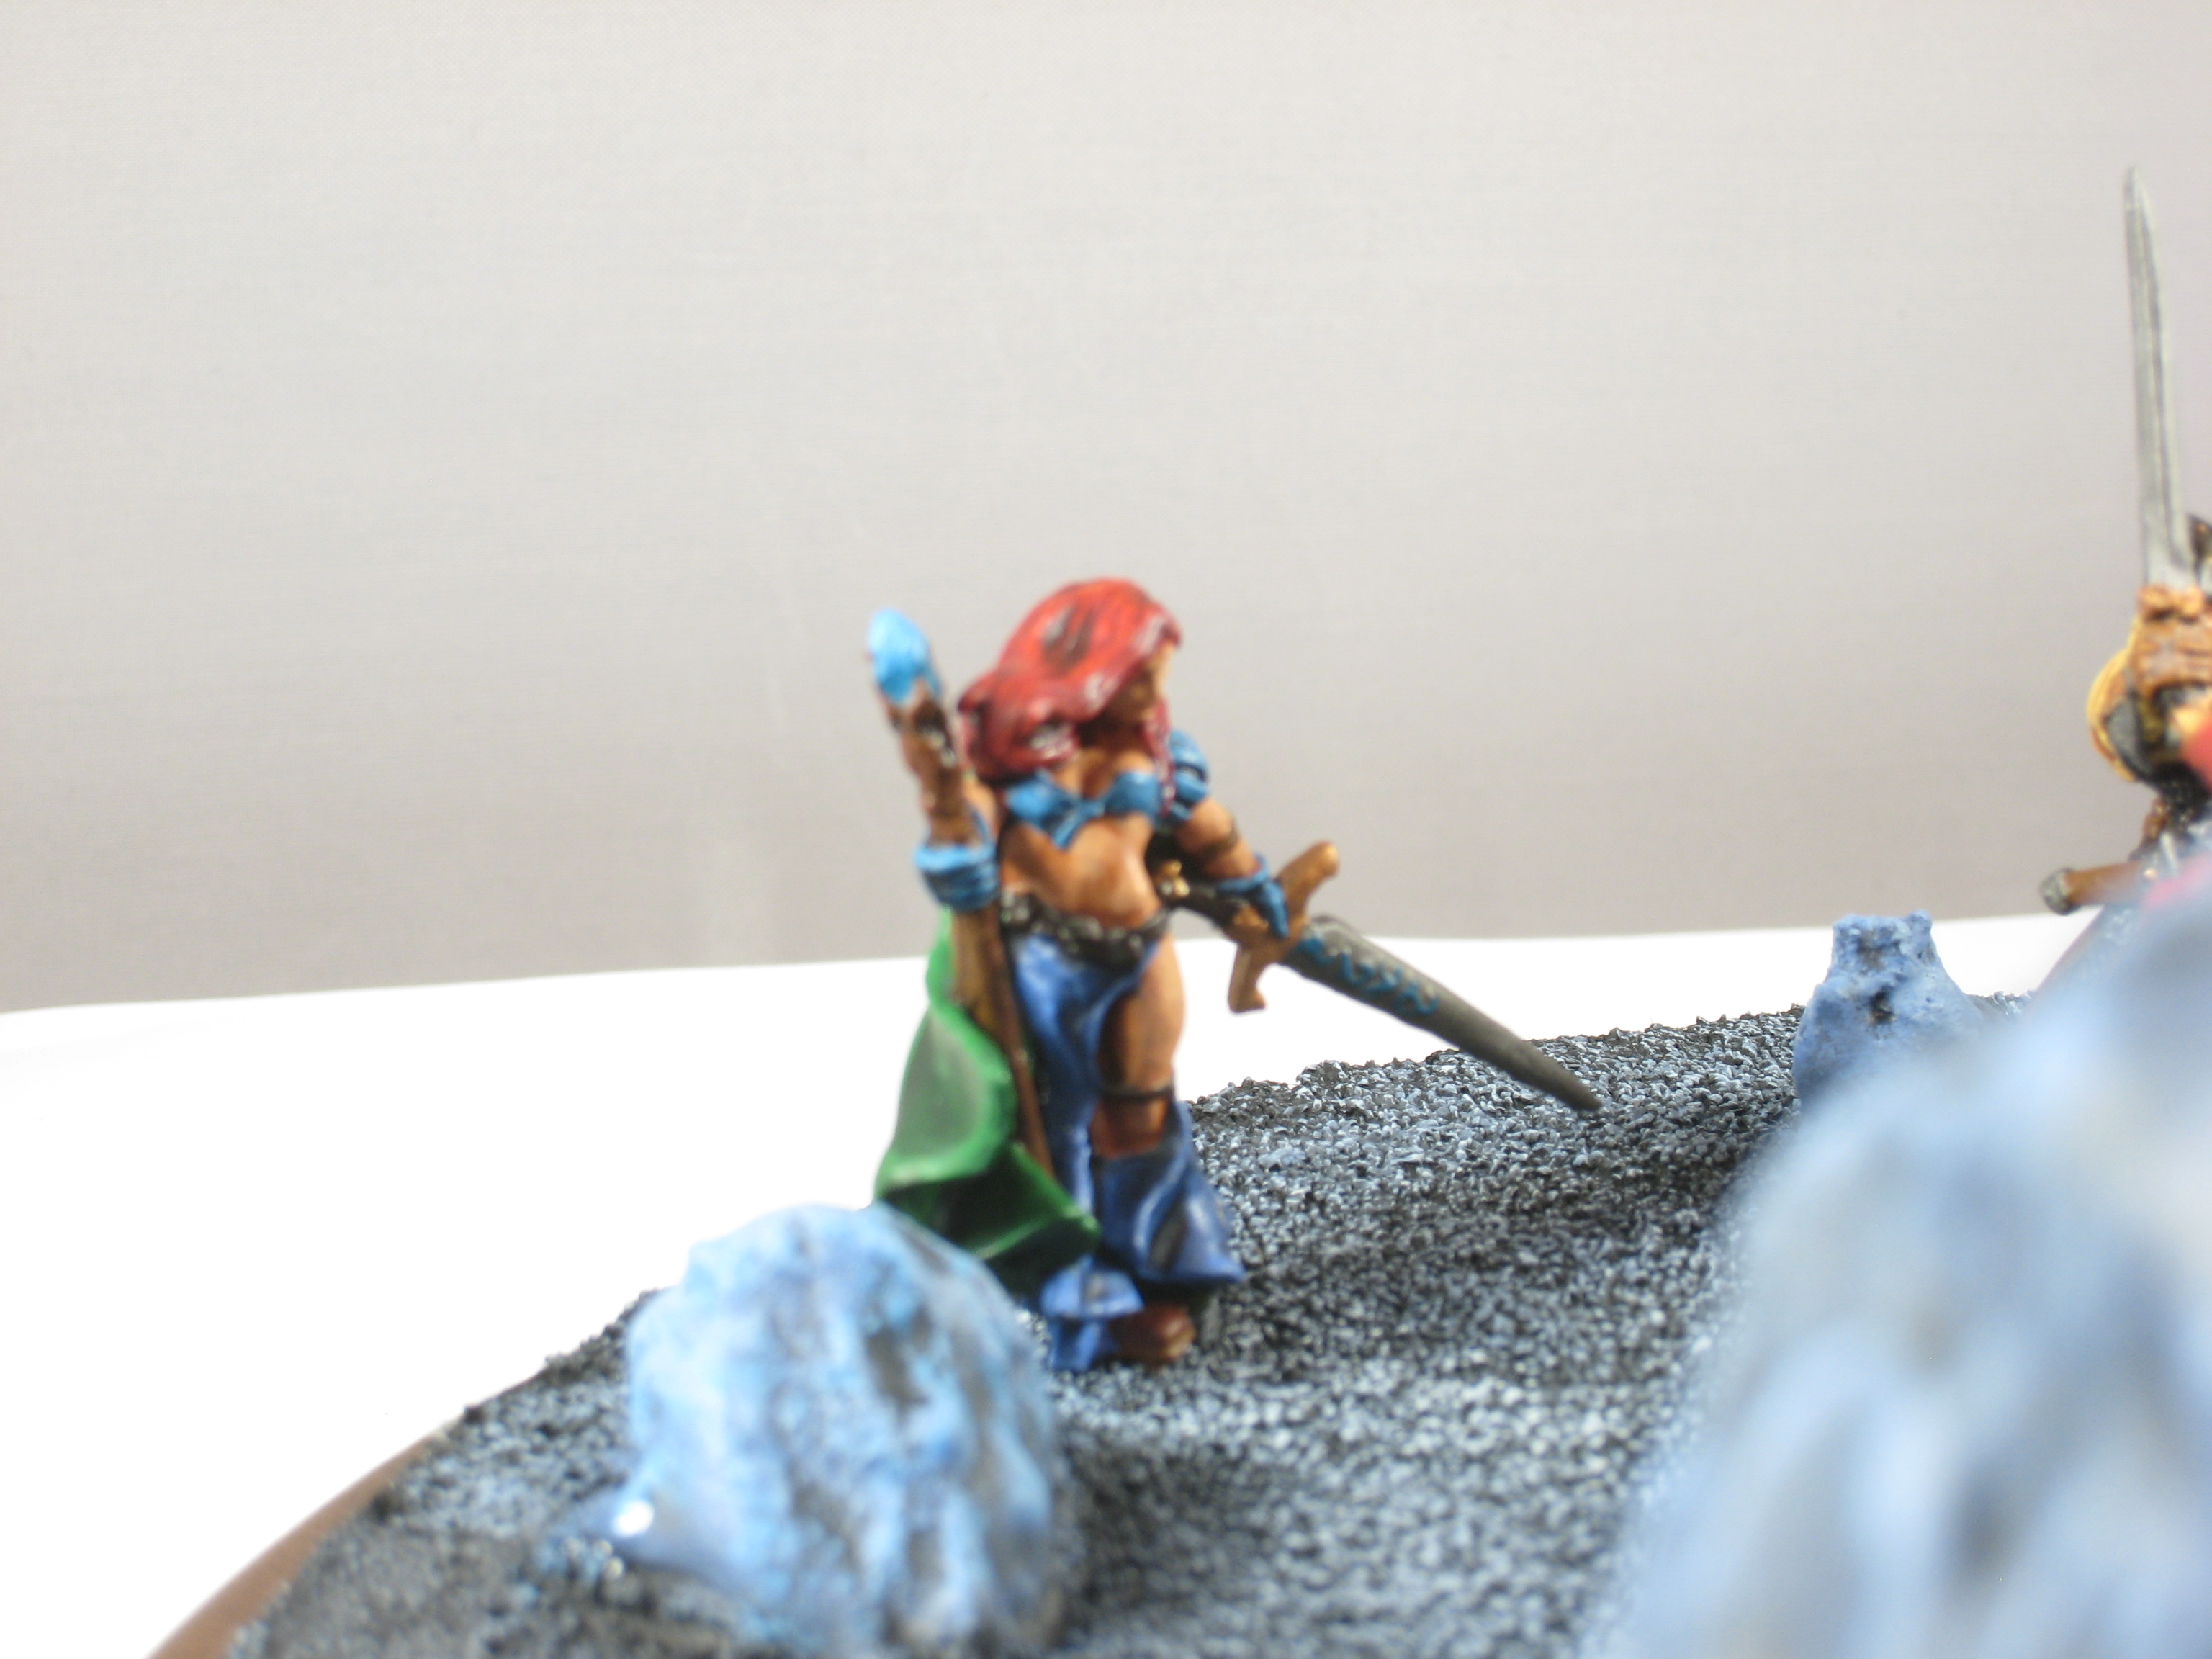
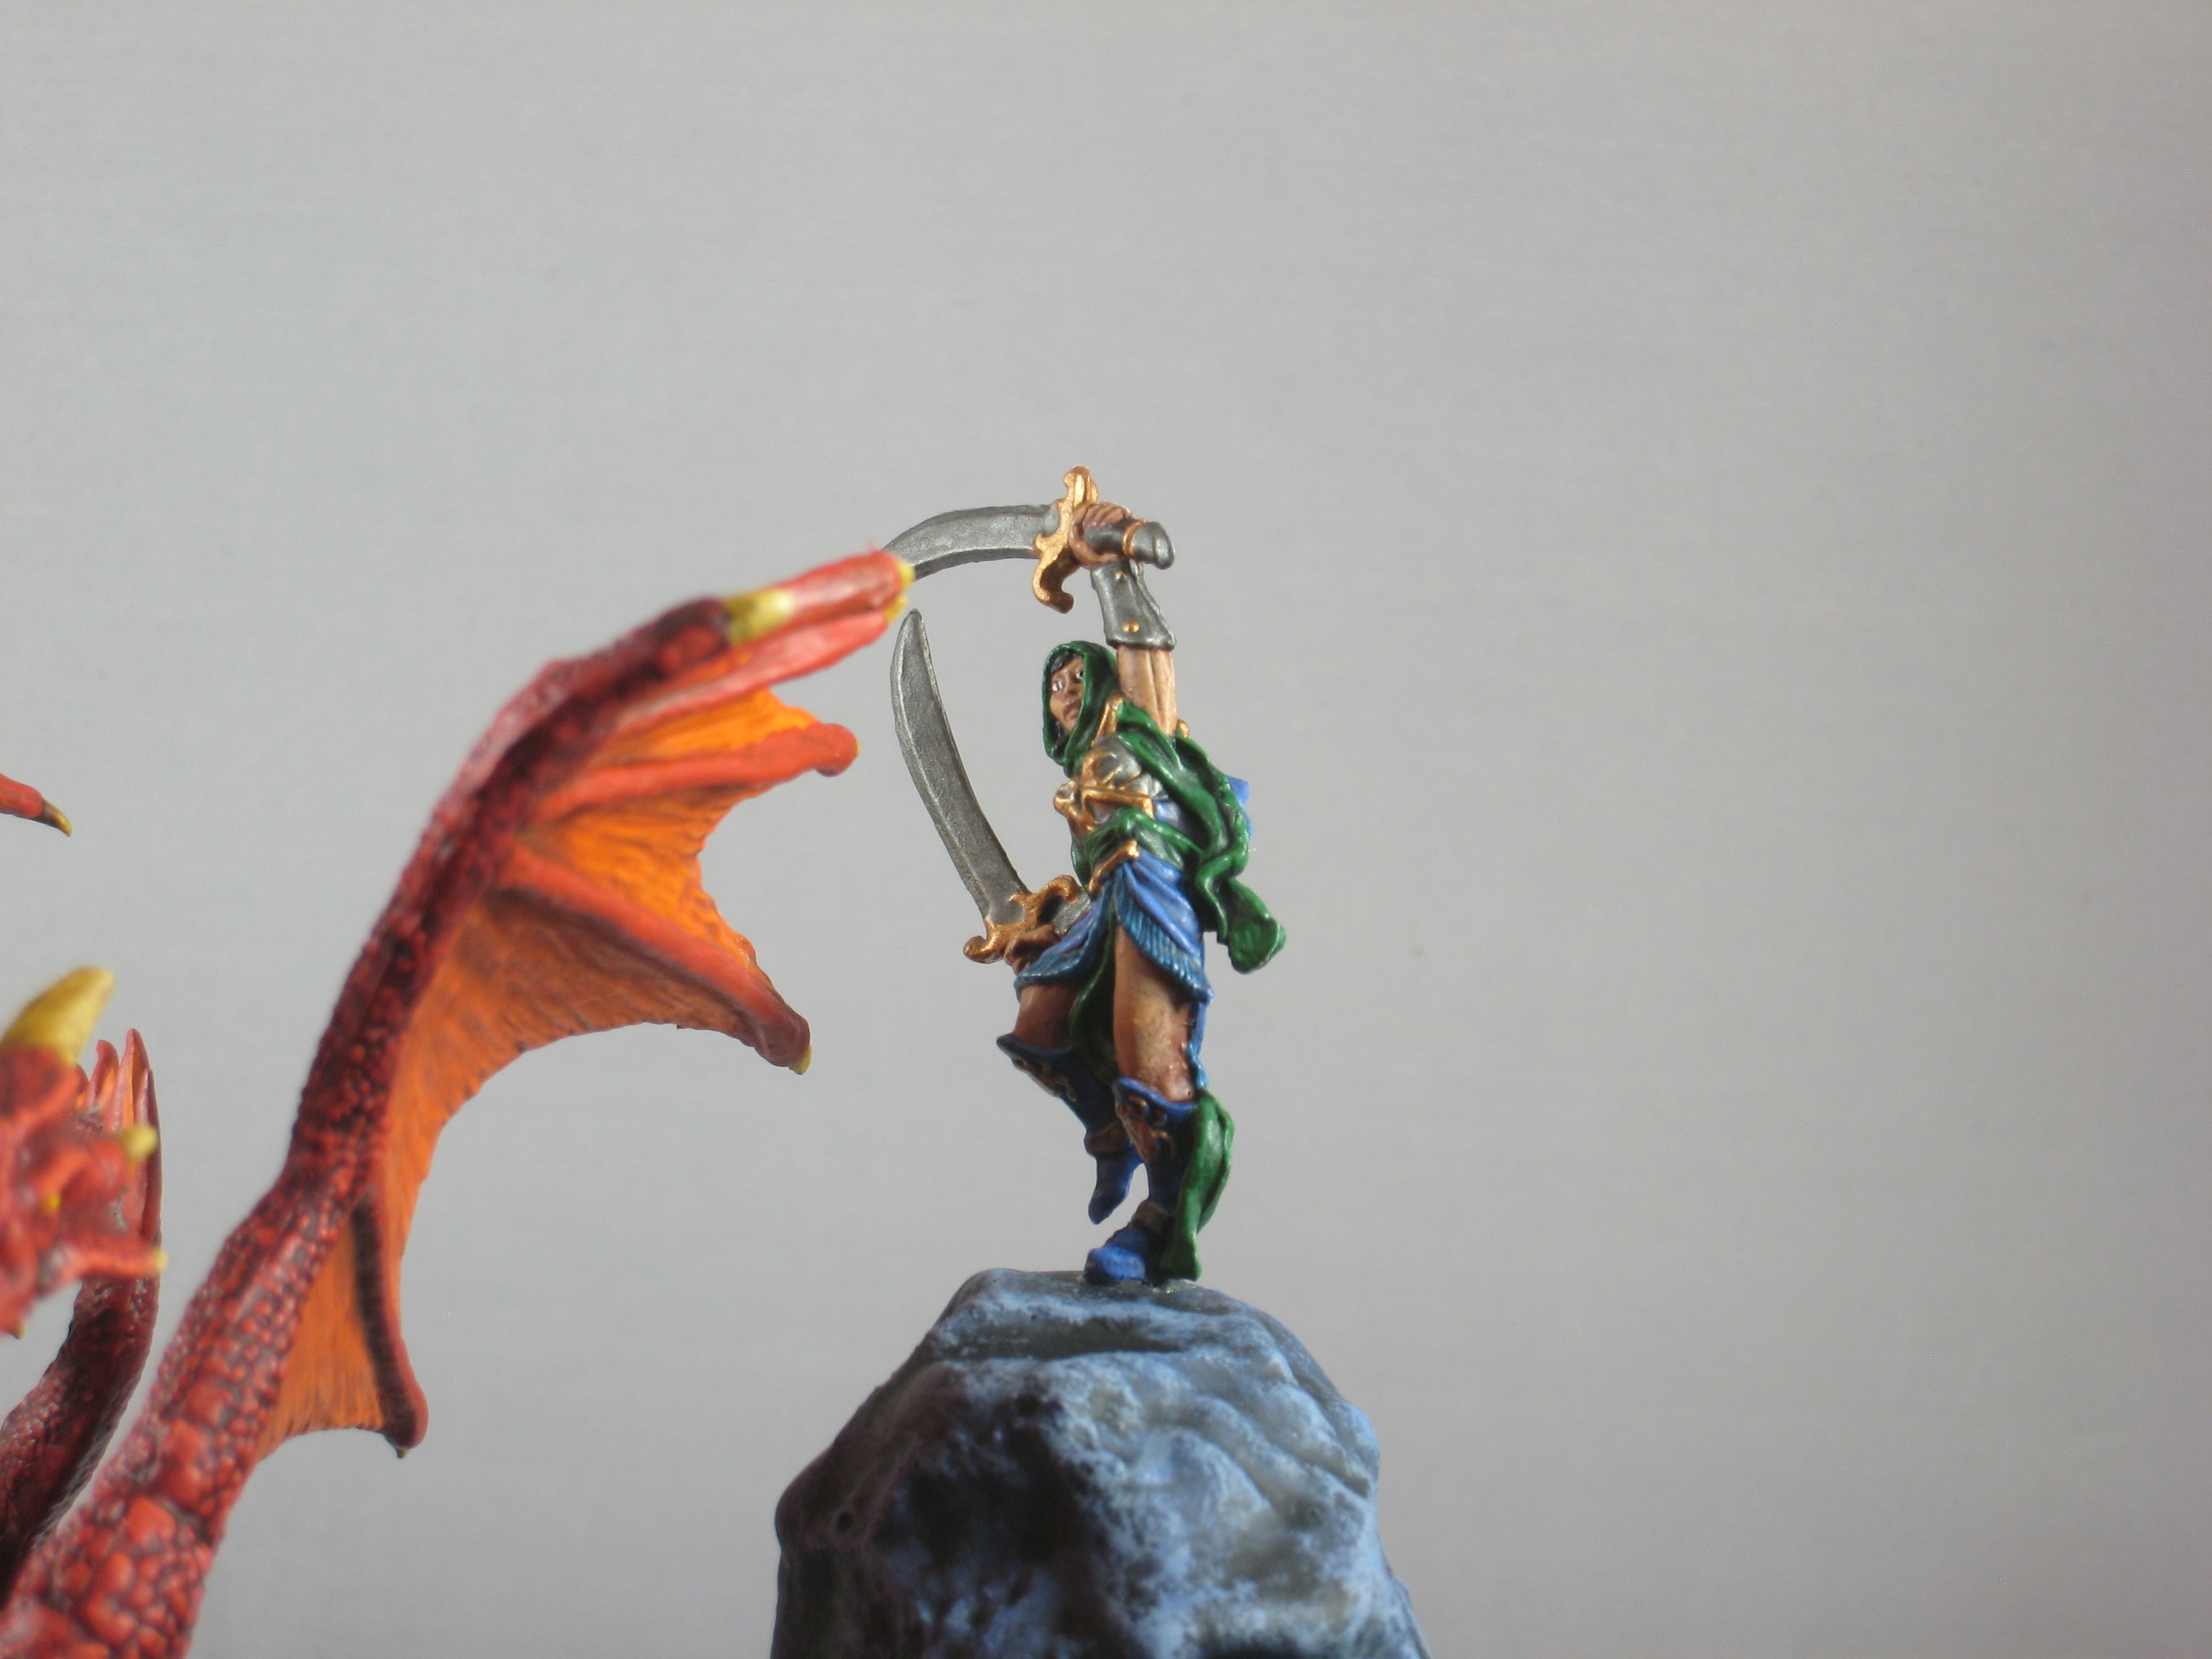
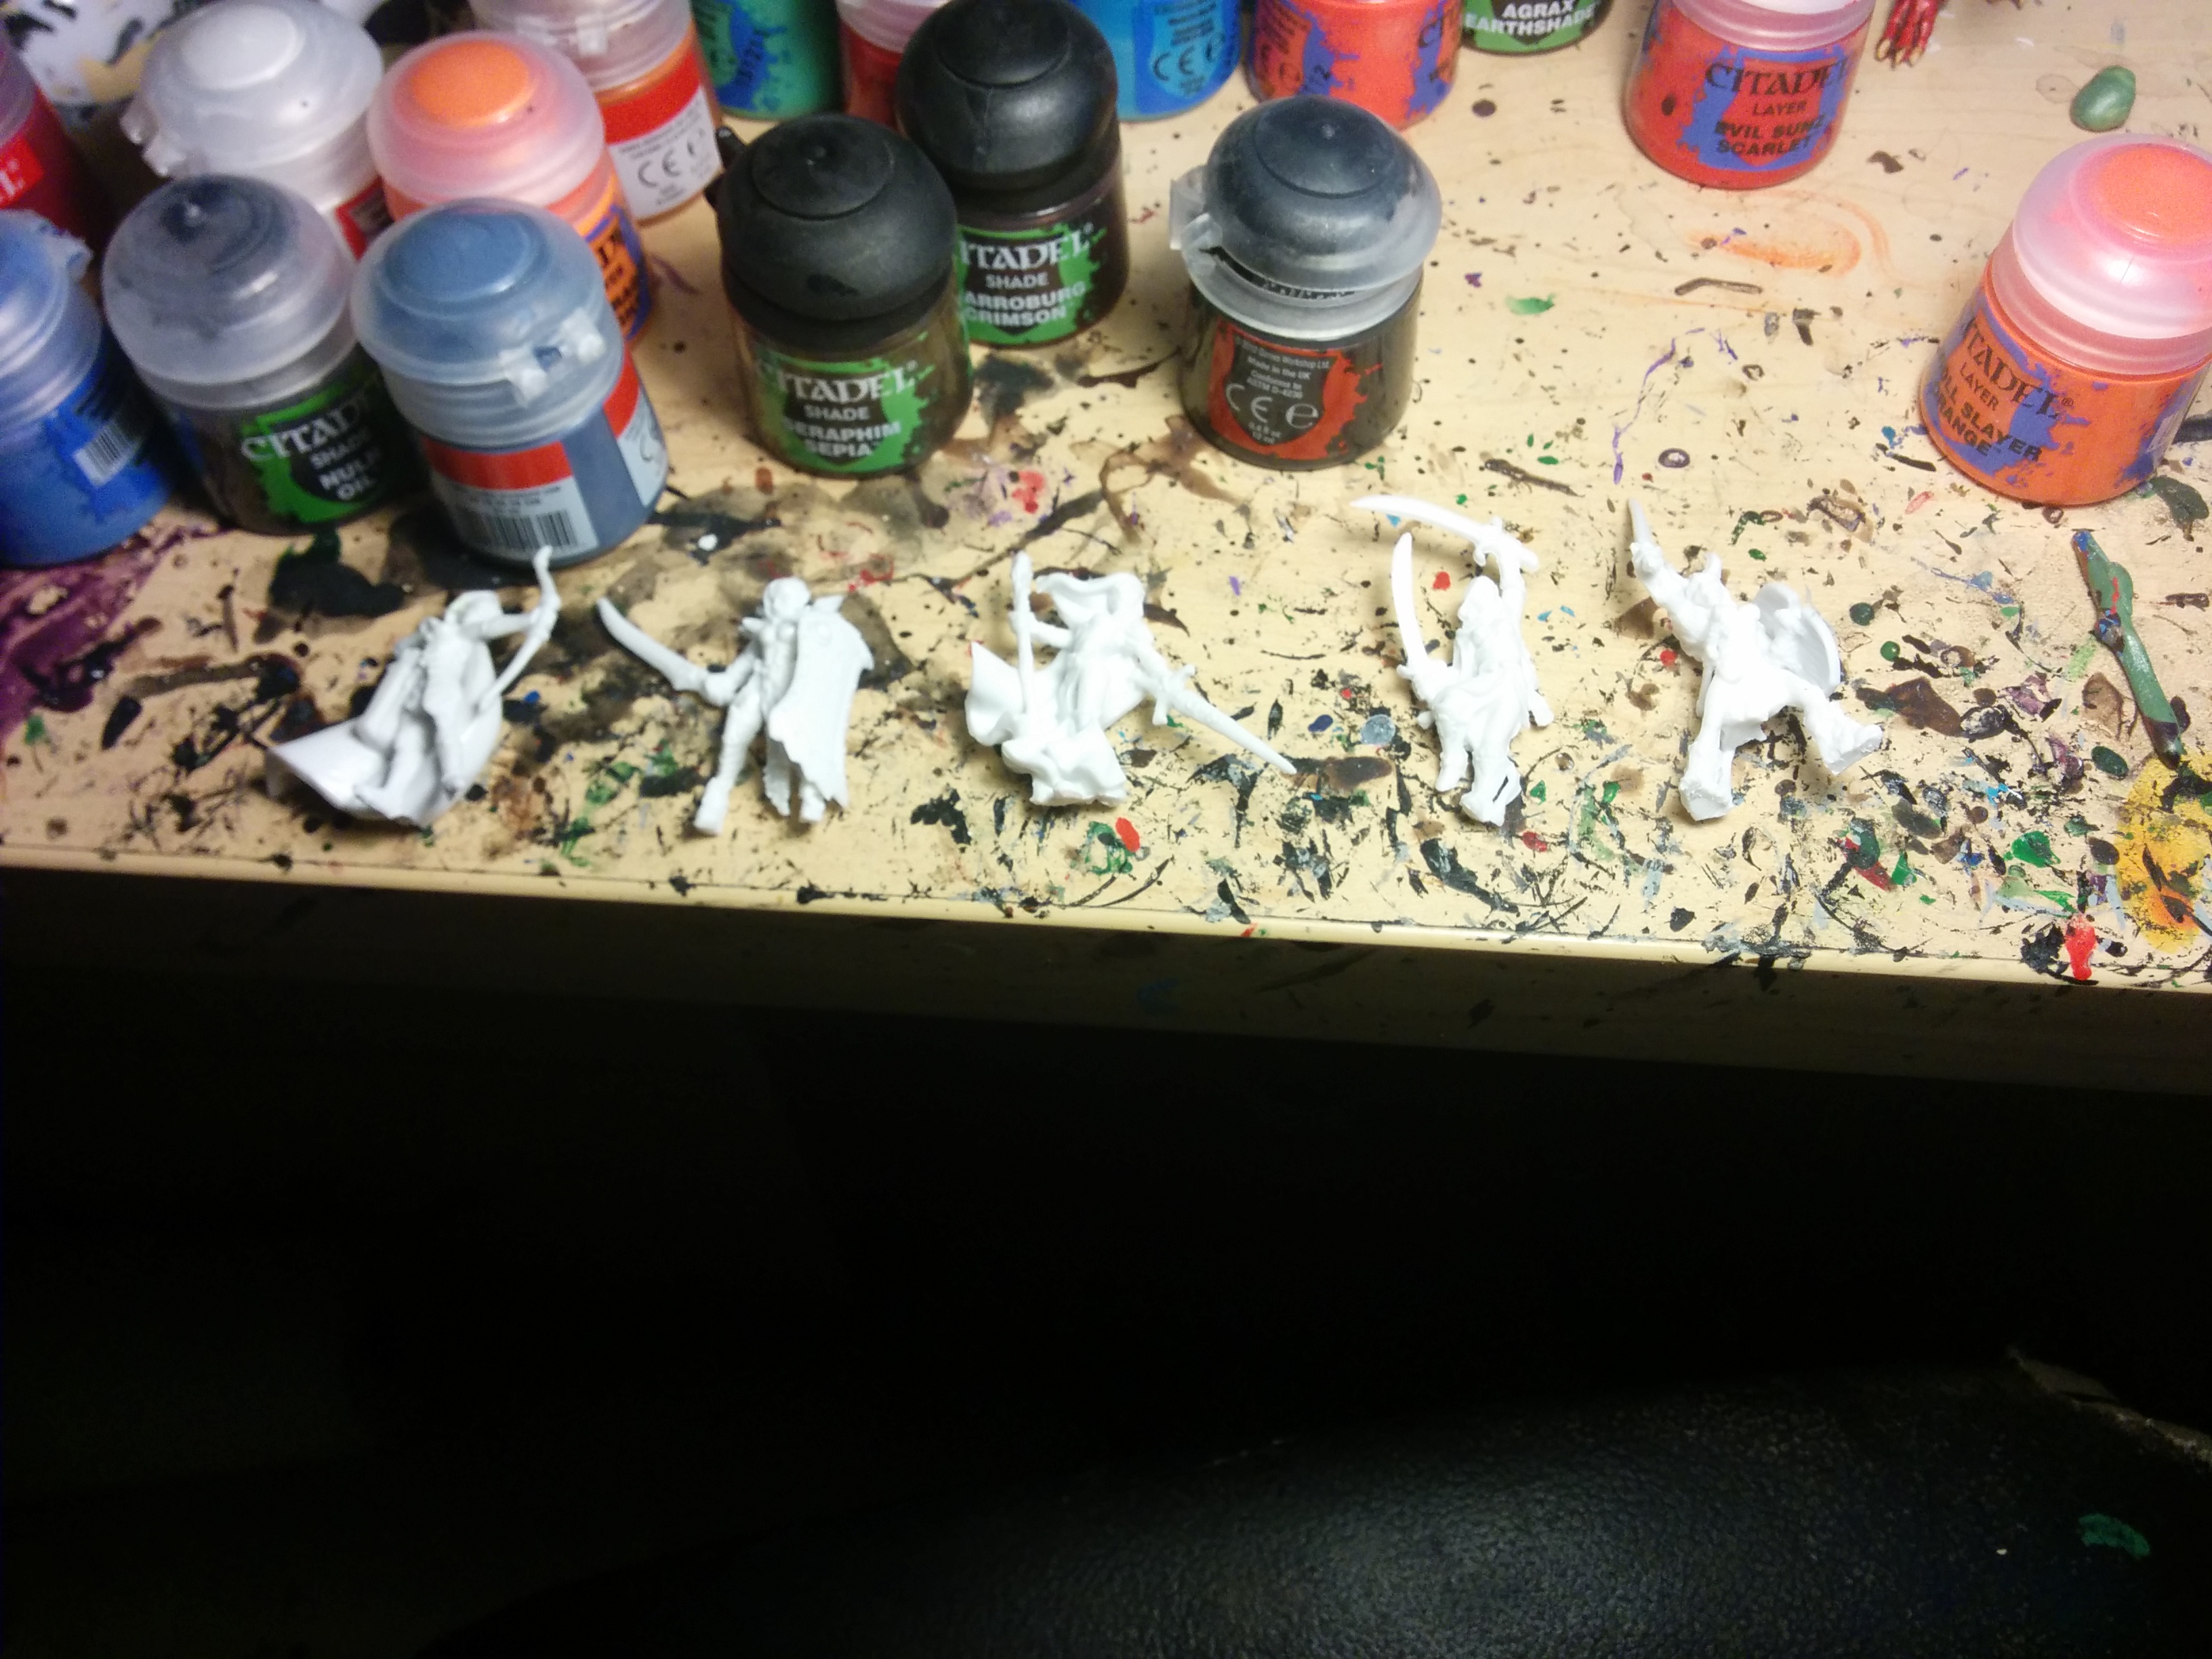
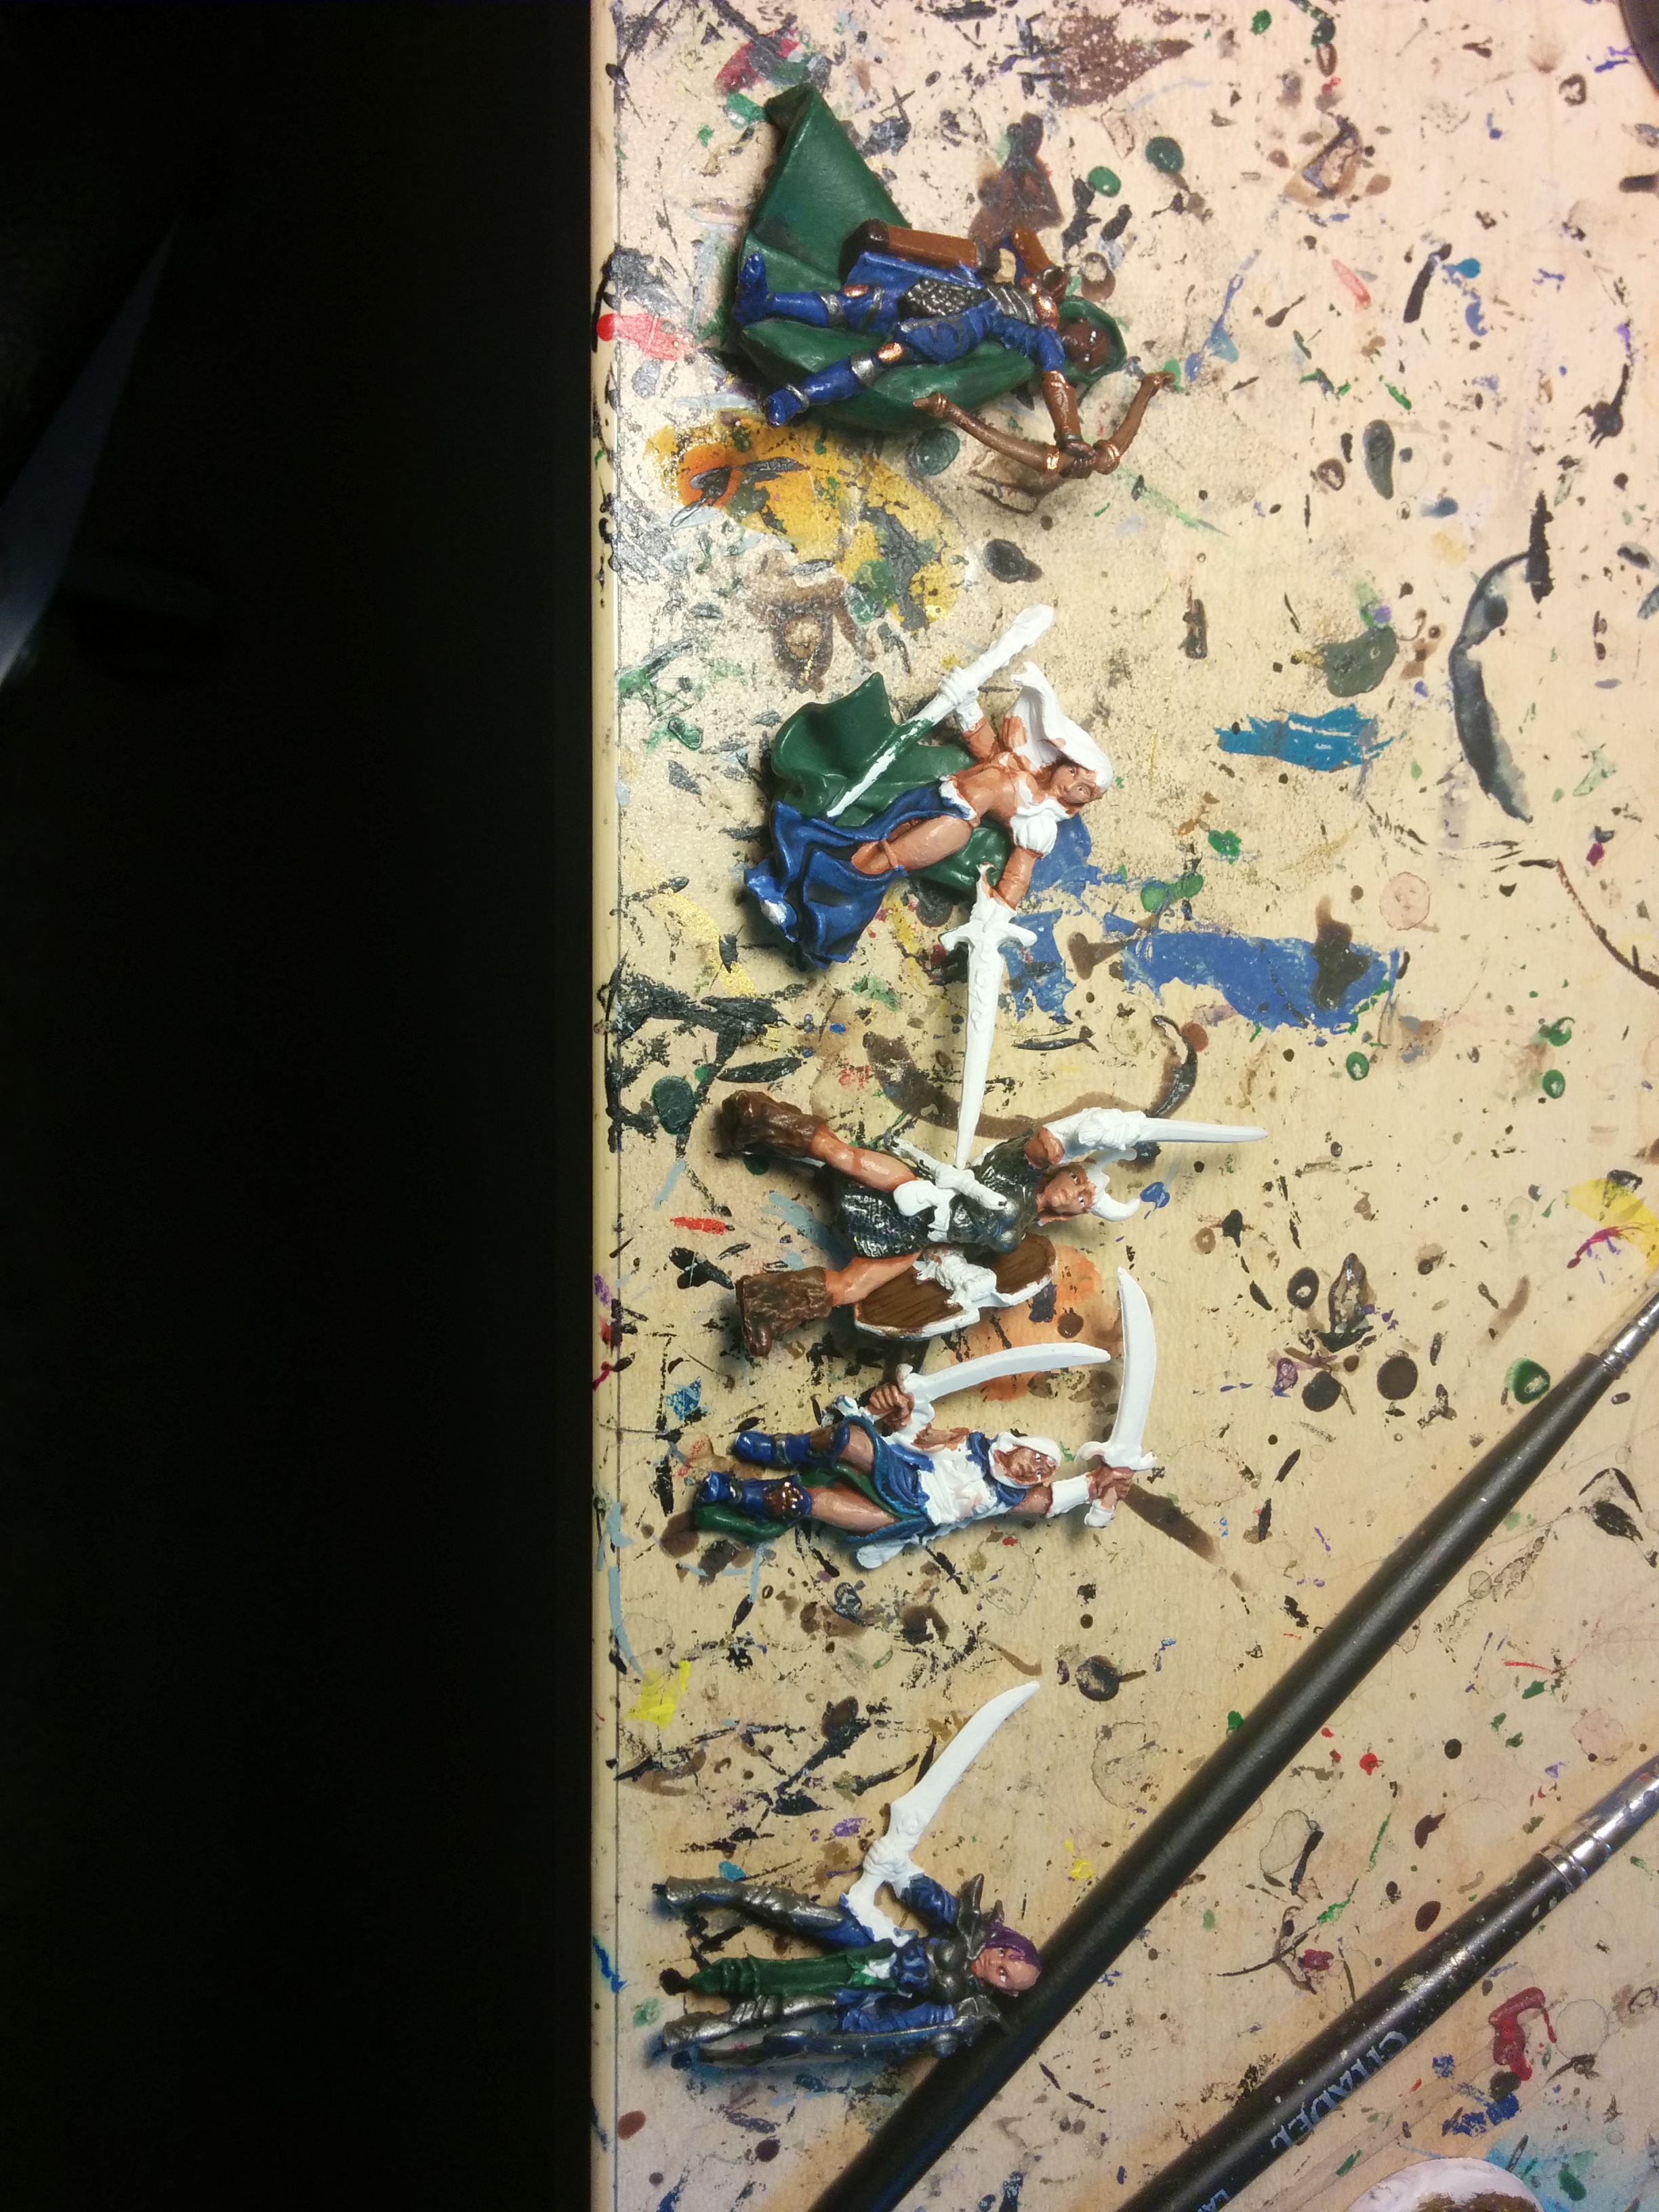
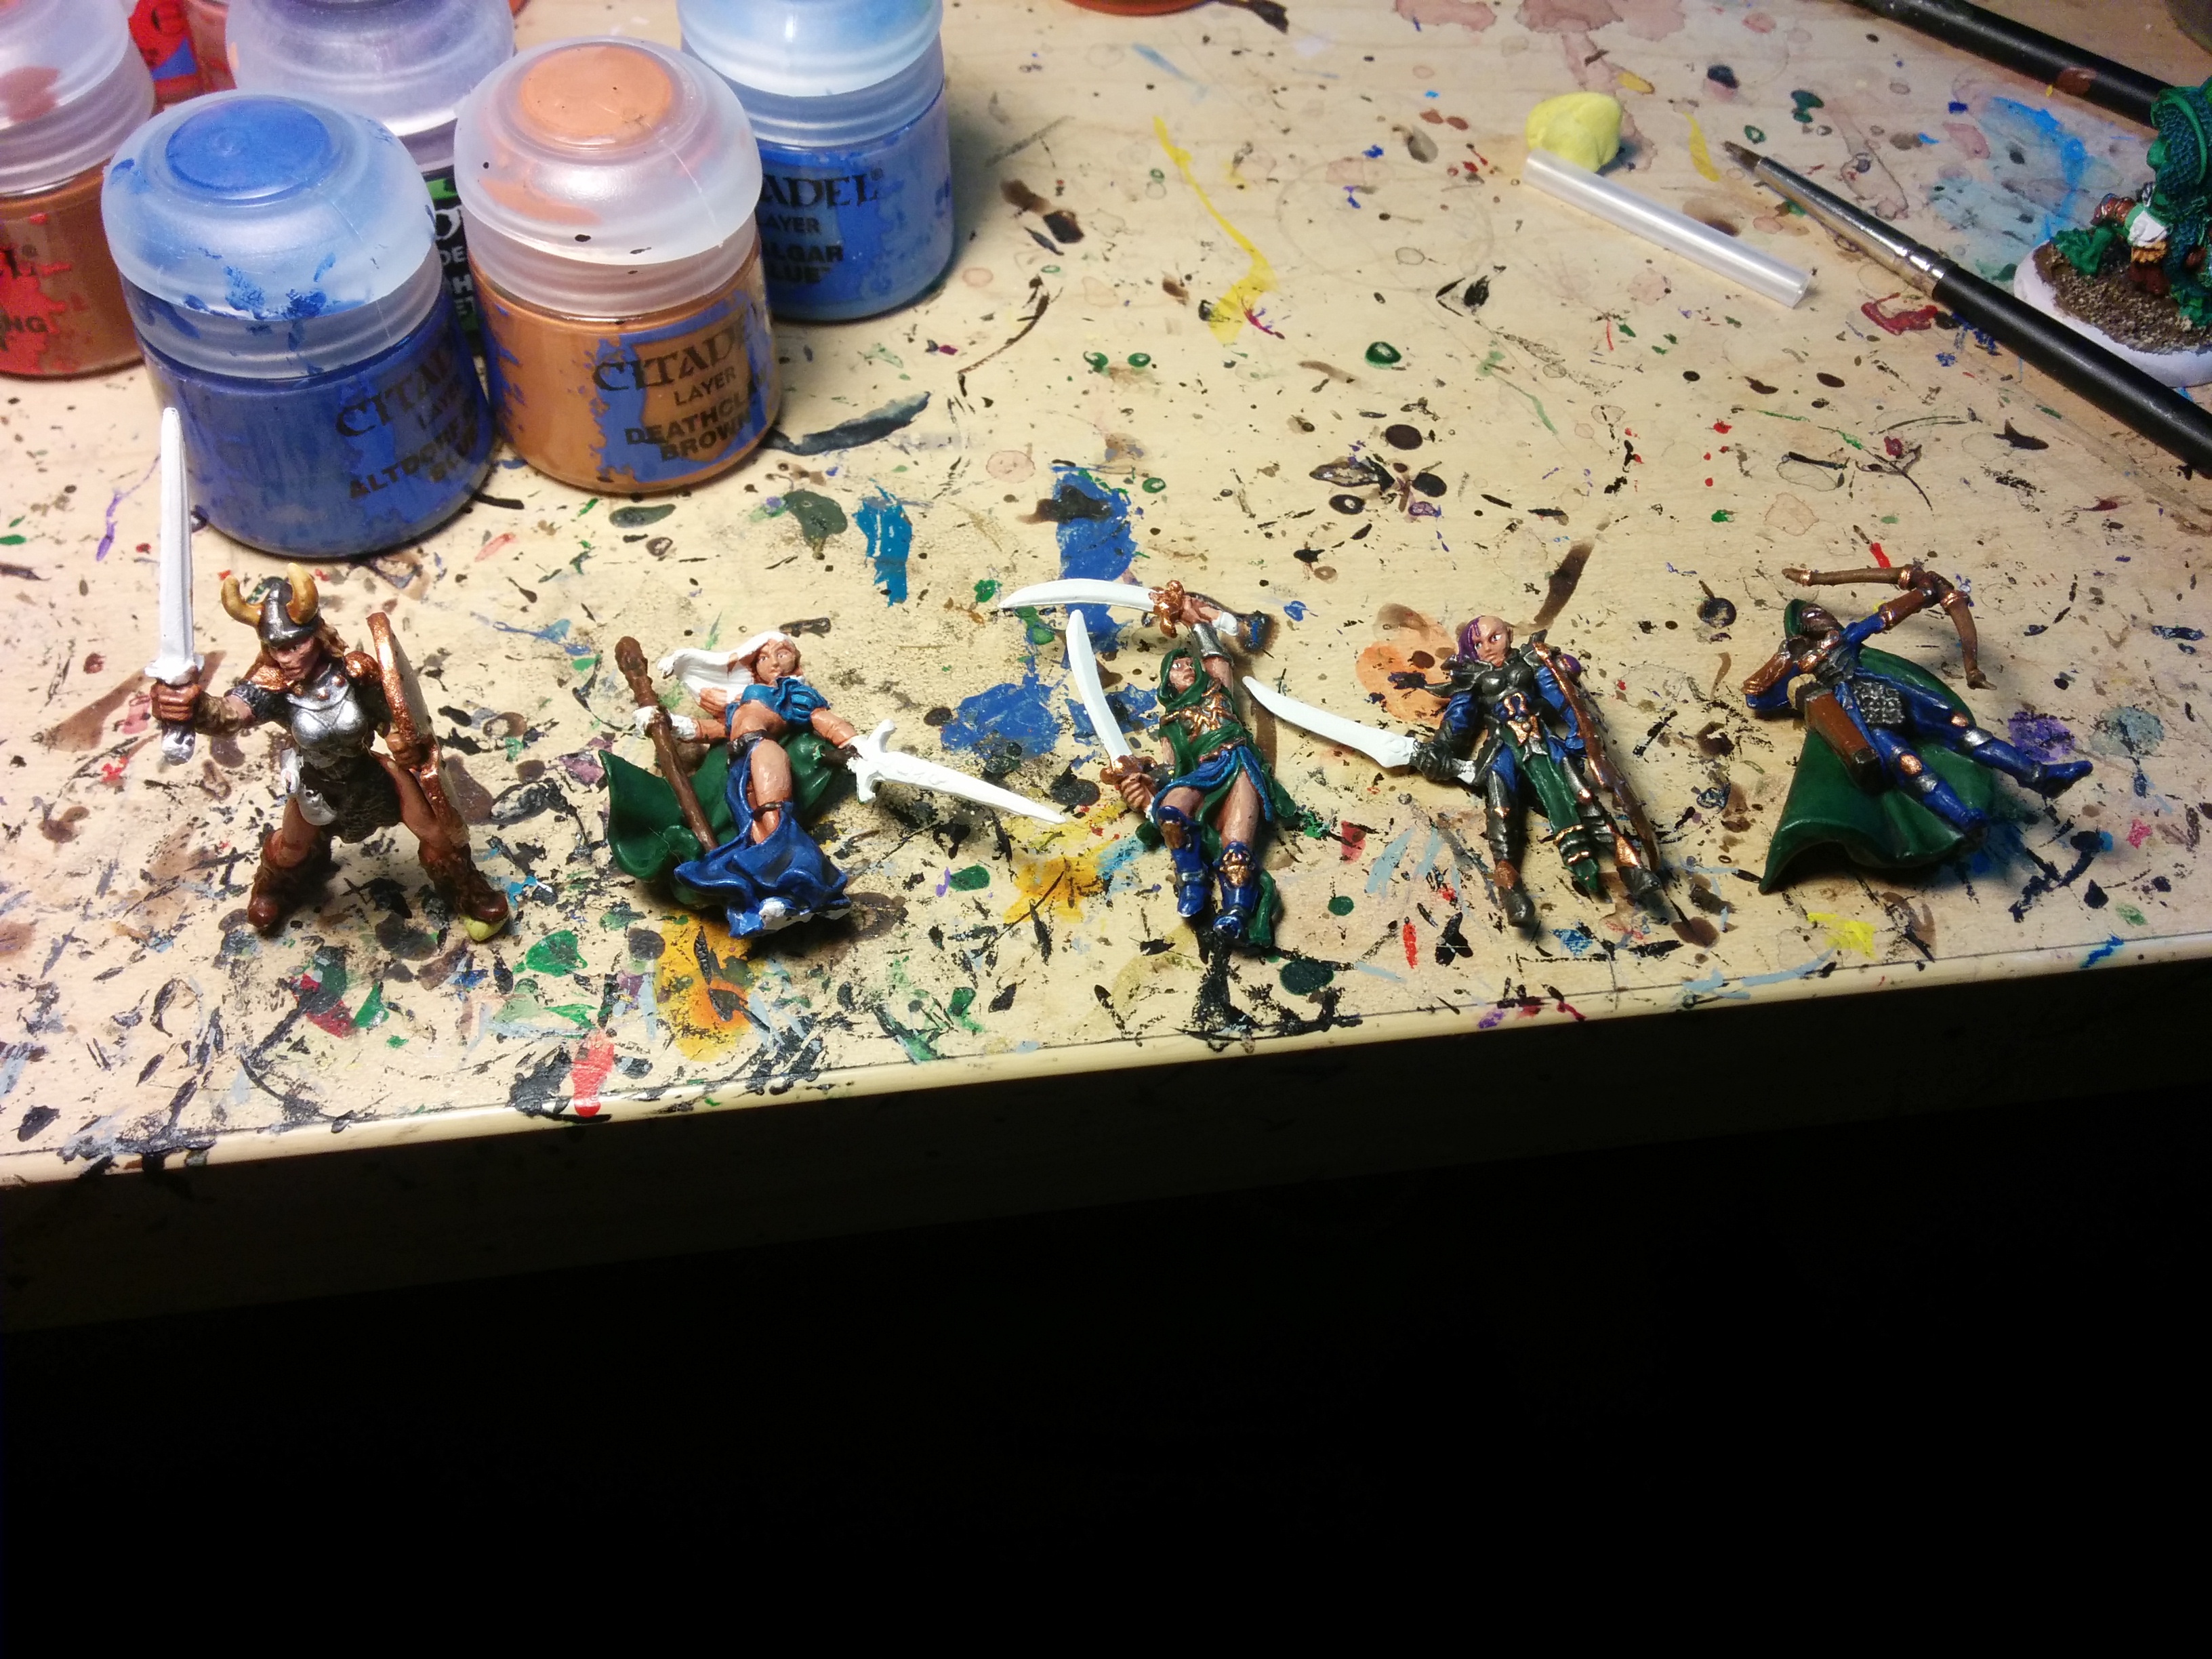
For some reason (racism?) my camera refused to take in-focus pictures of Ranger. You can see her pretty well in some of the above pictures though.Barbarian bravely/stupidly confronts the dragon head-on!Mage apparently doesn’t believe in armor or staying warm.
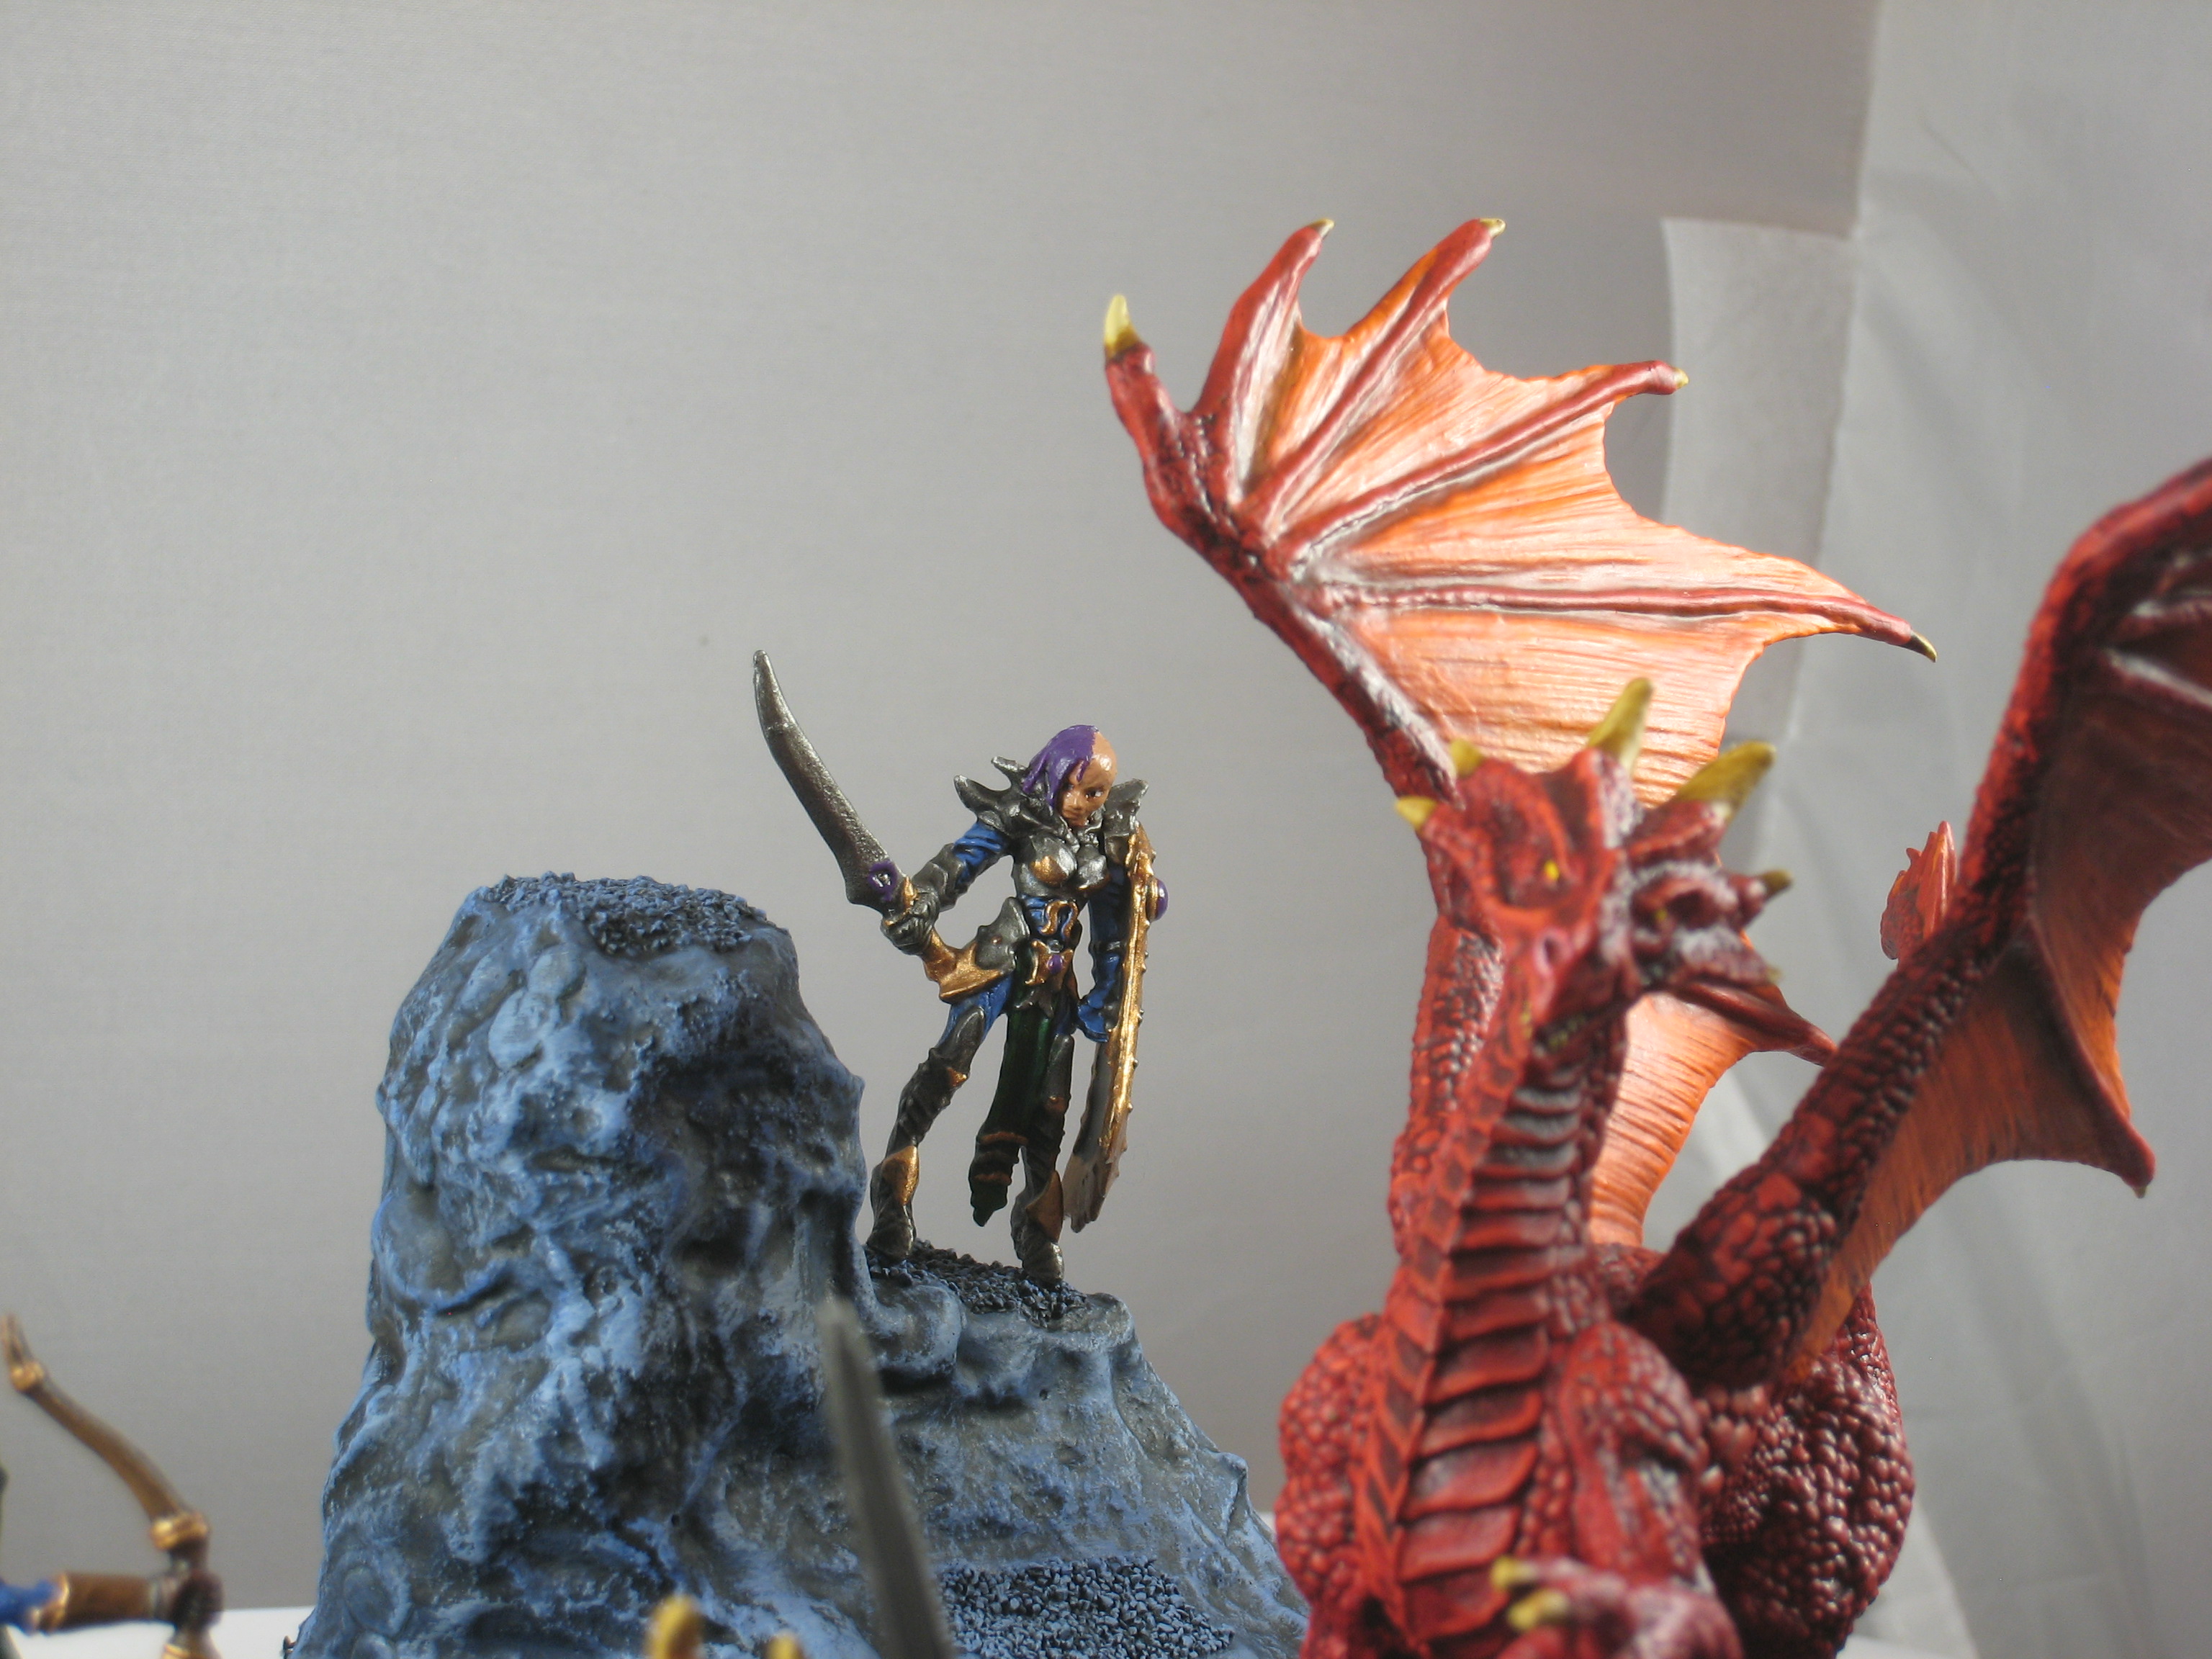
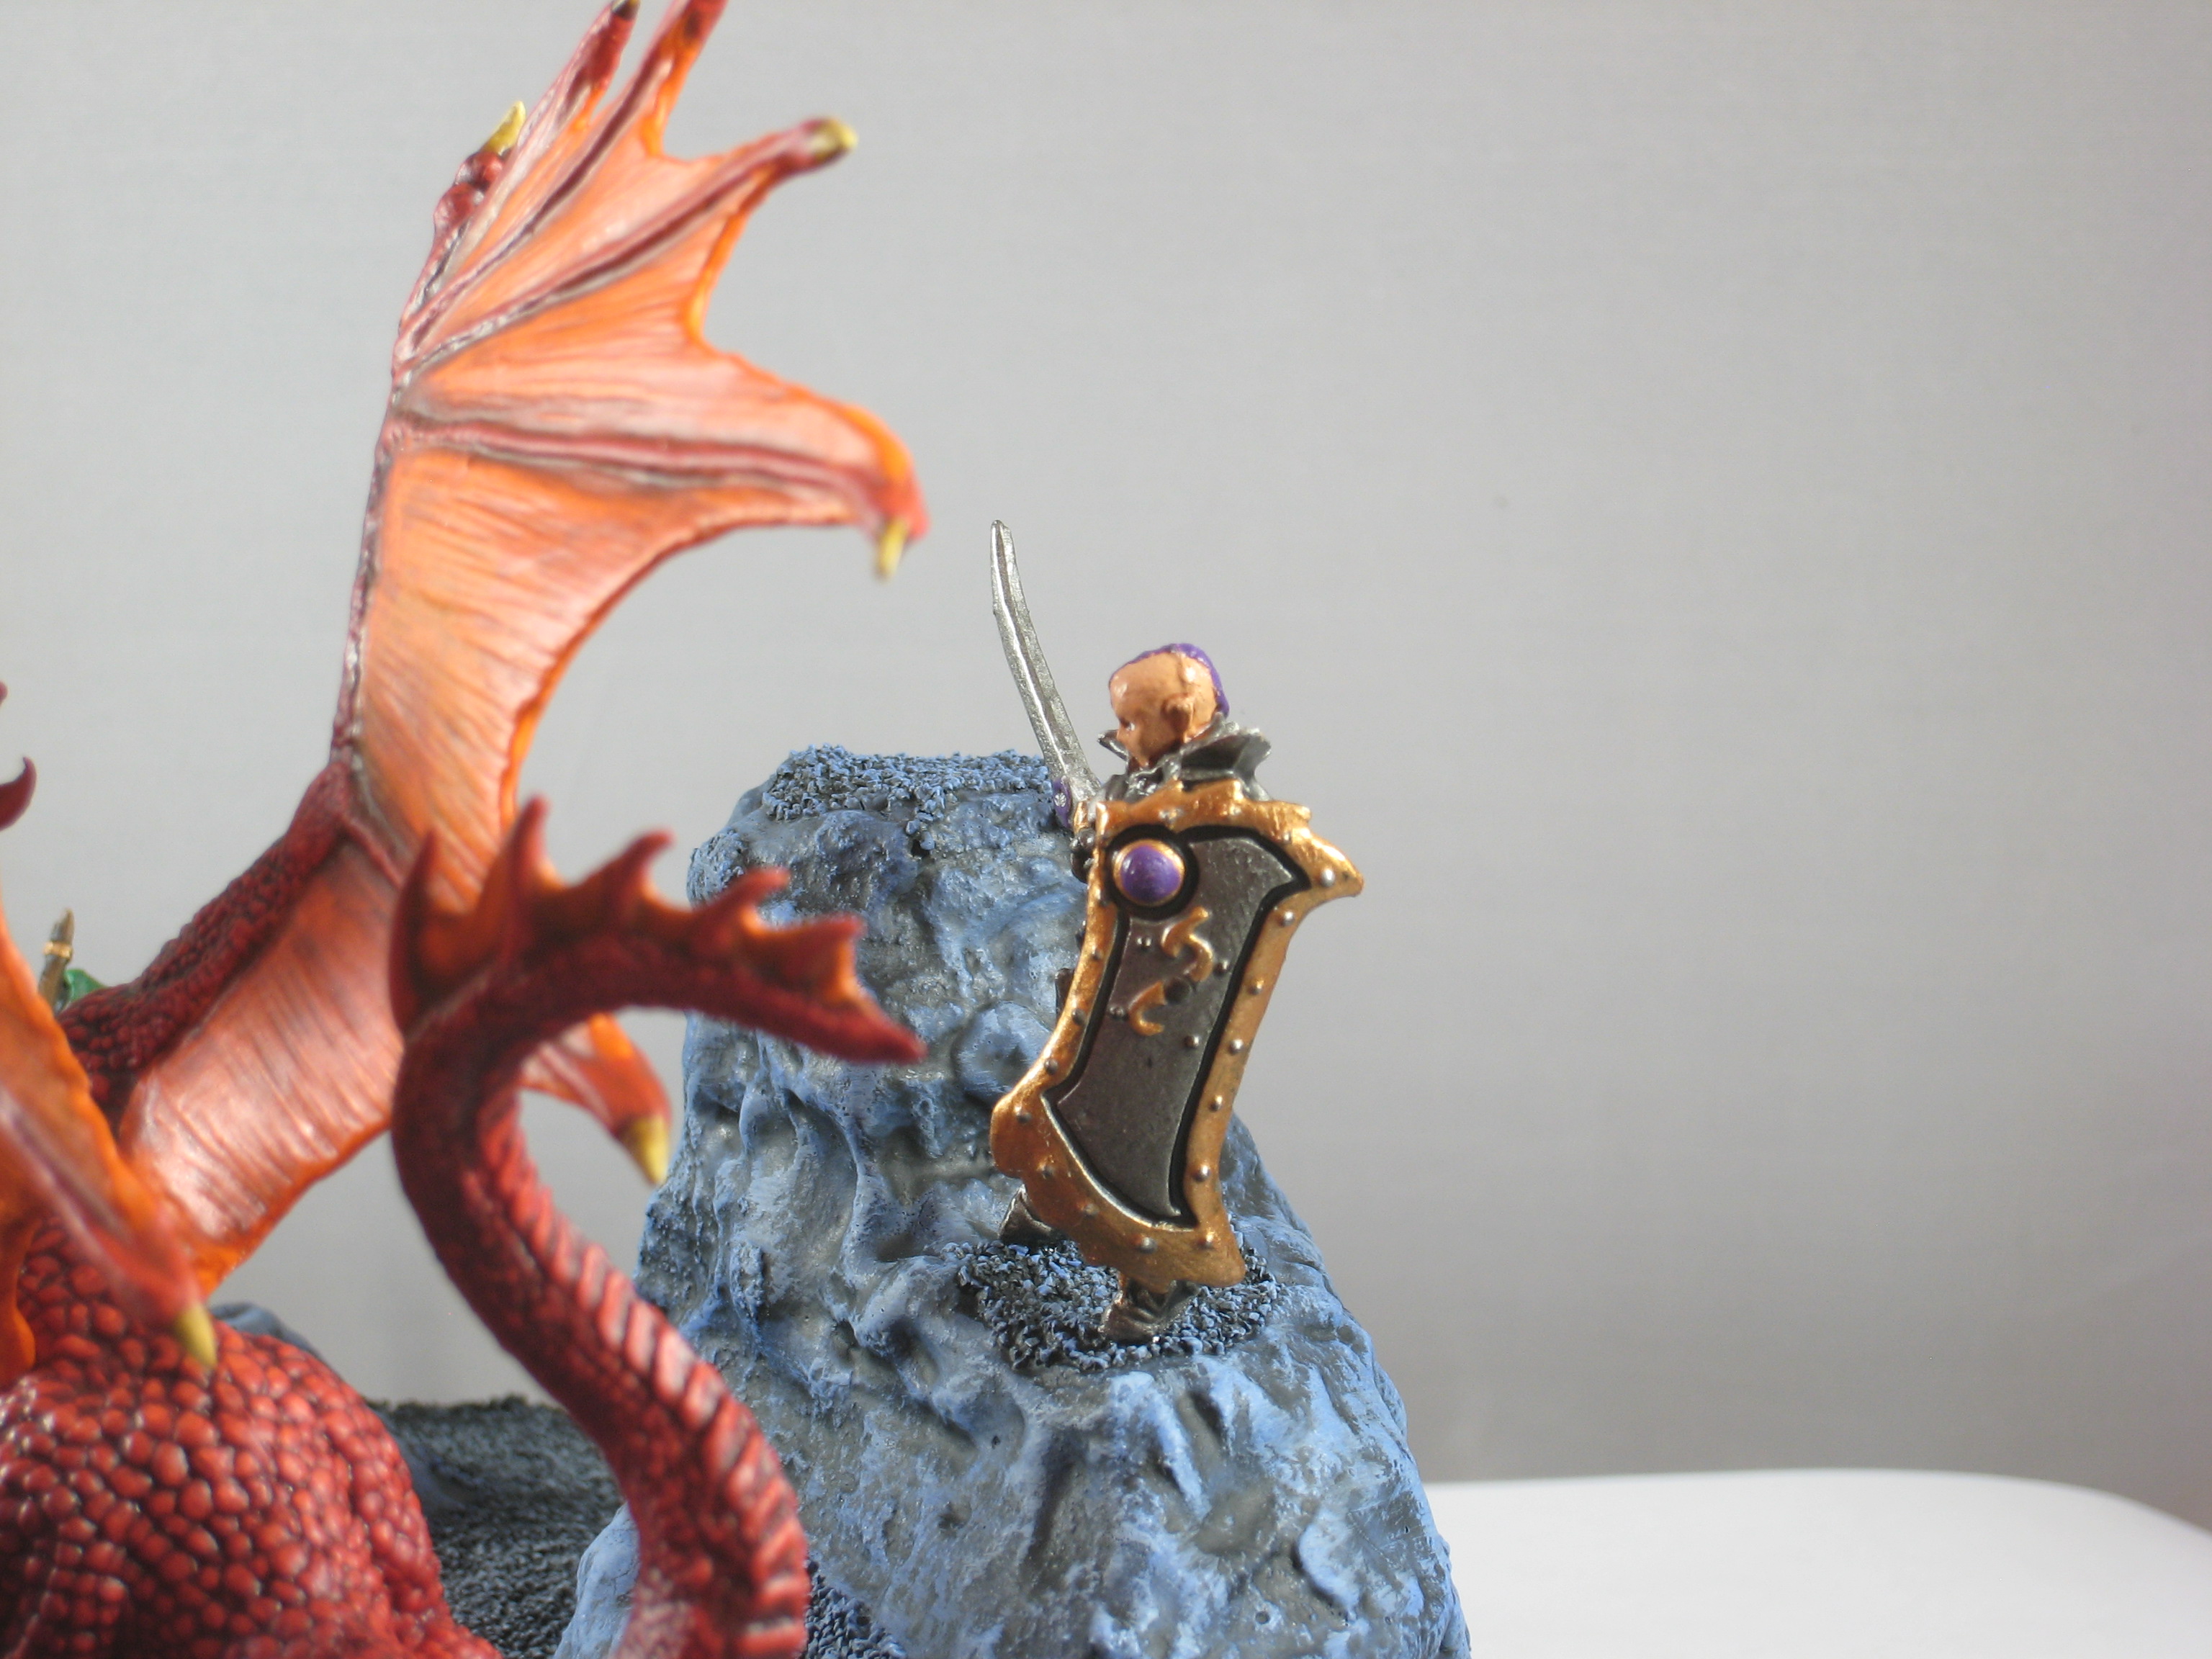
Rogue somewhat more sensibly decides to strike from above.Paladin is a worshipper of the mysterious Gods of Punk. She should really be tanking, too, but with her head pointed the way it is she’d be looking at her shoes.Her shield has the full complement of Pointless Fantasy Doodads!
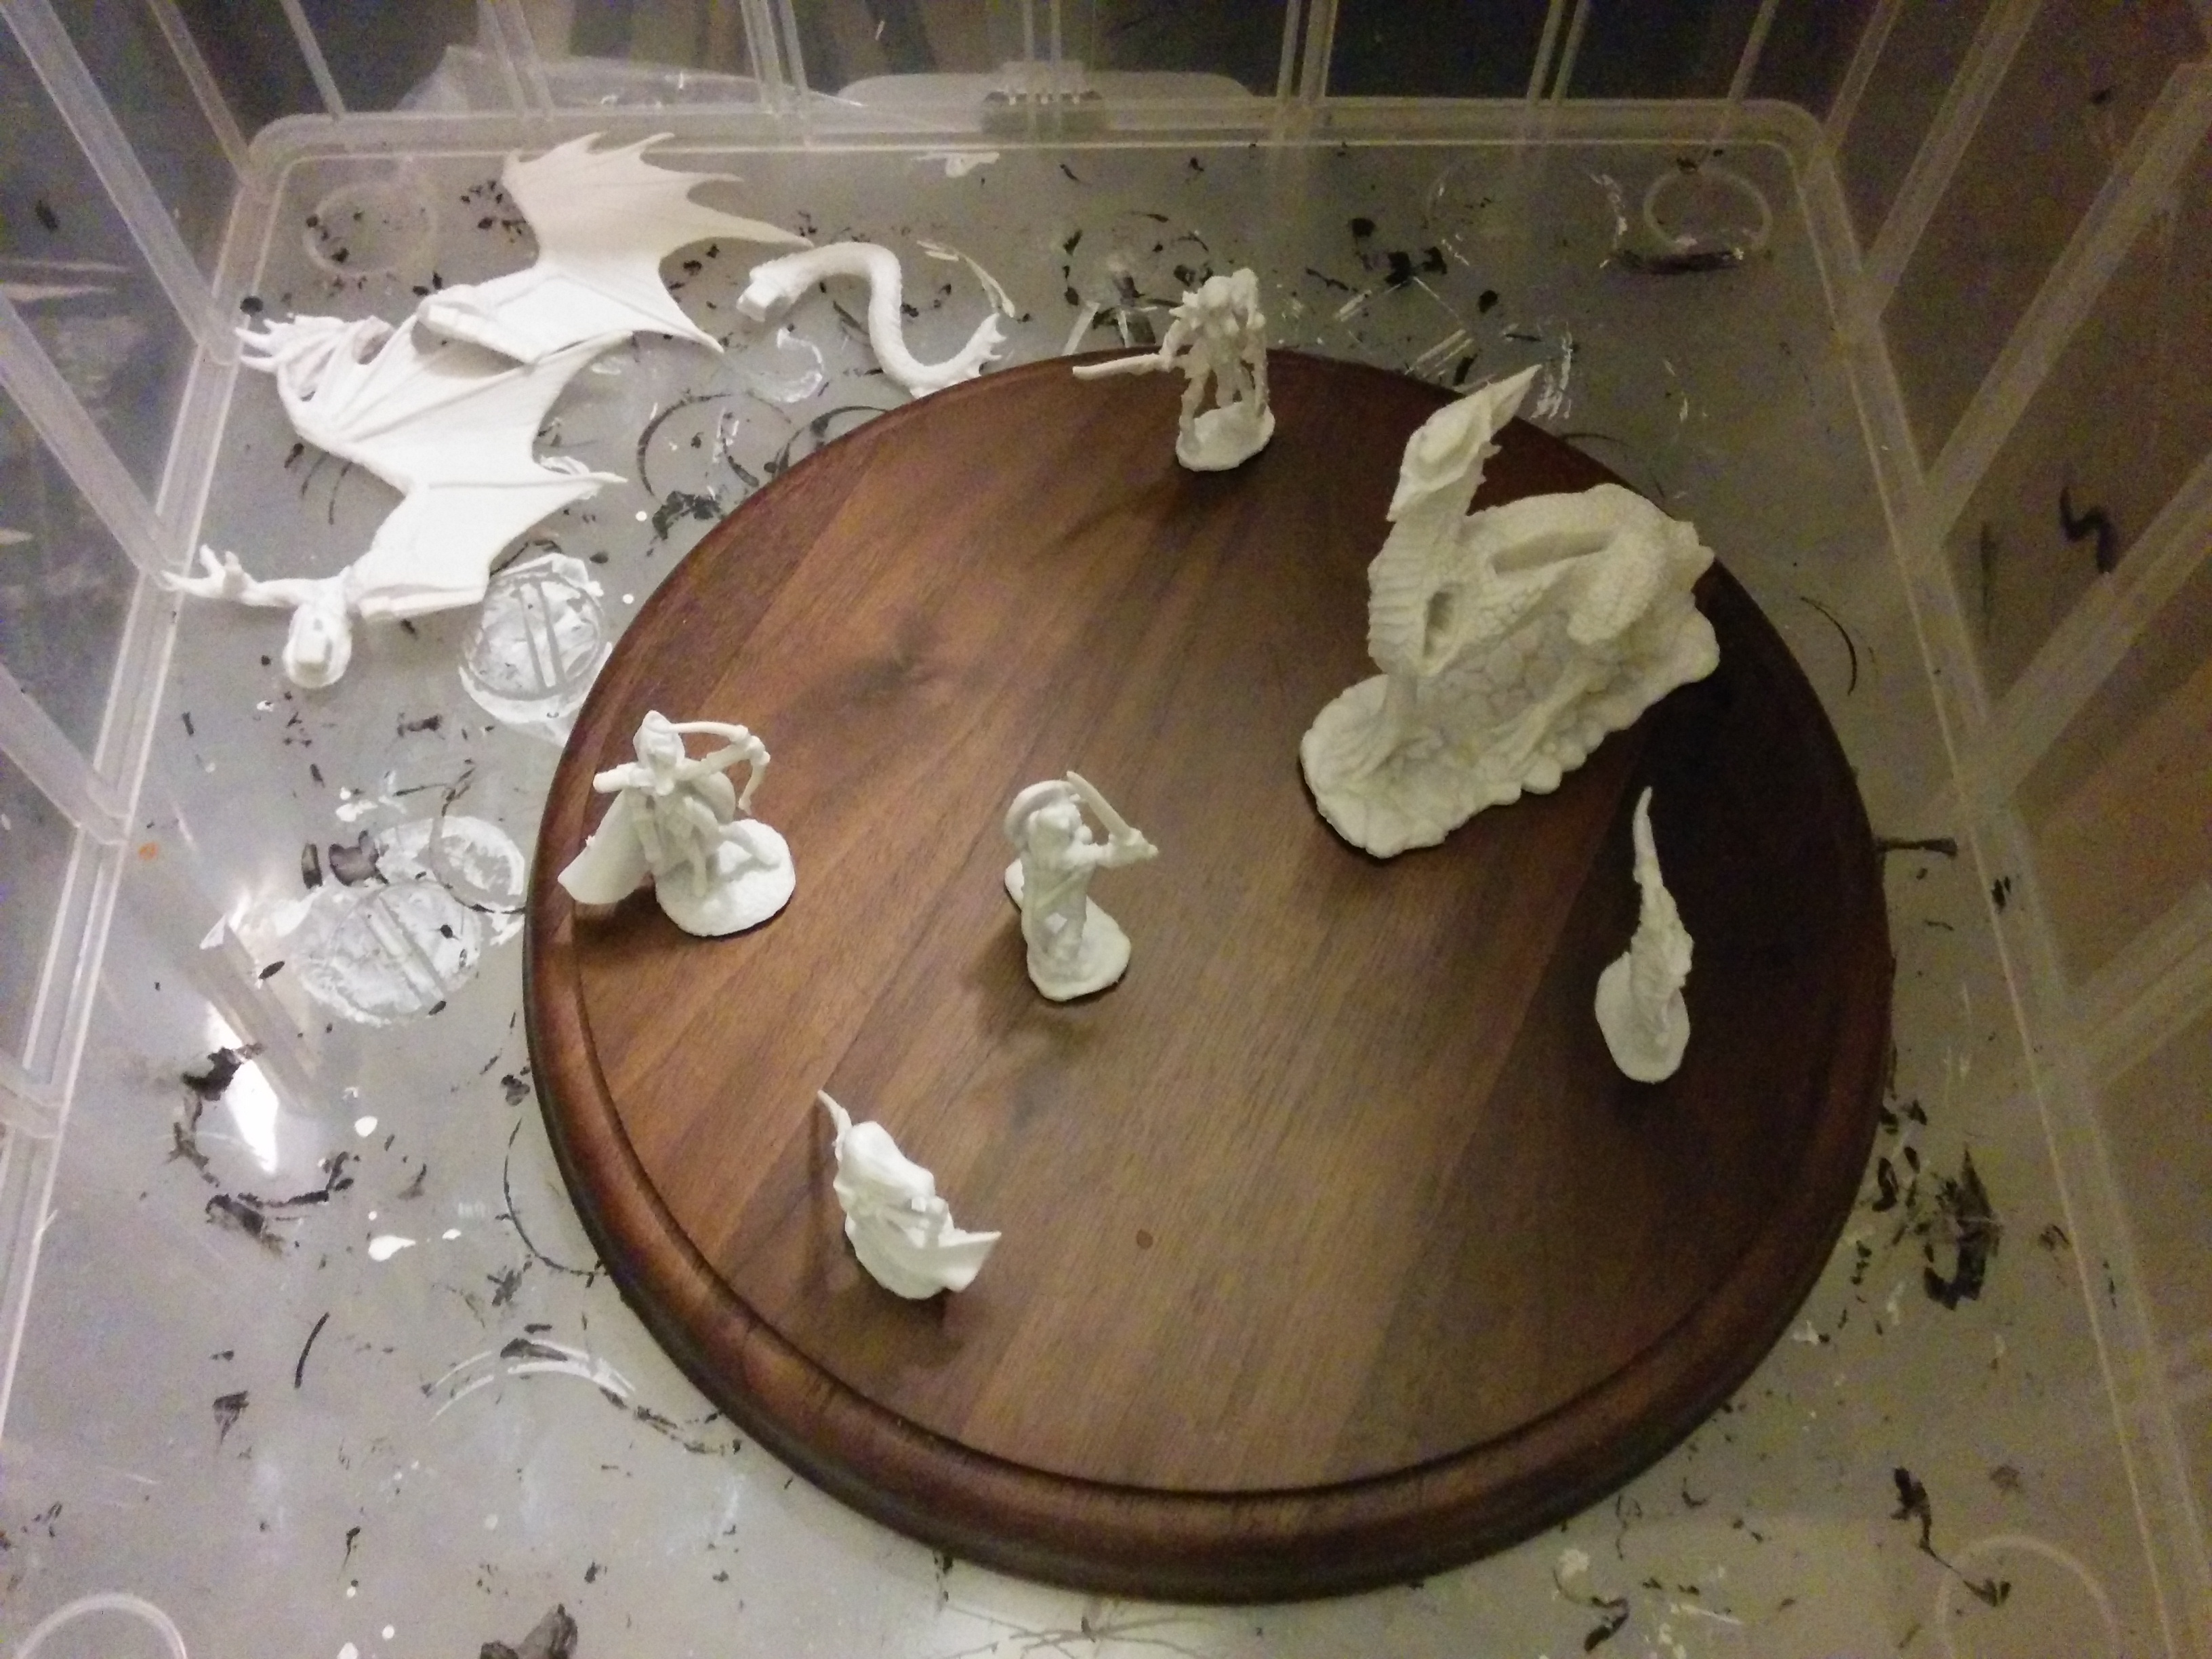
I took a ton of in-process pics while I was building this, along with my own musings, if that’s the sort of thing you find interesting.
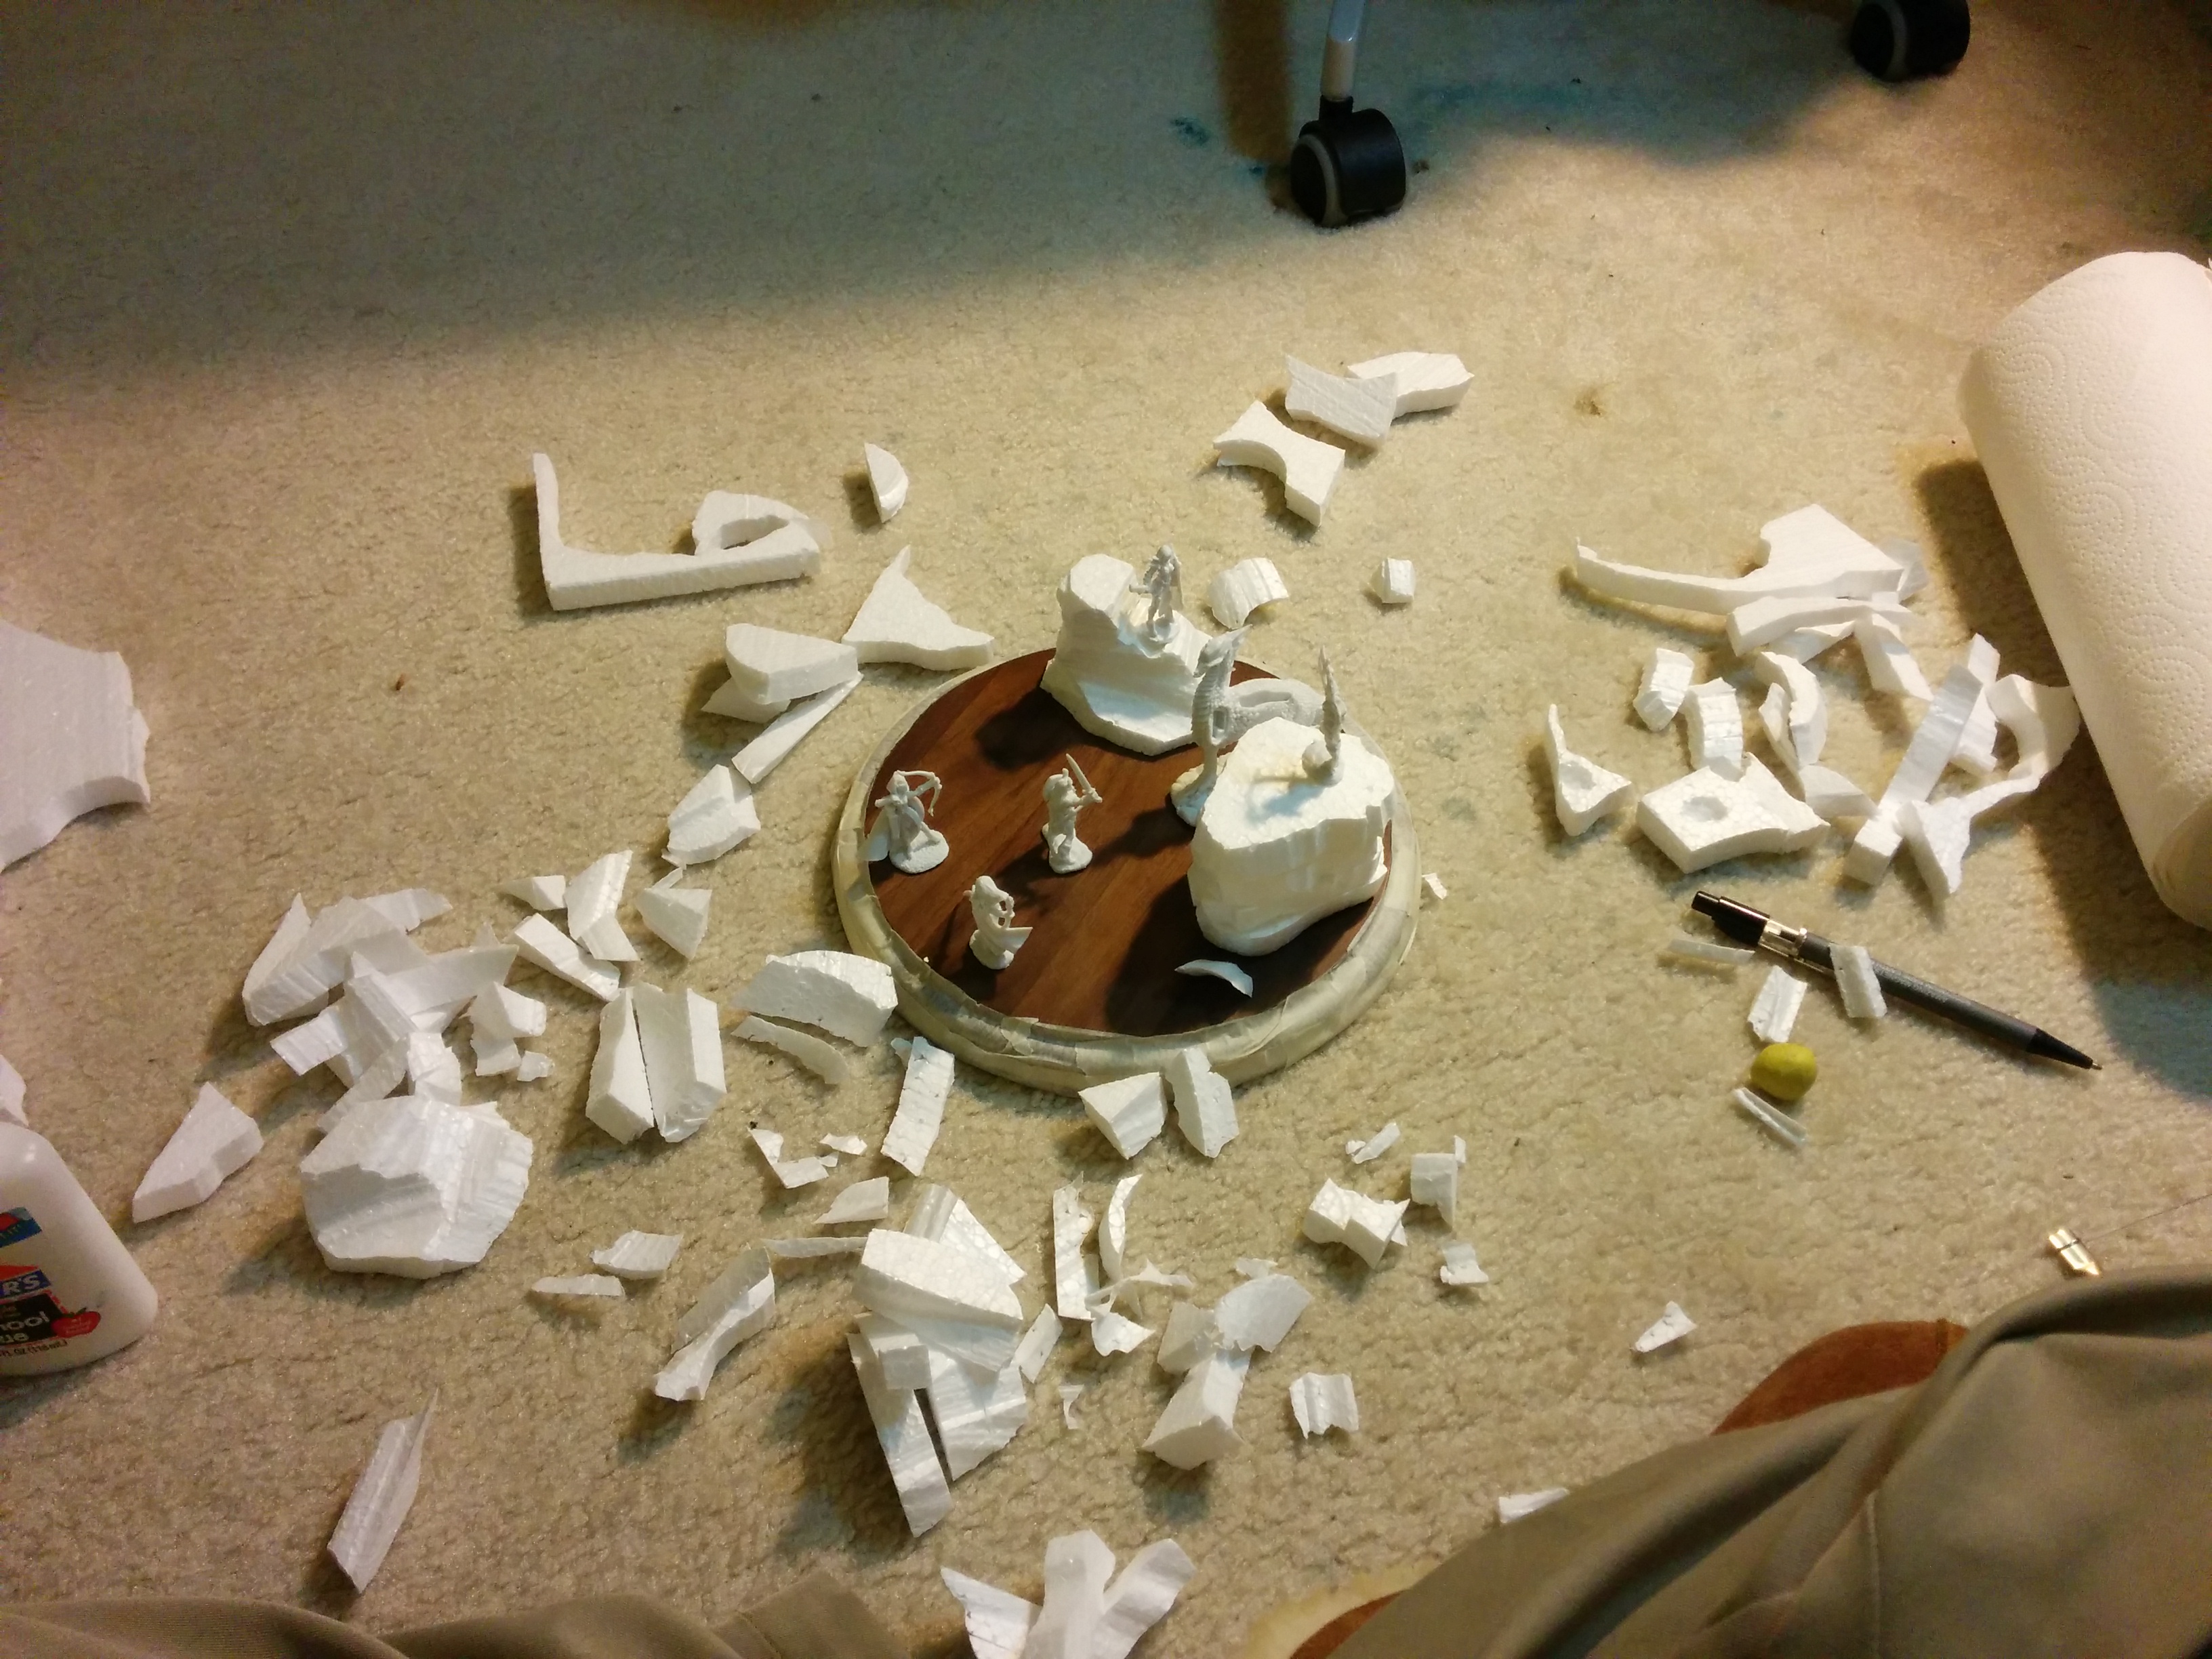
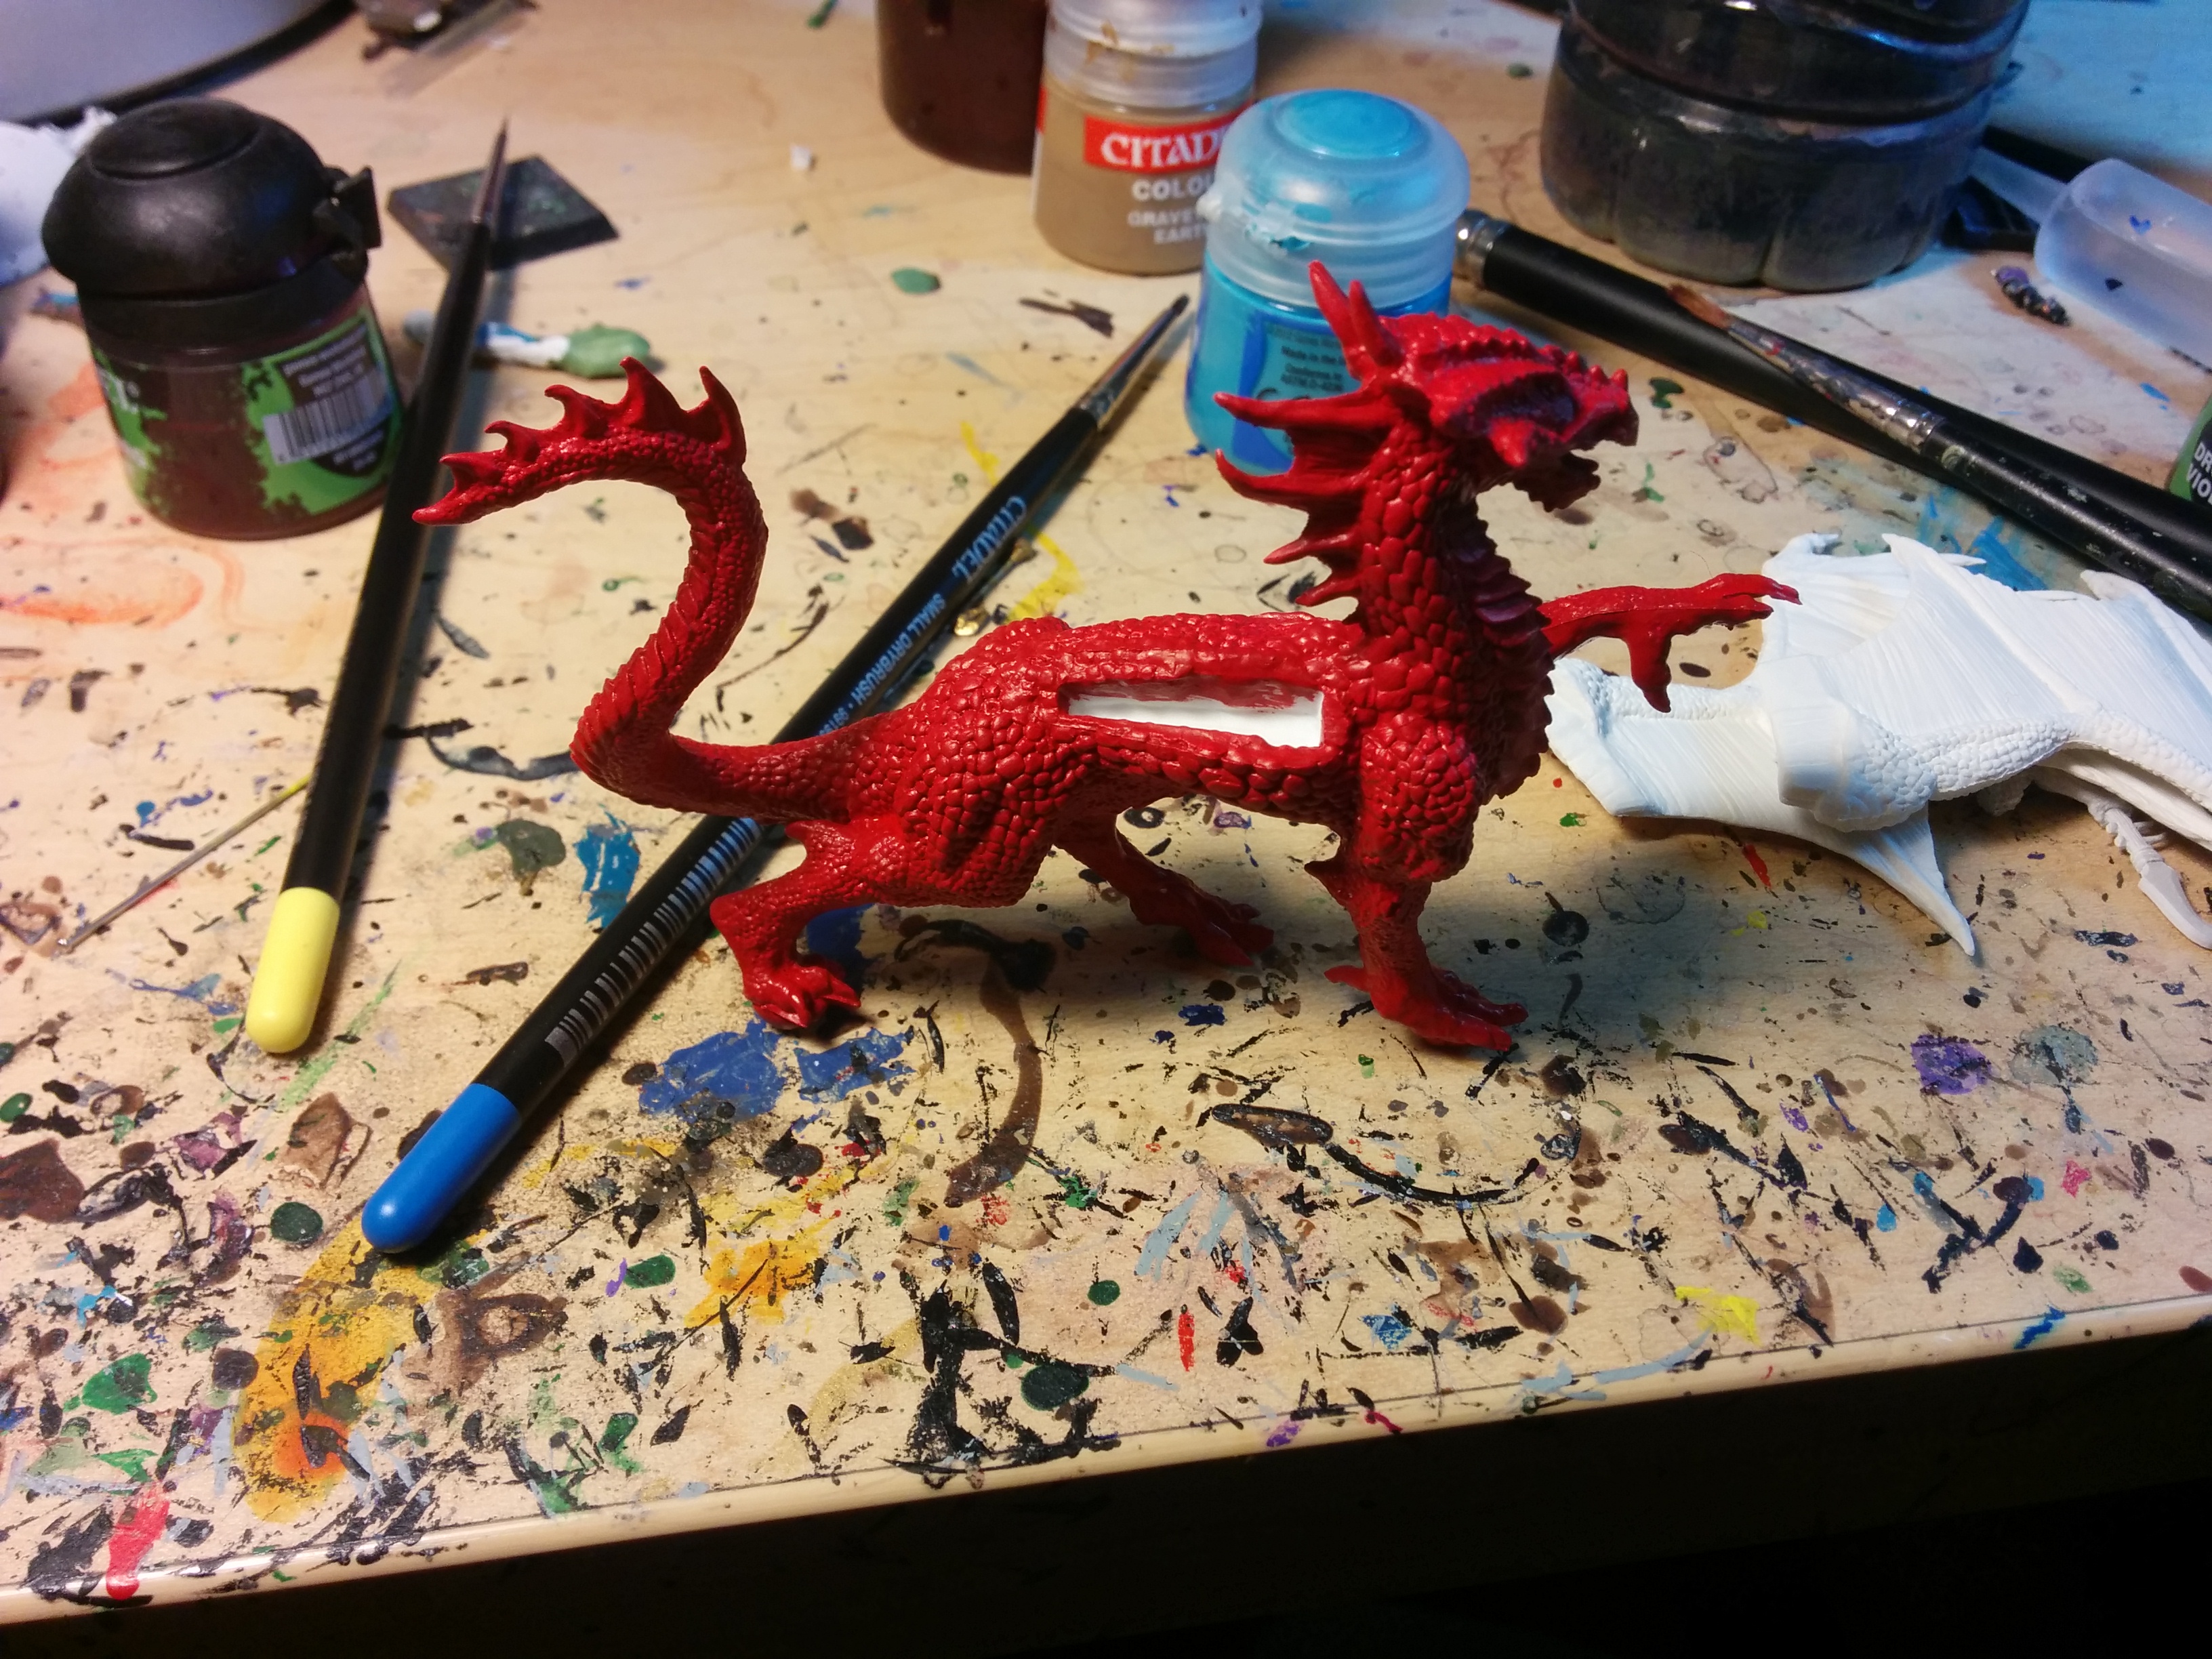
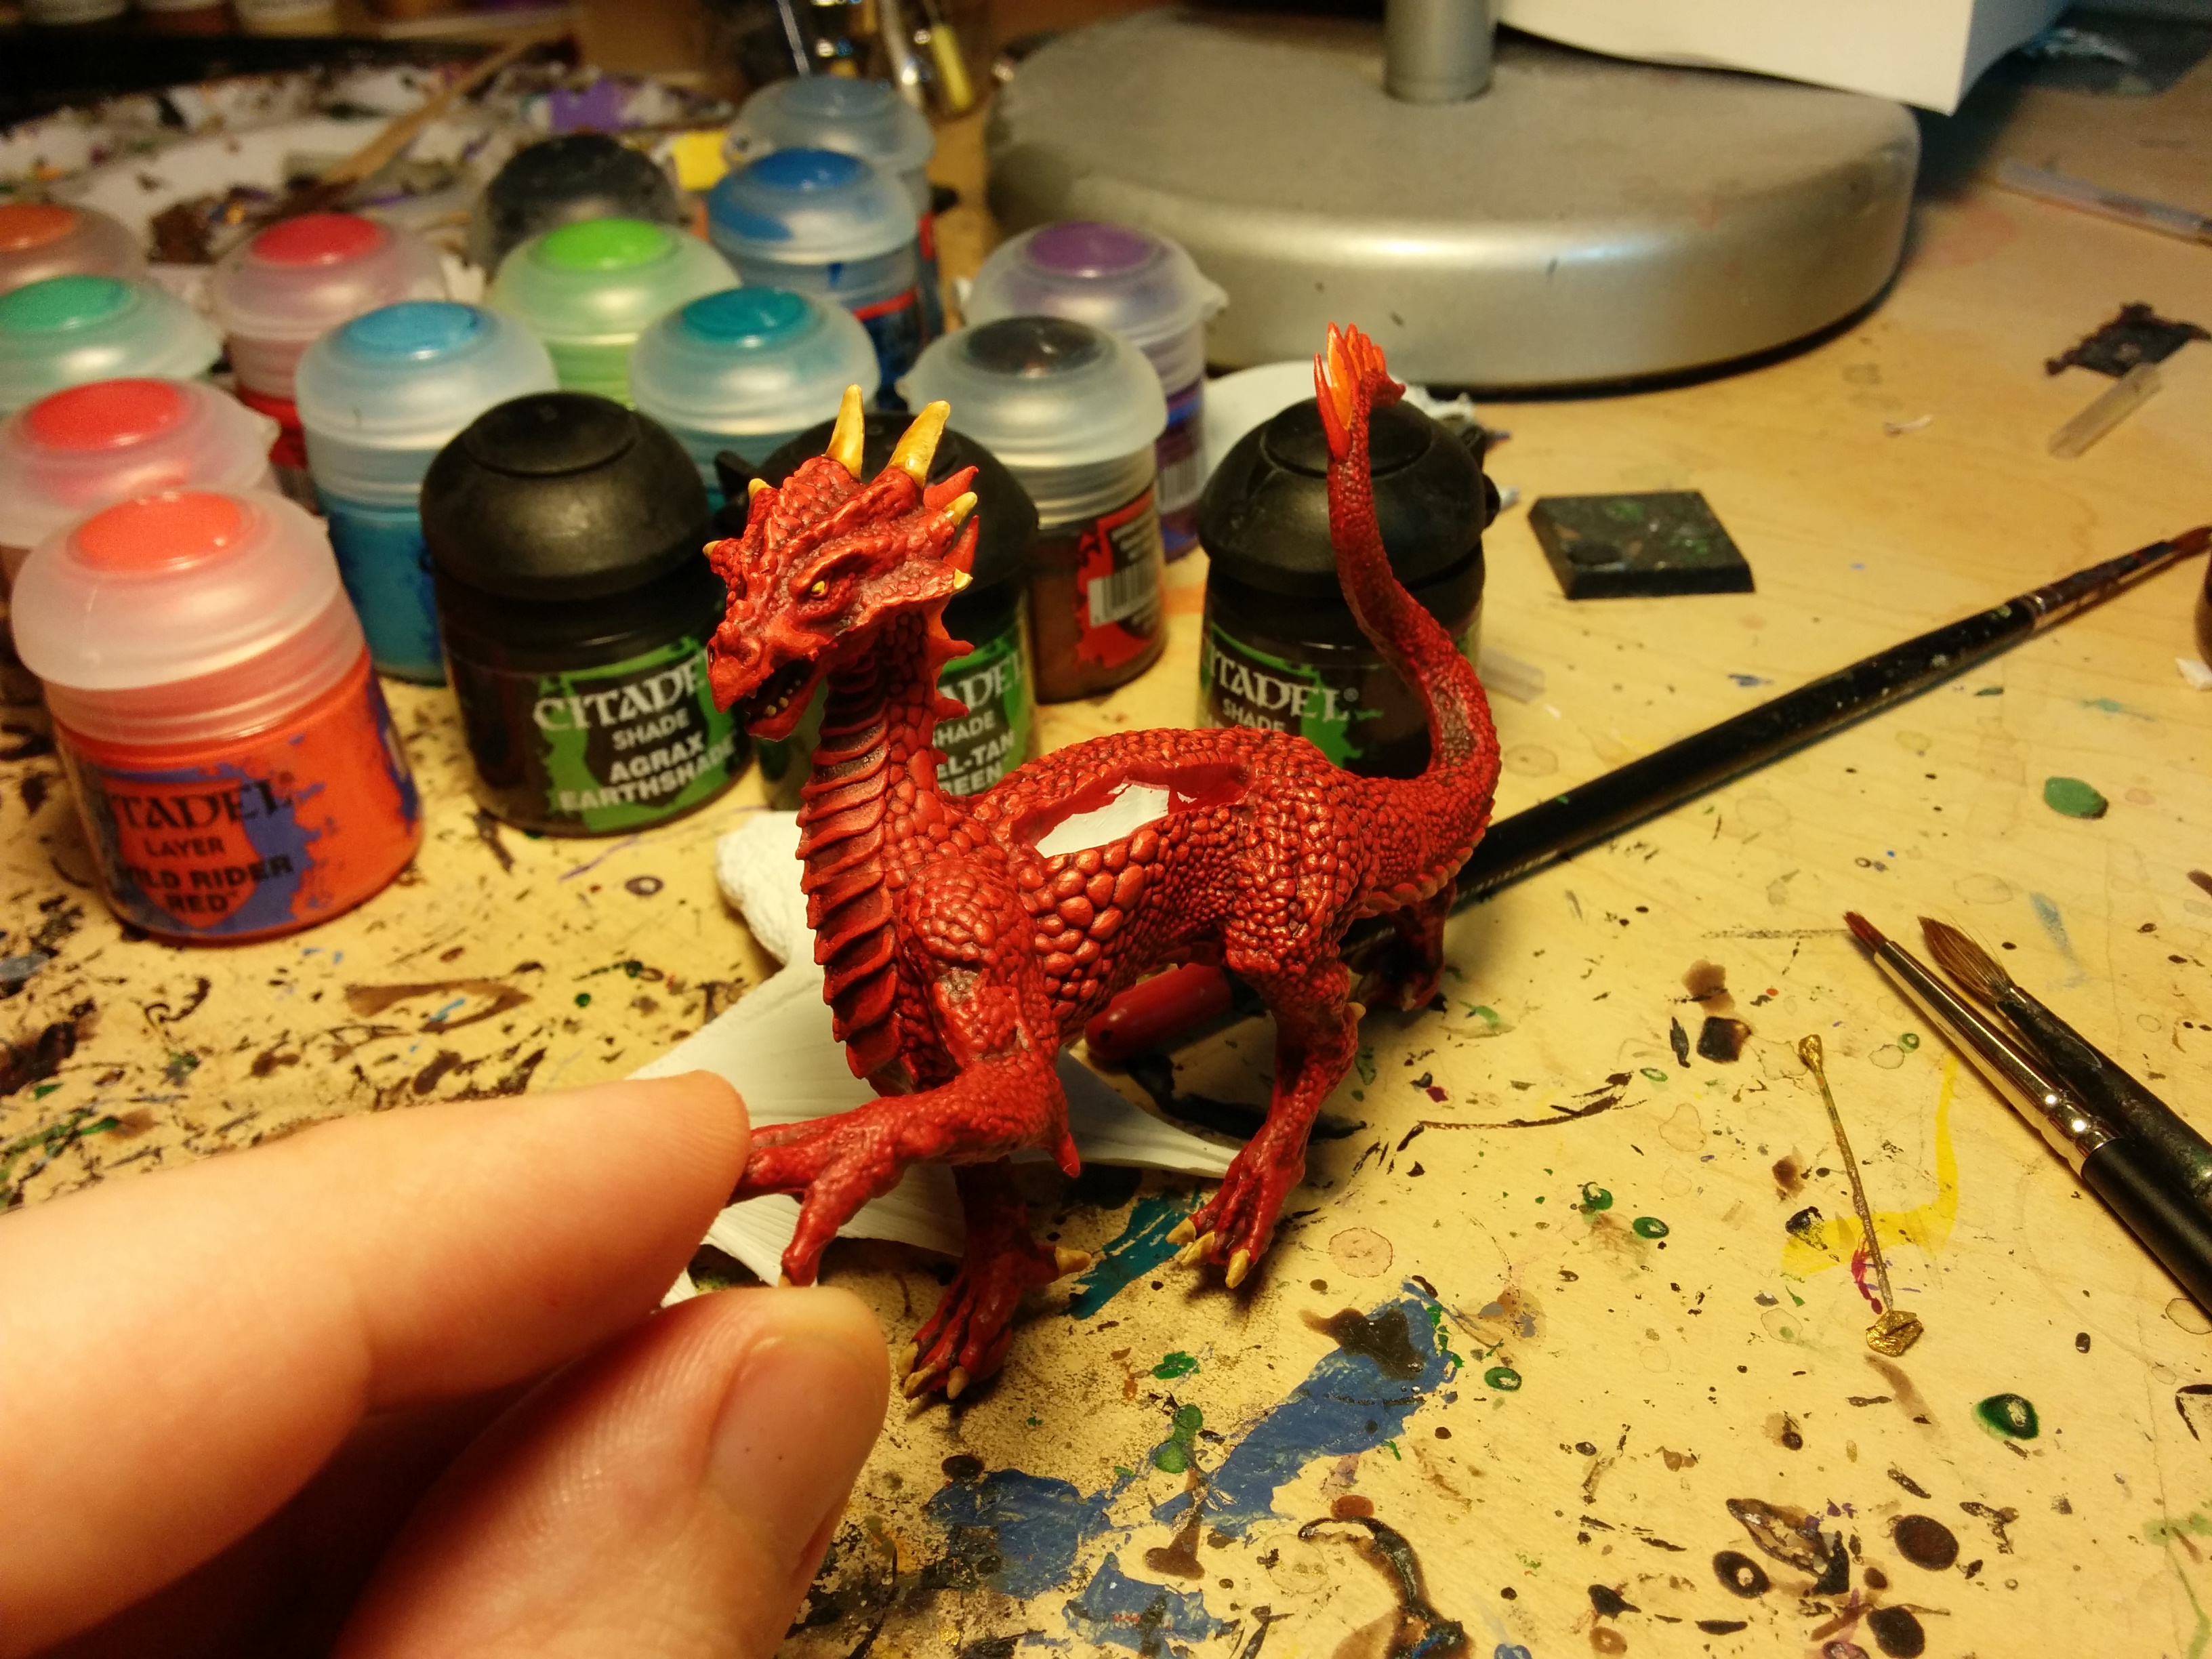
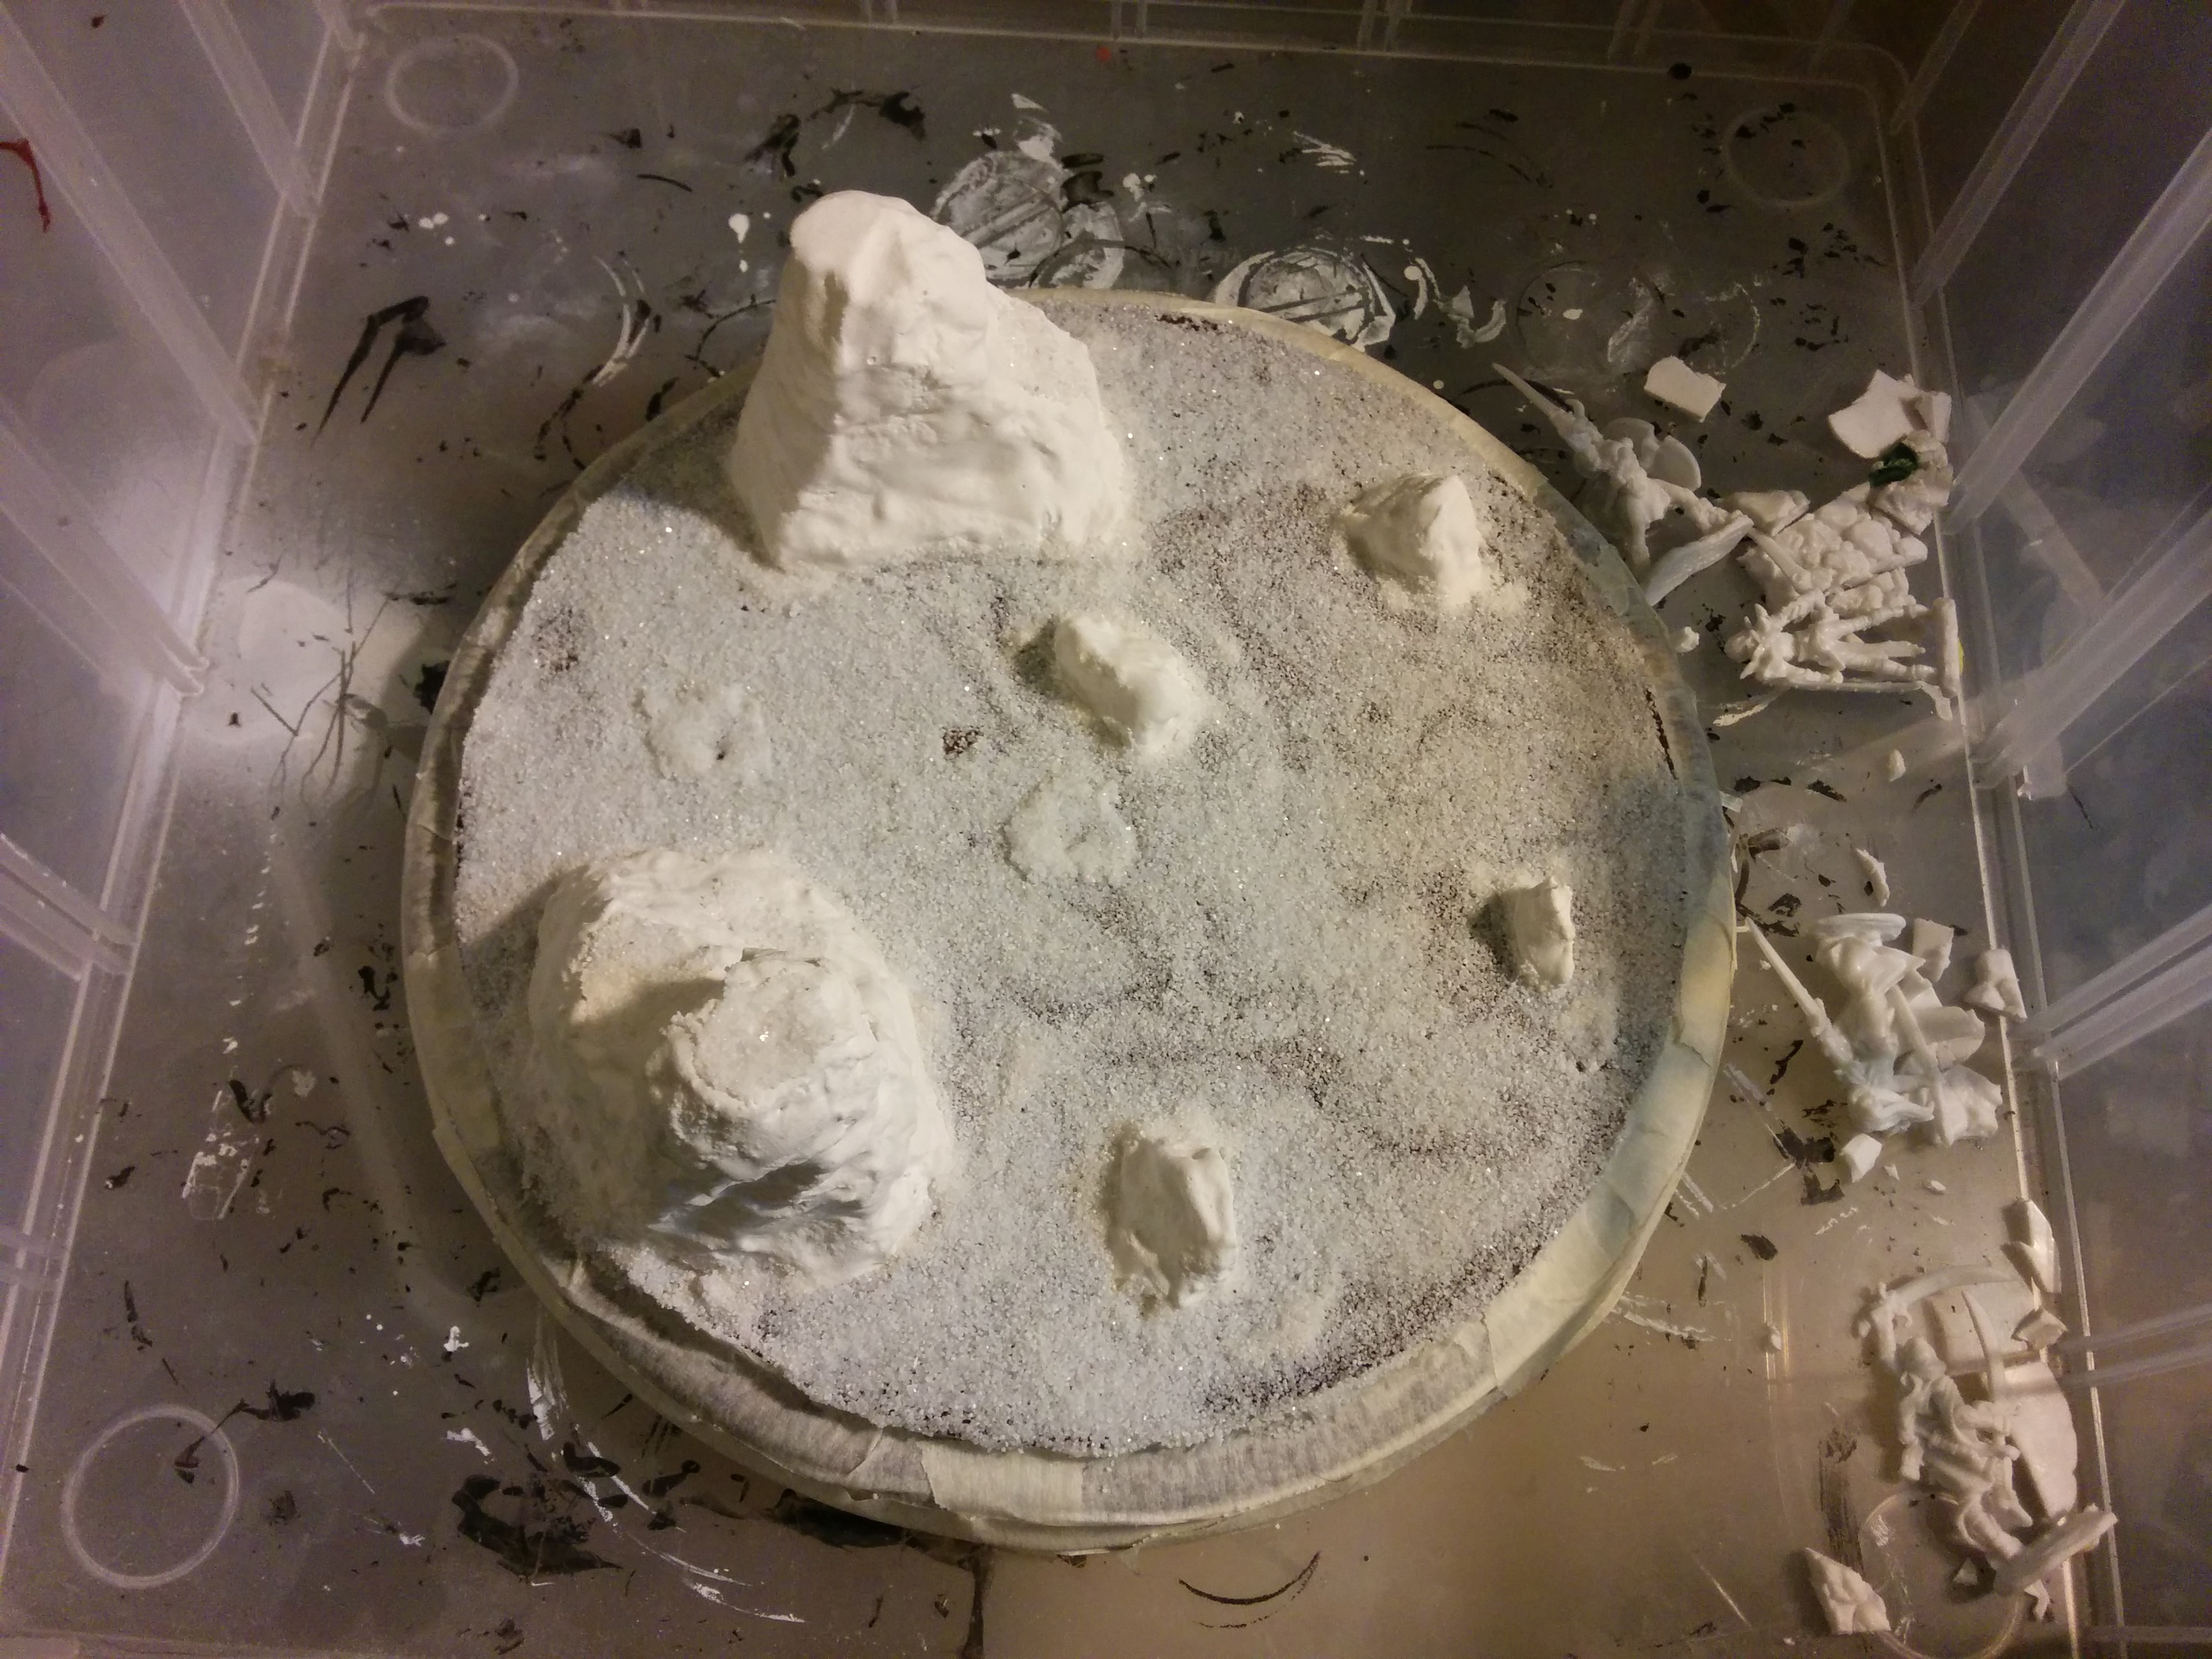
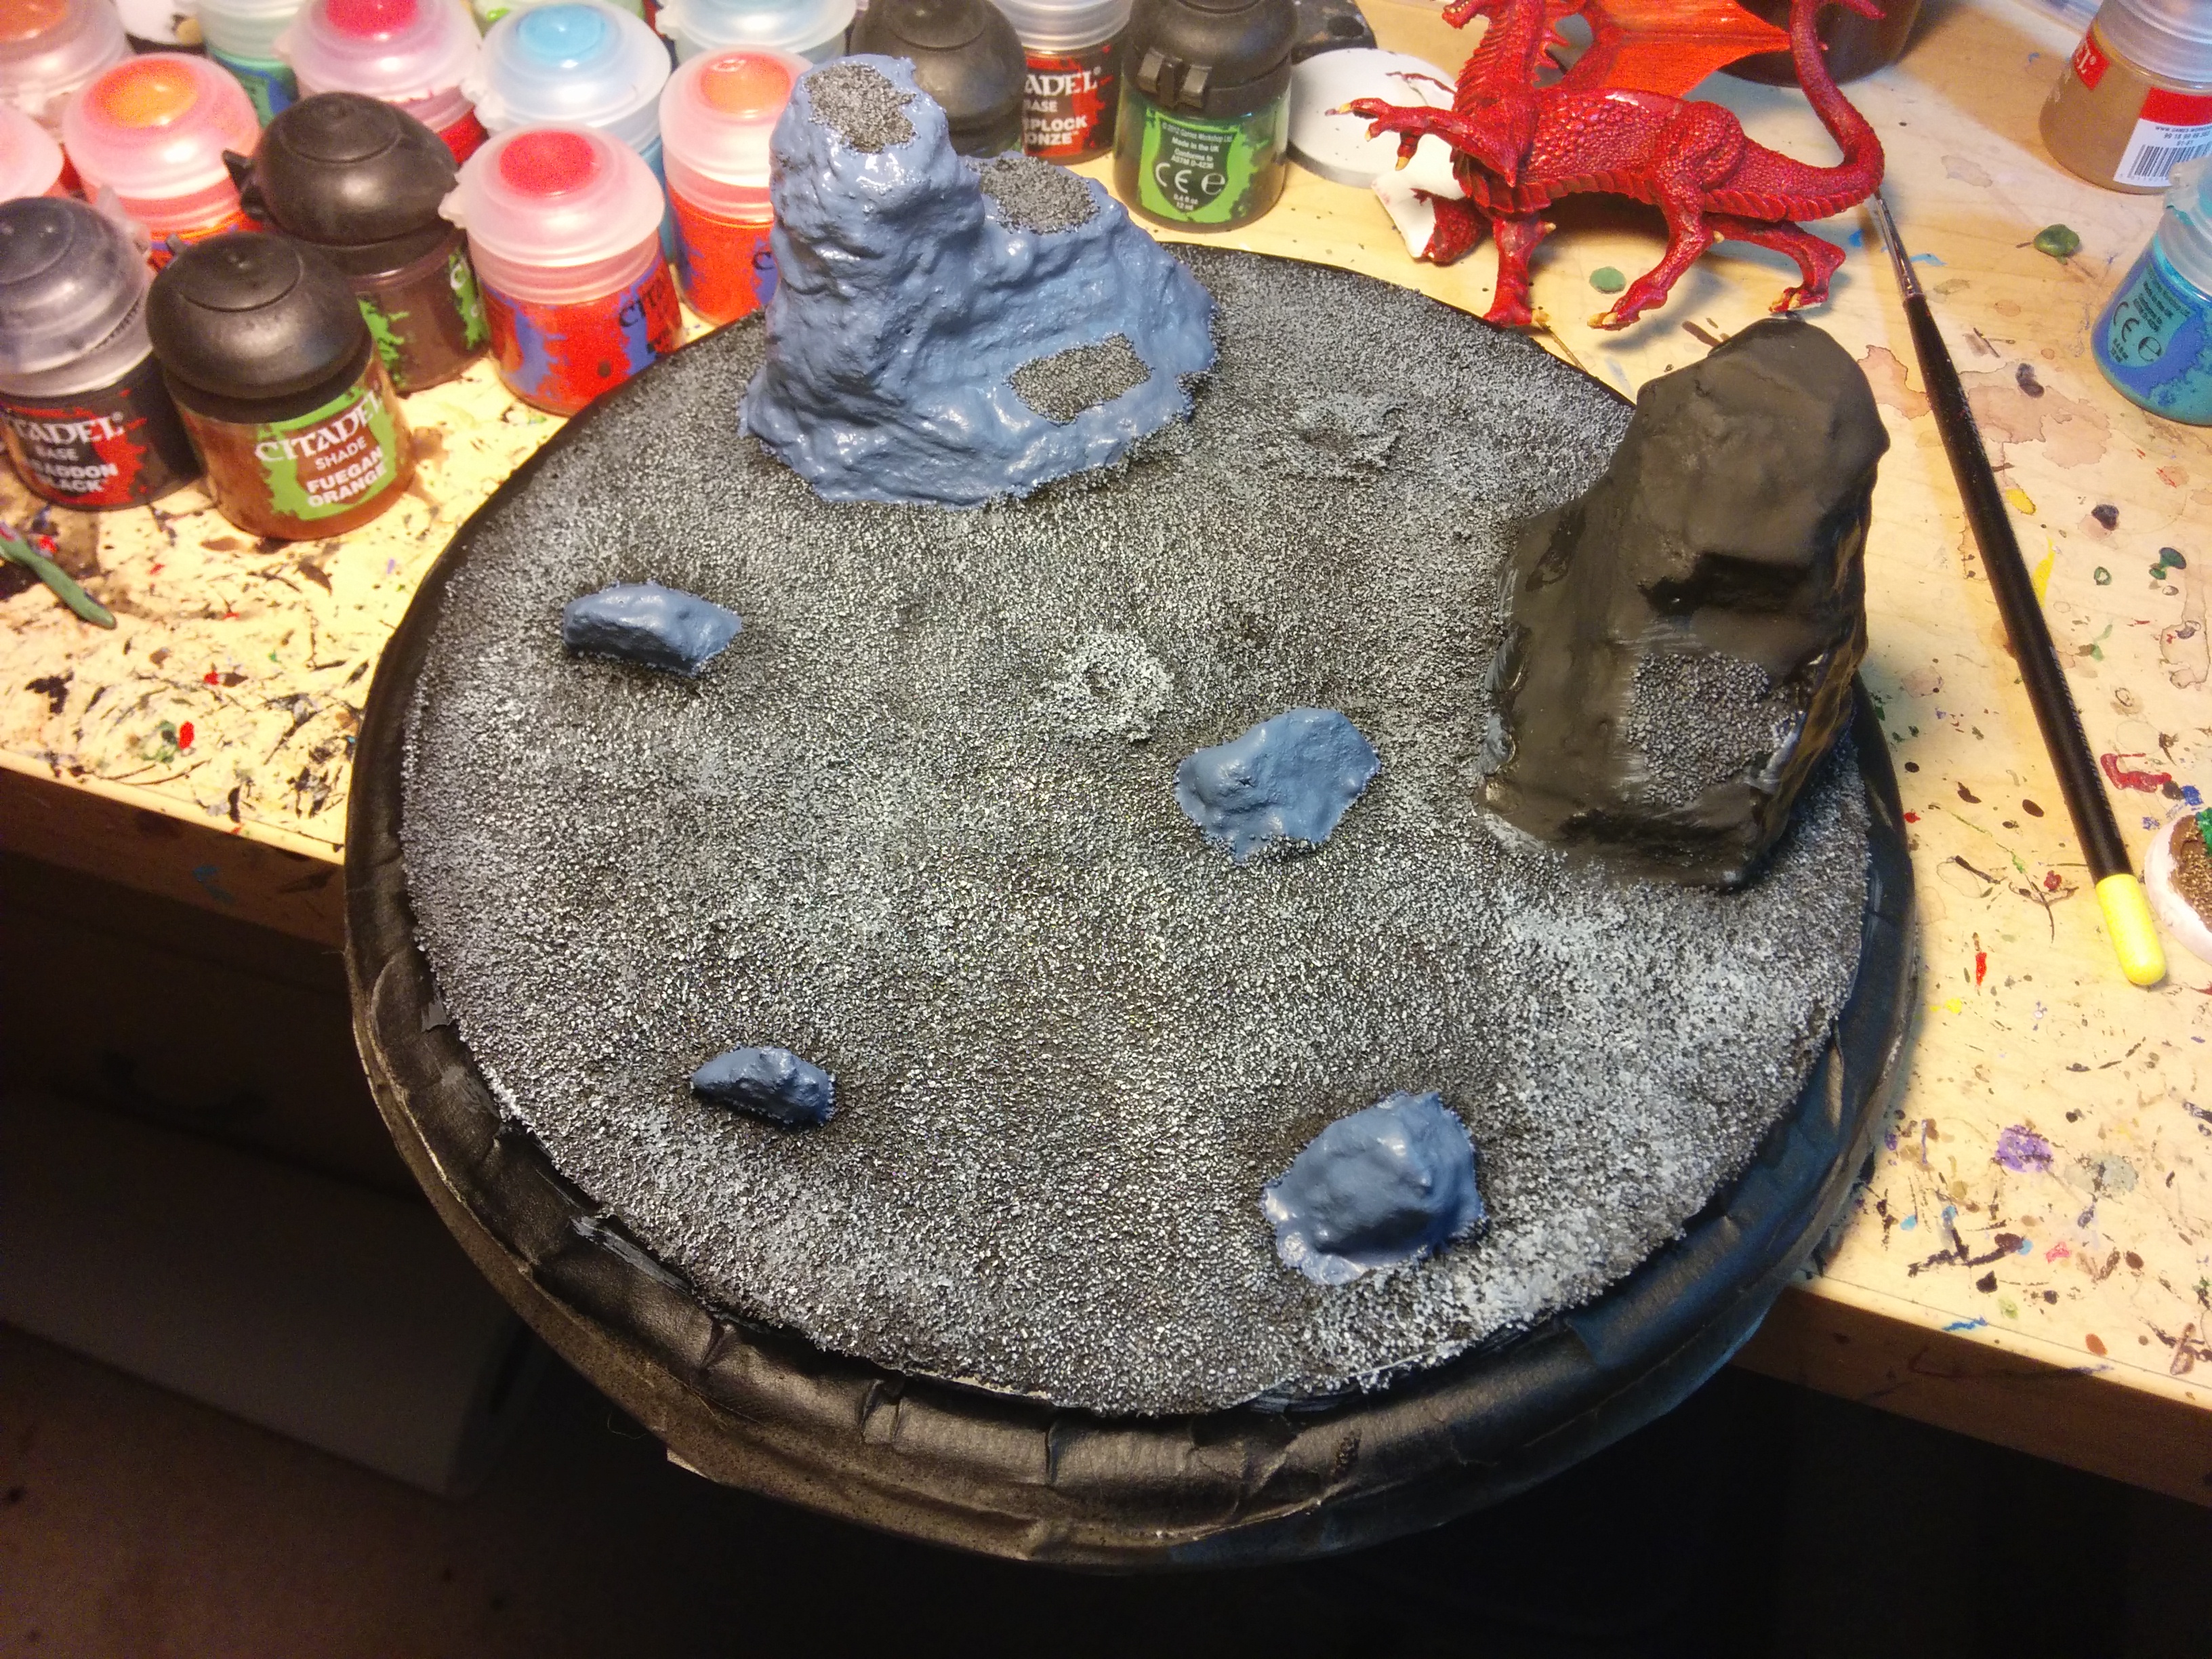
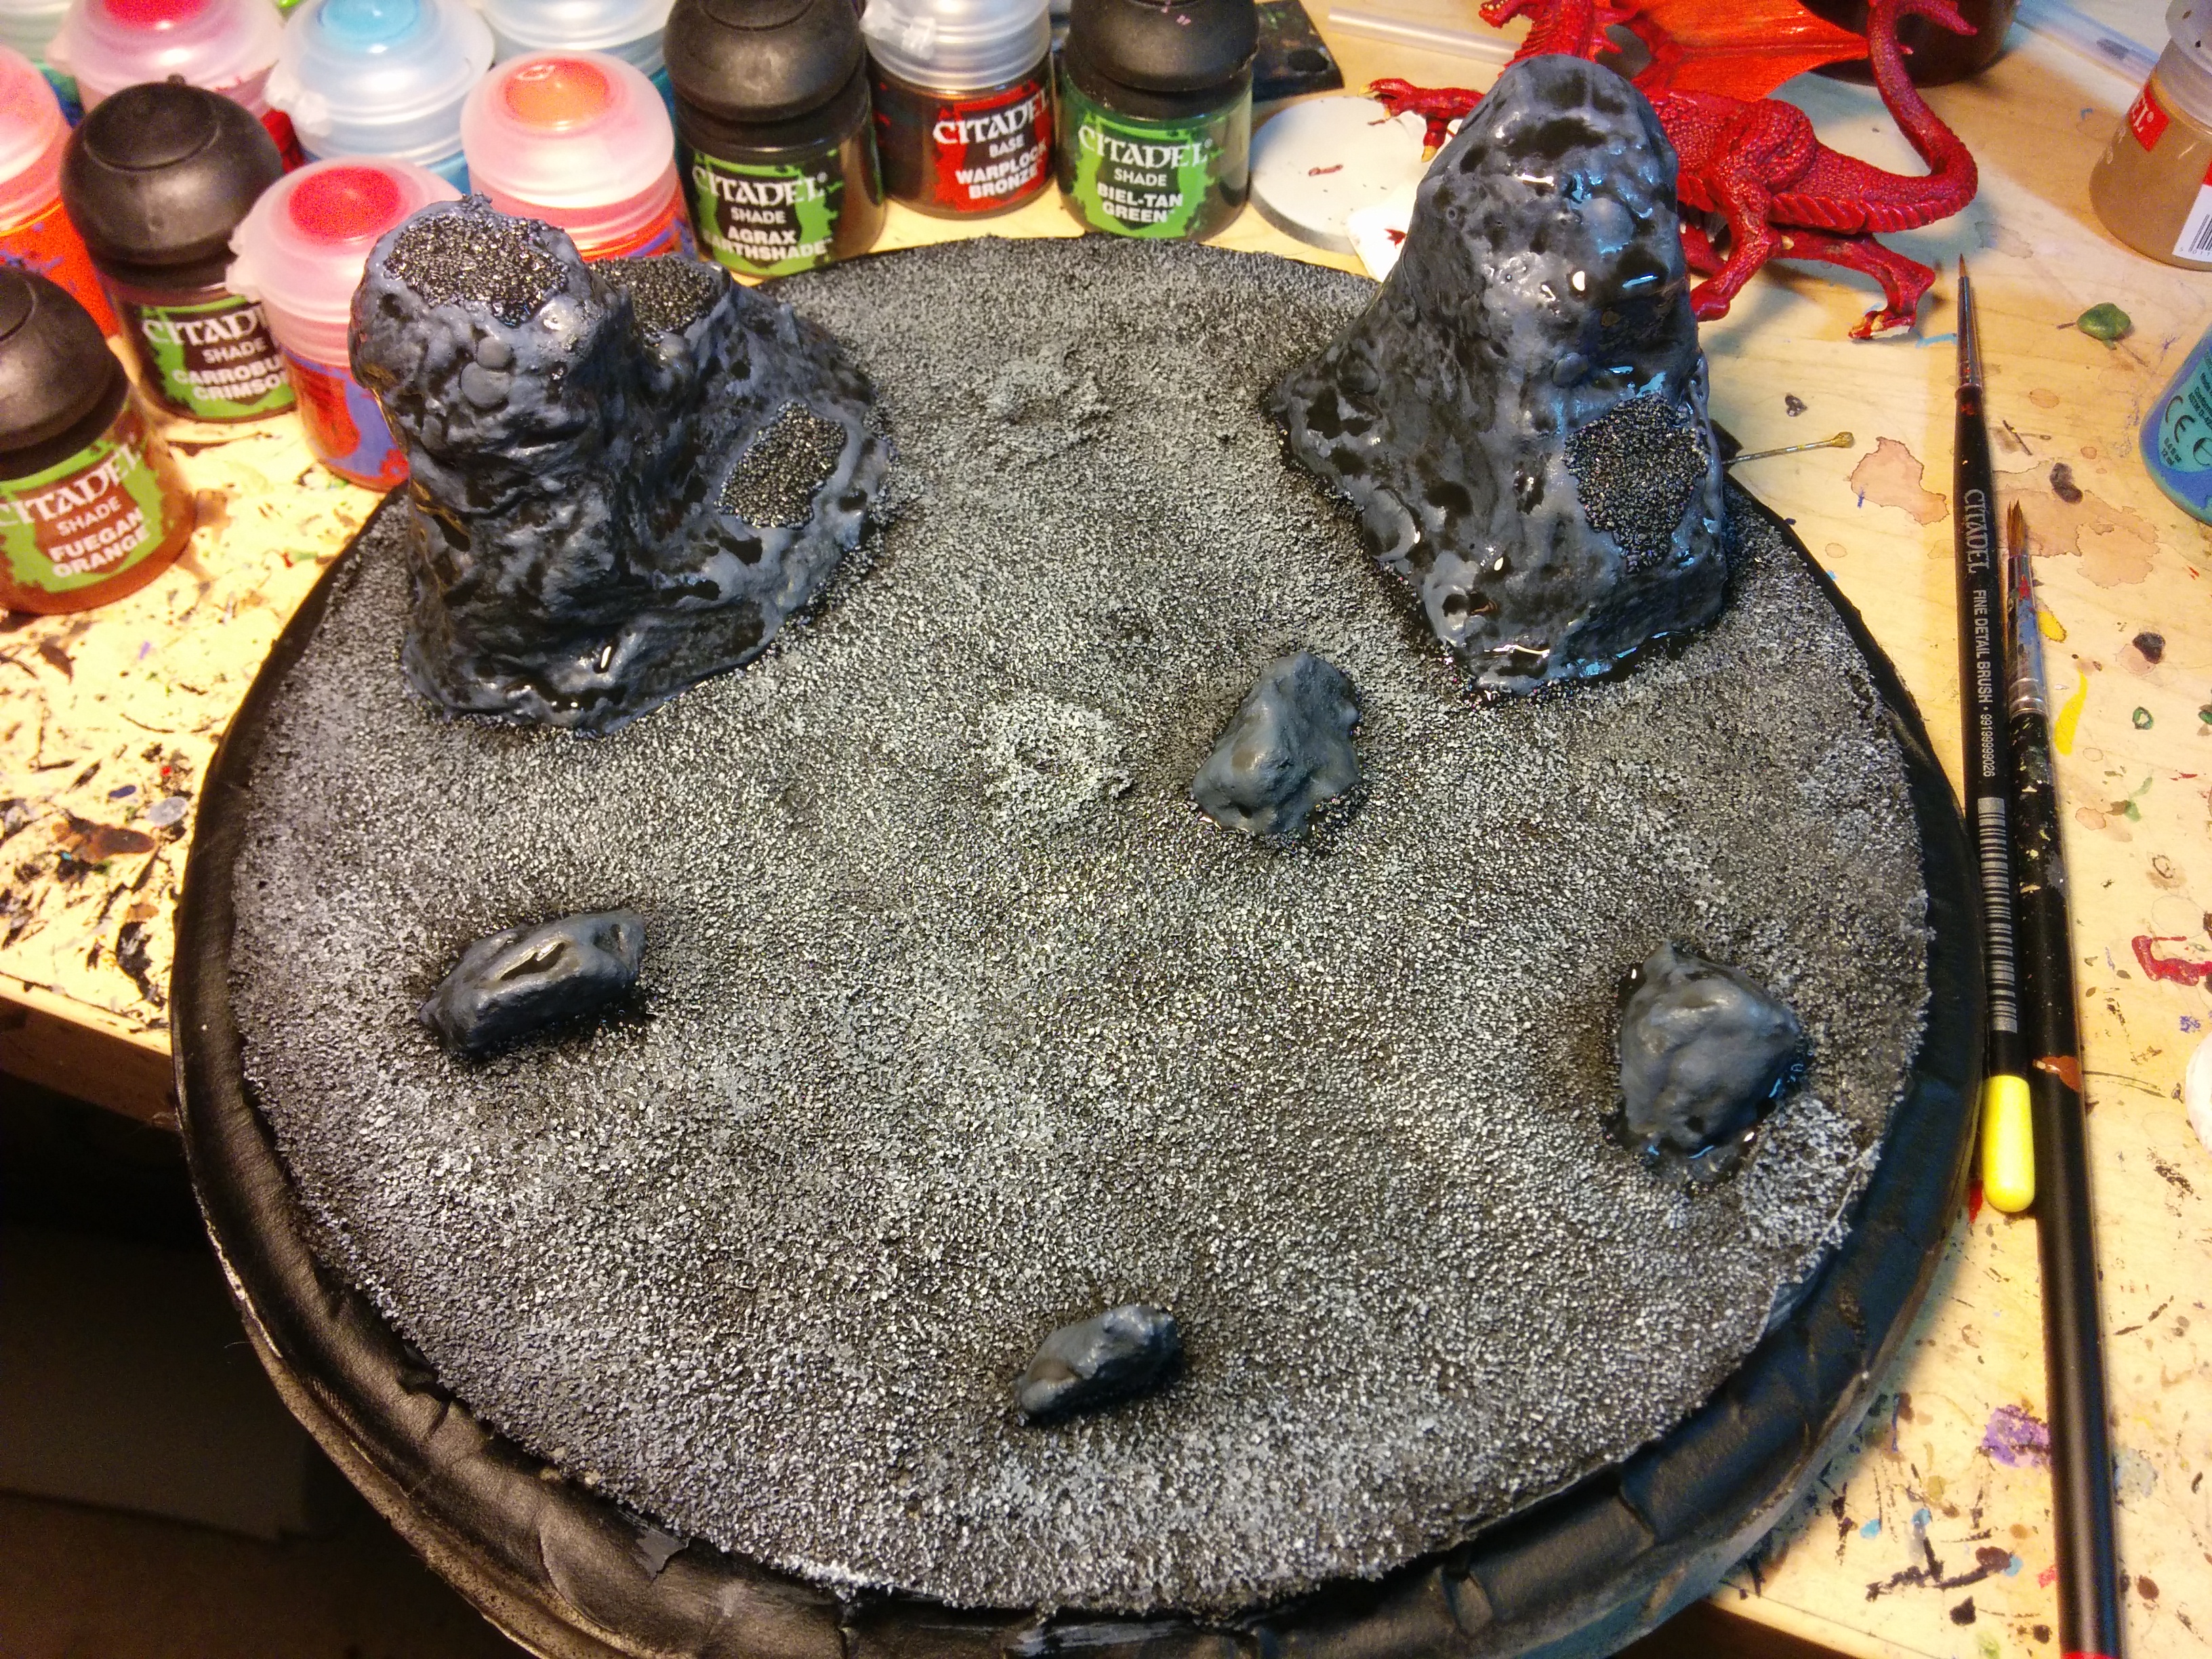
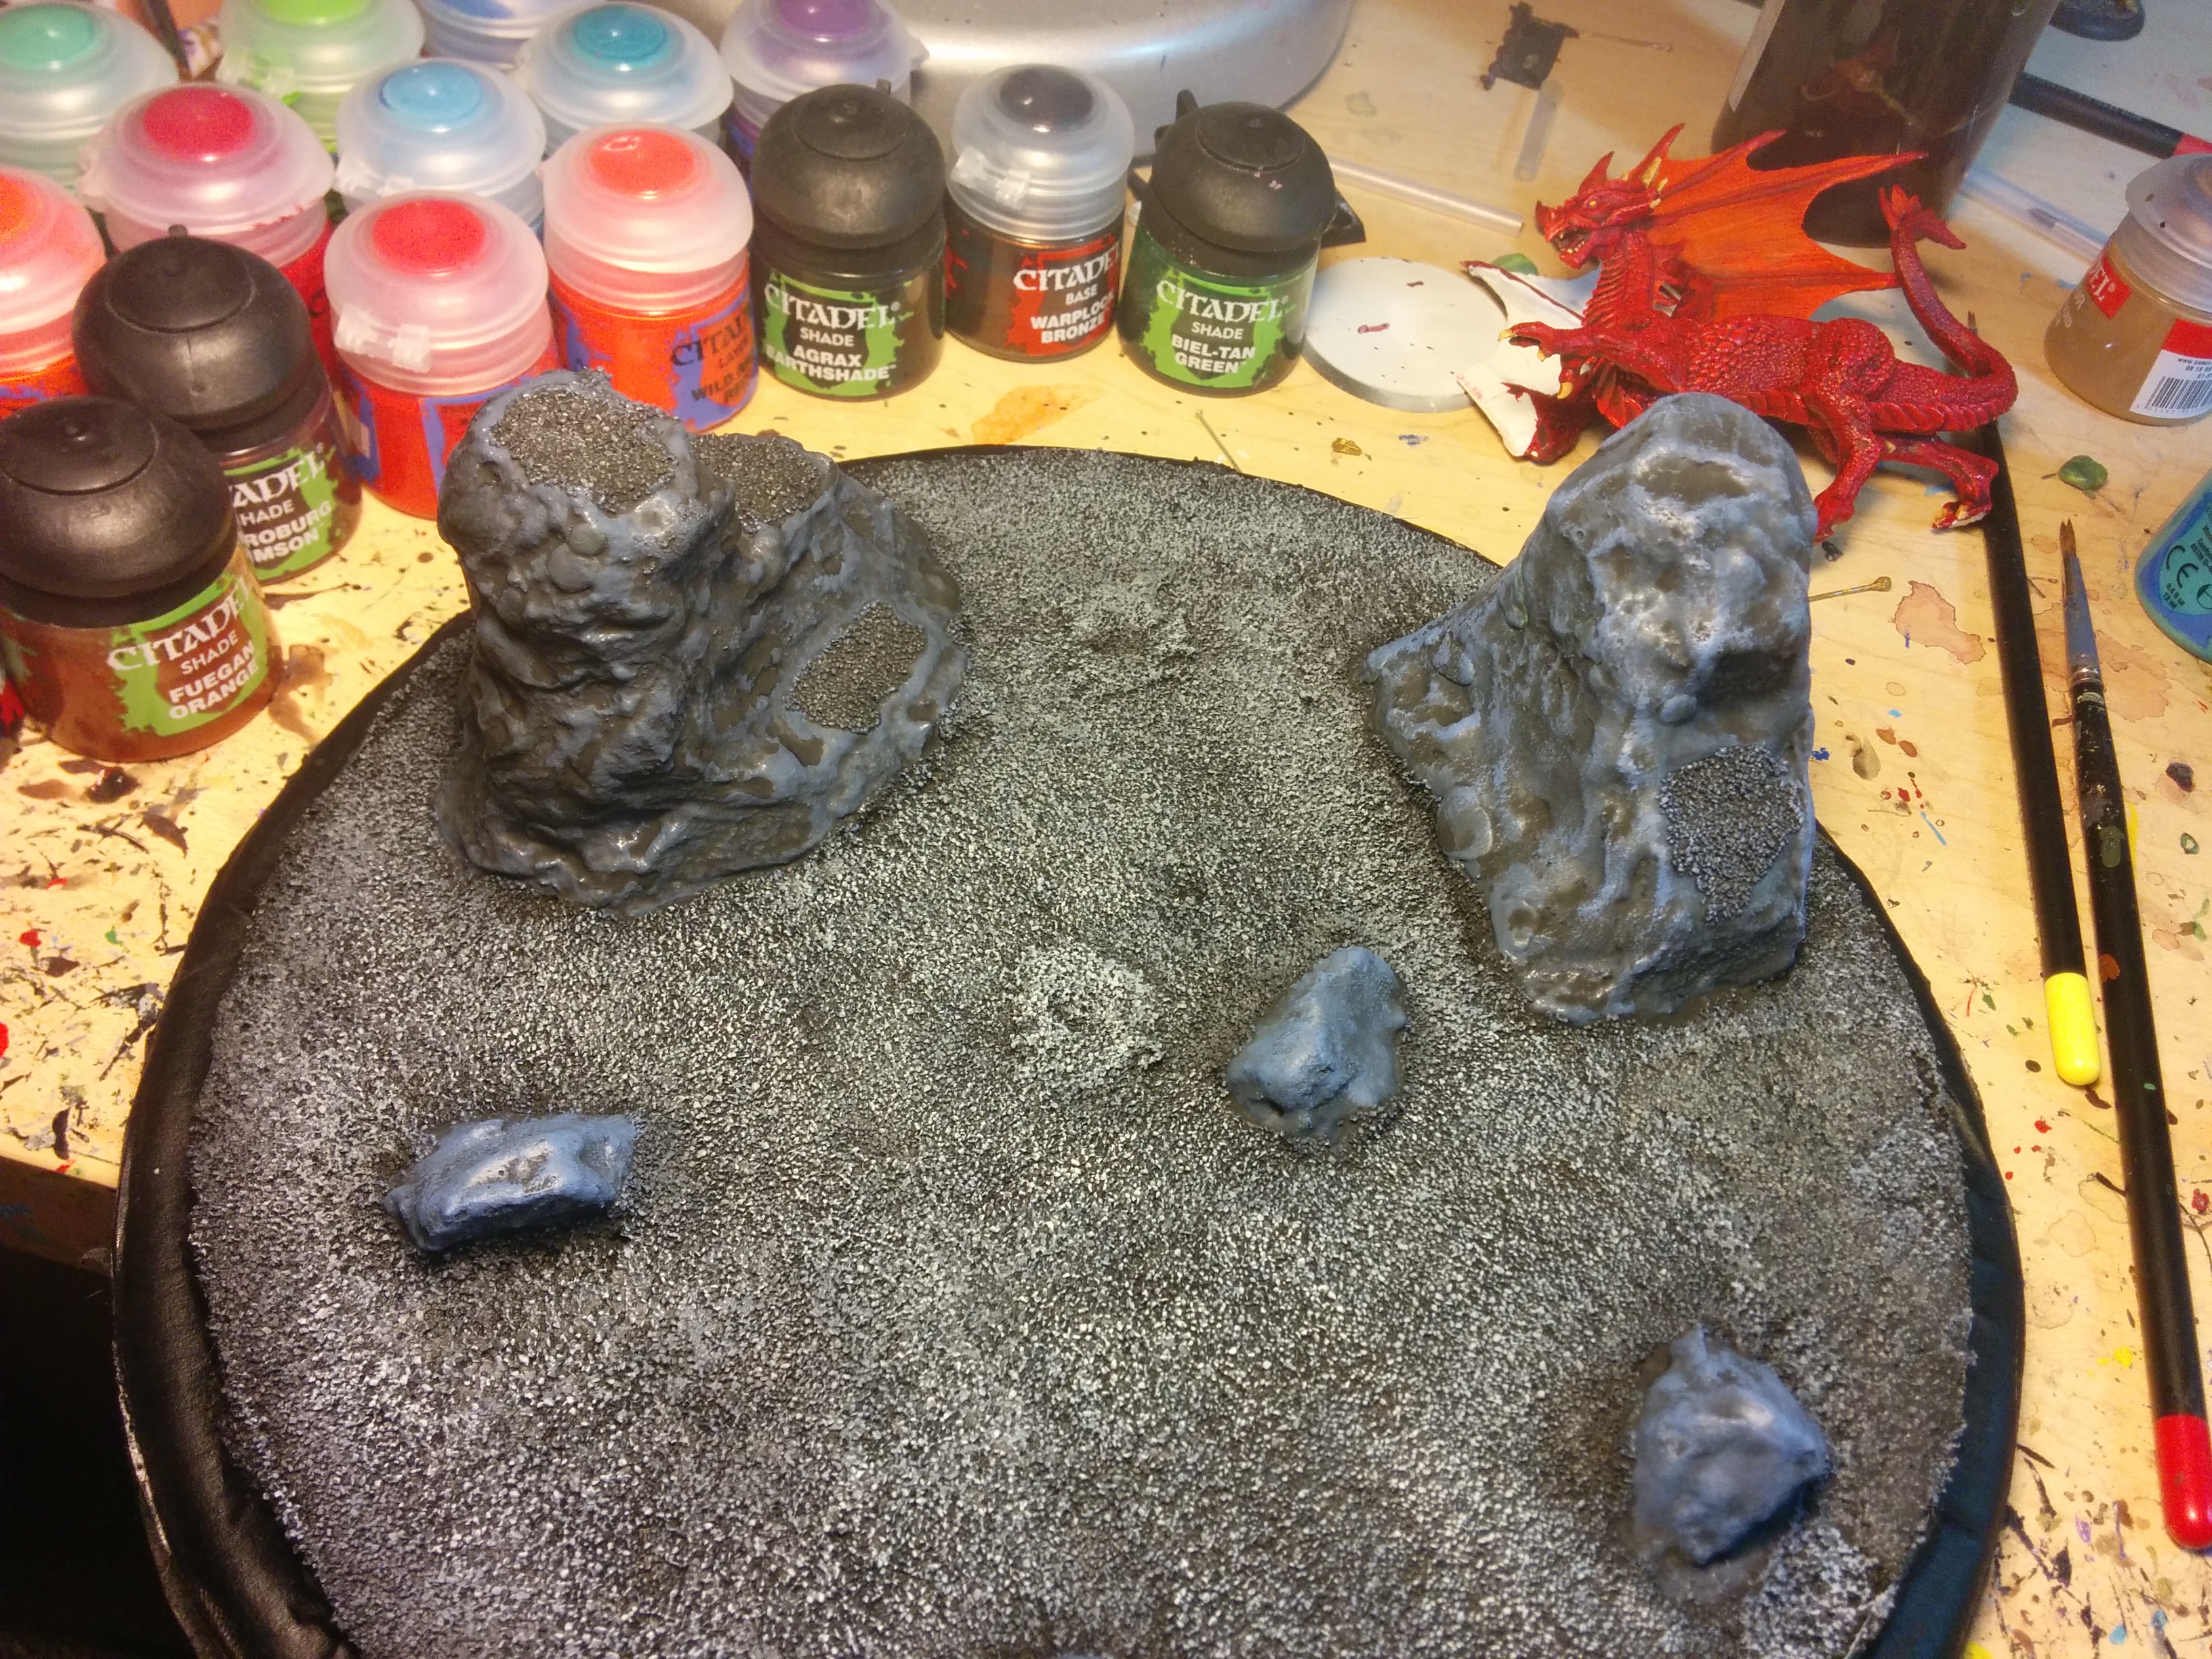
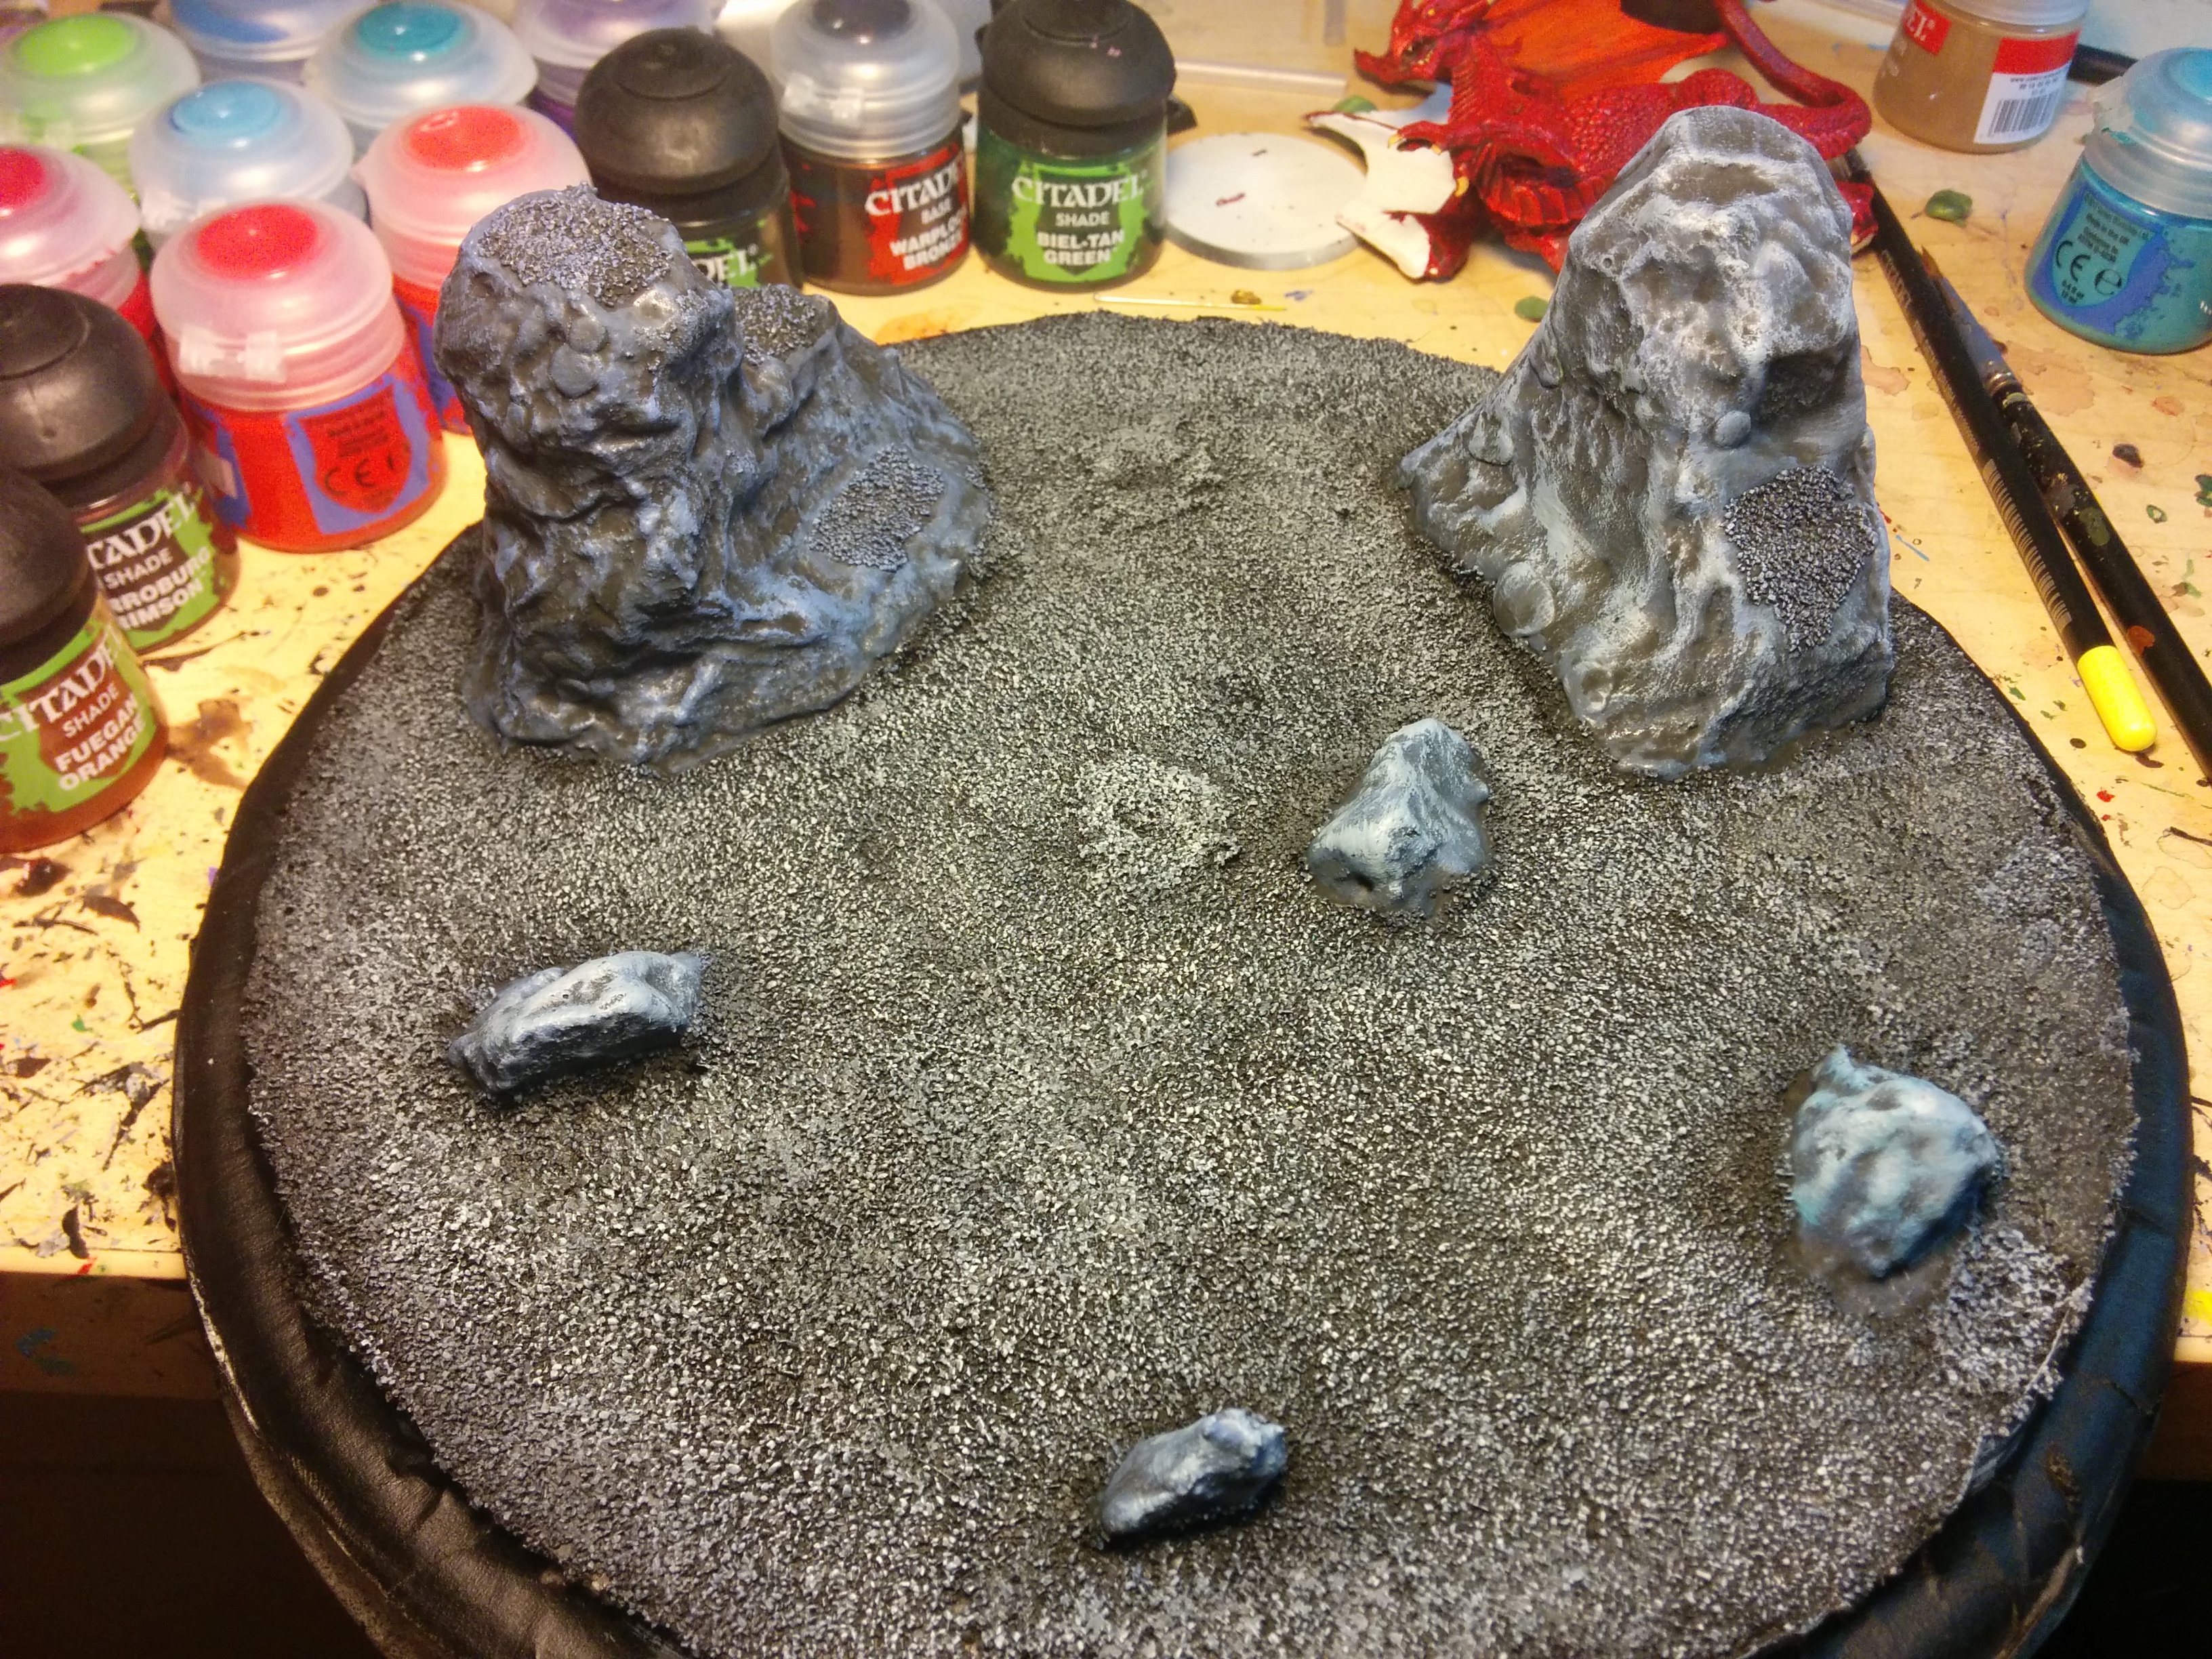
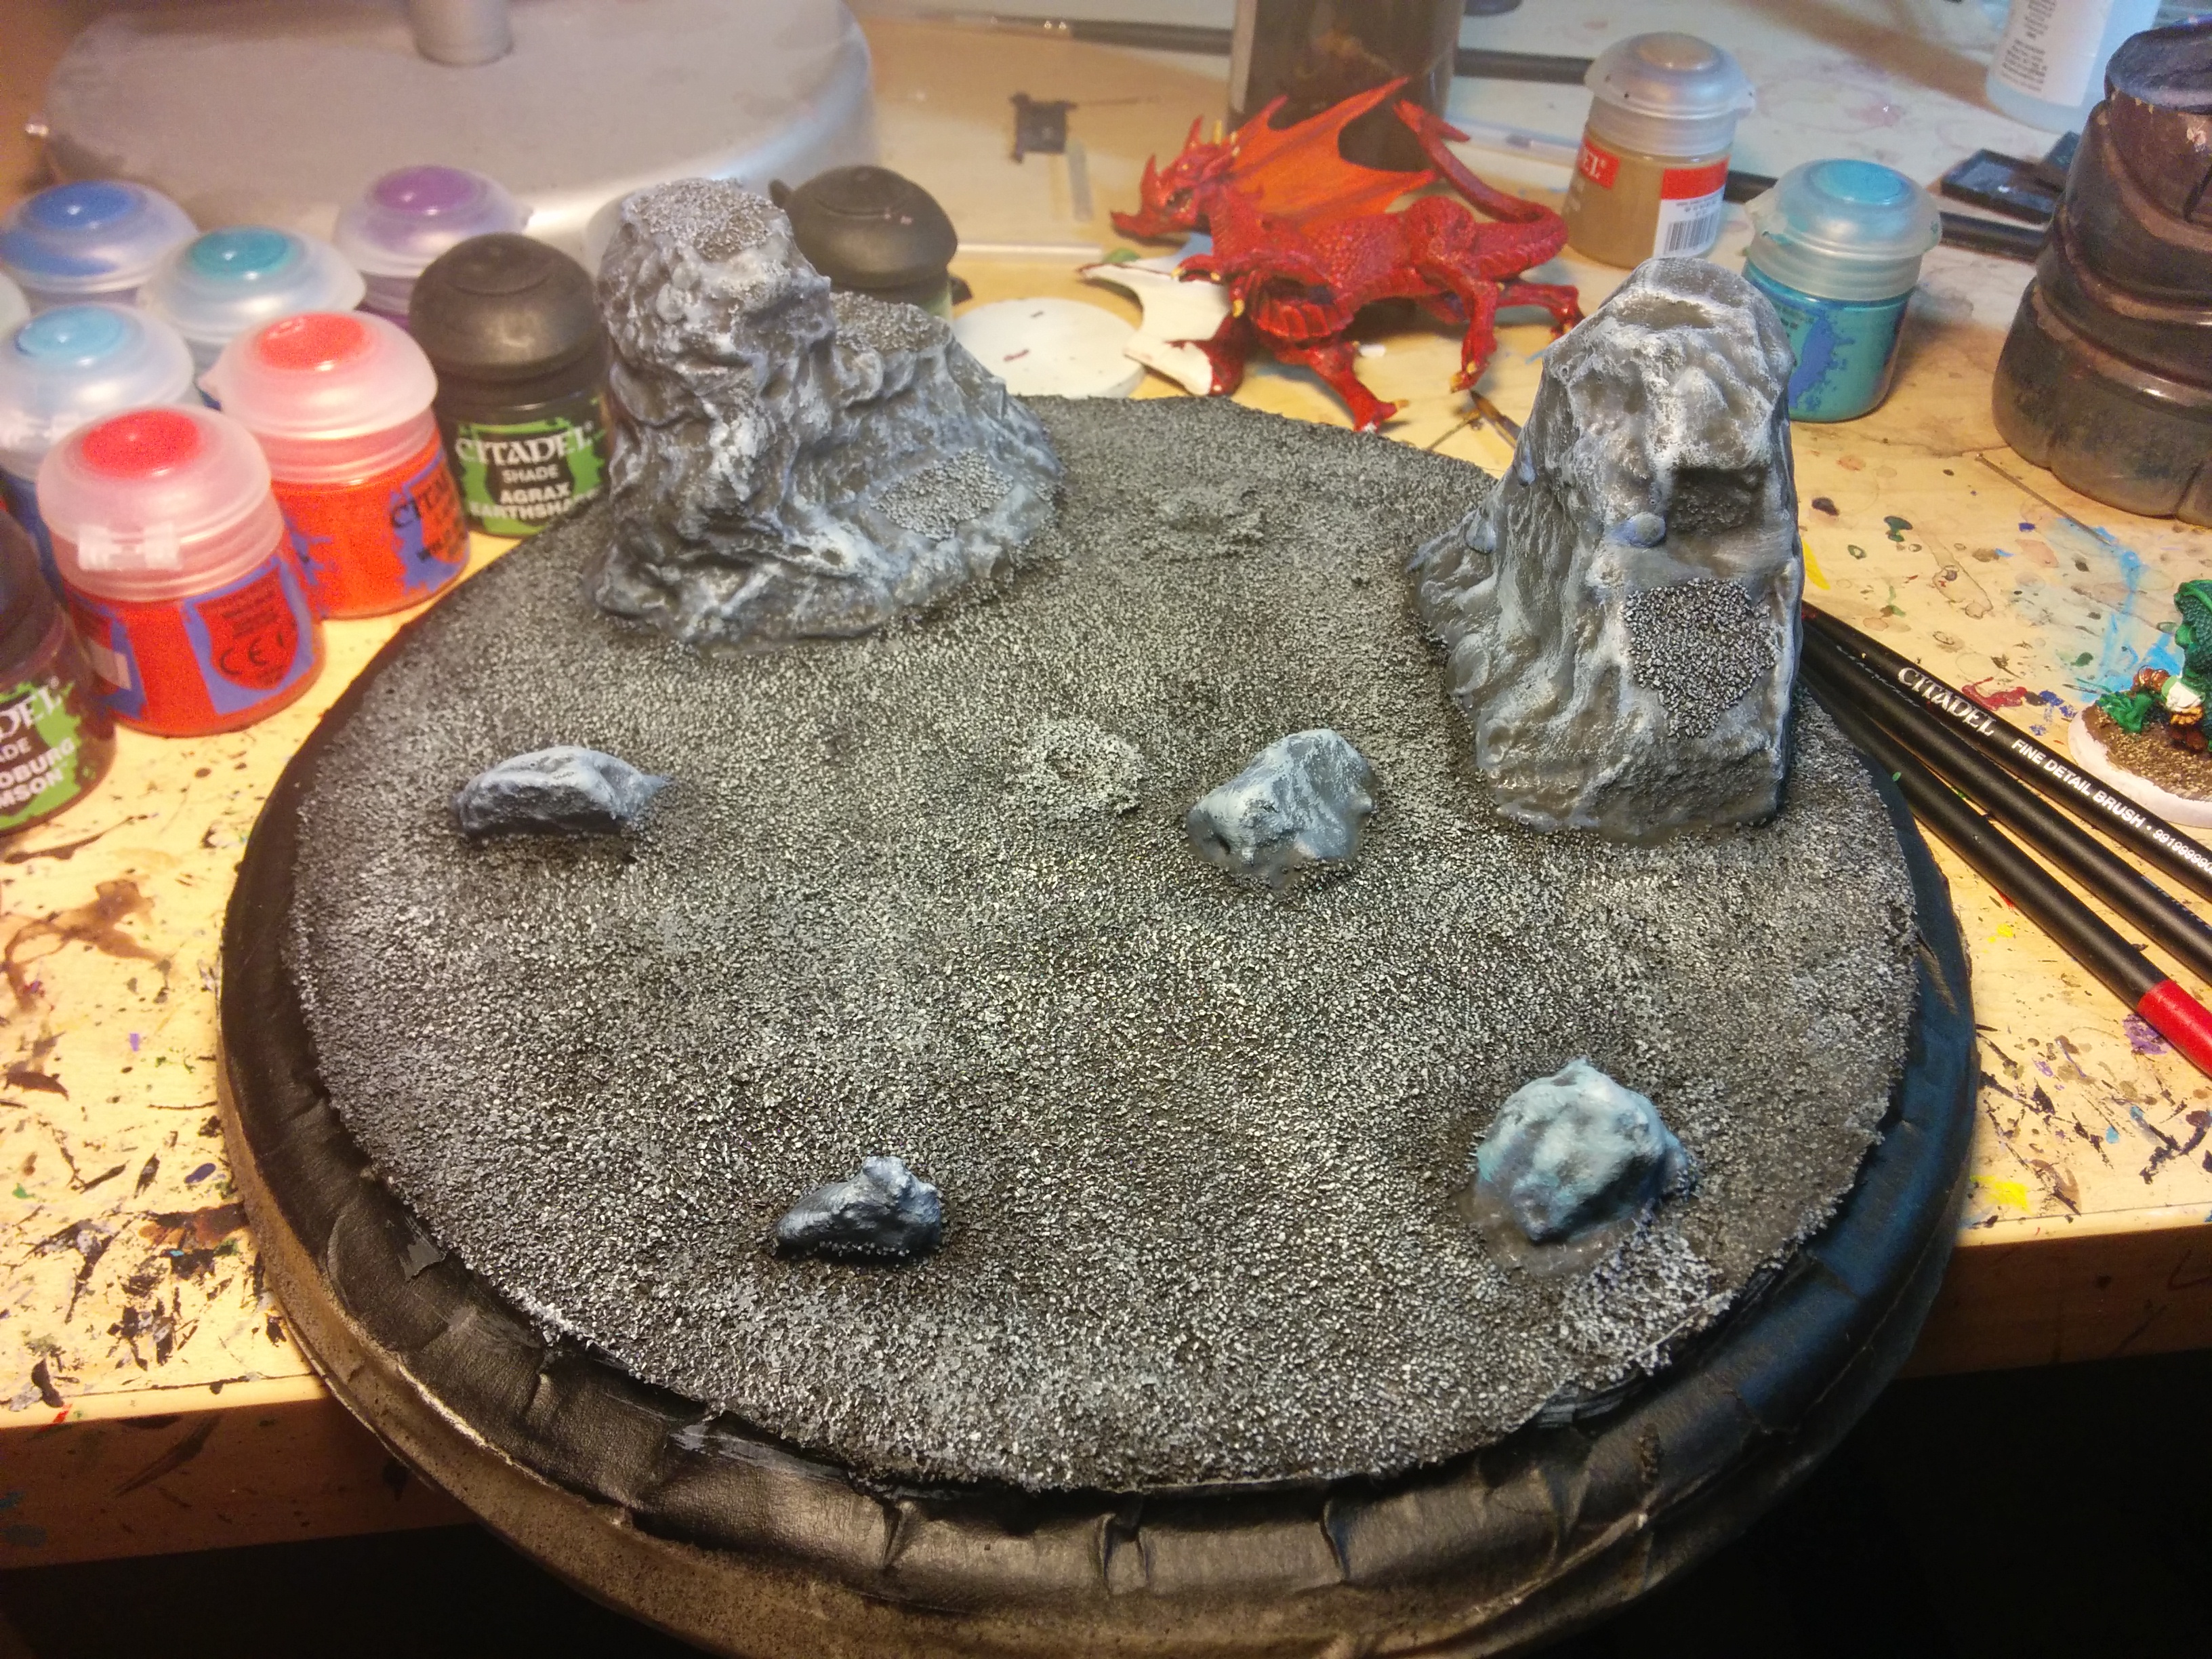
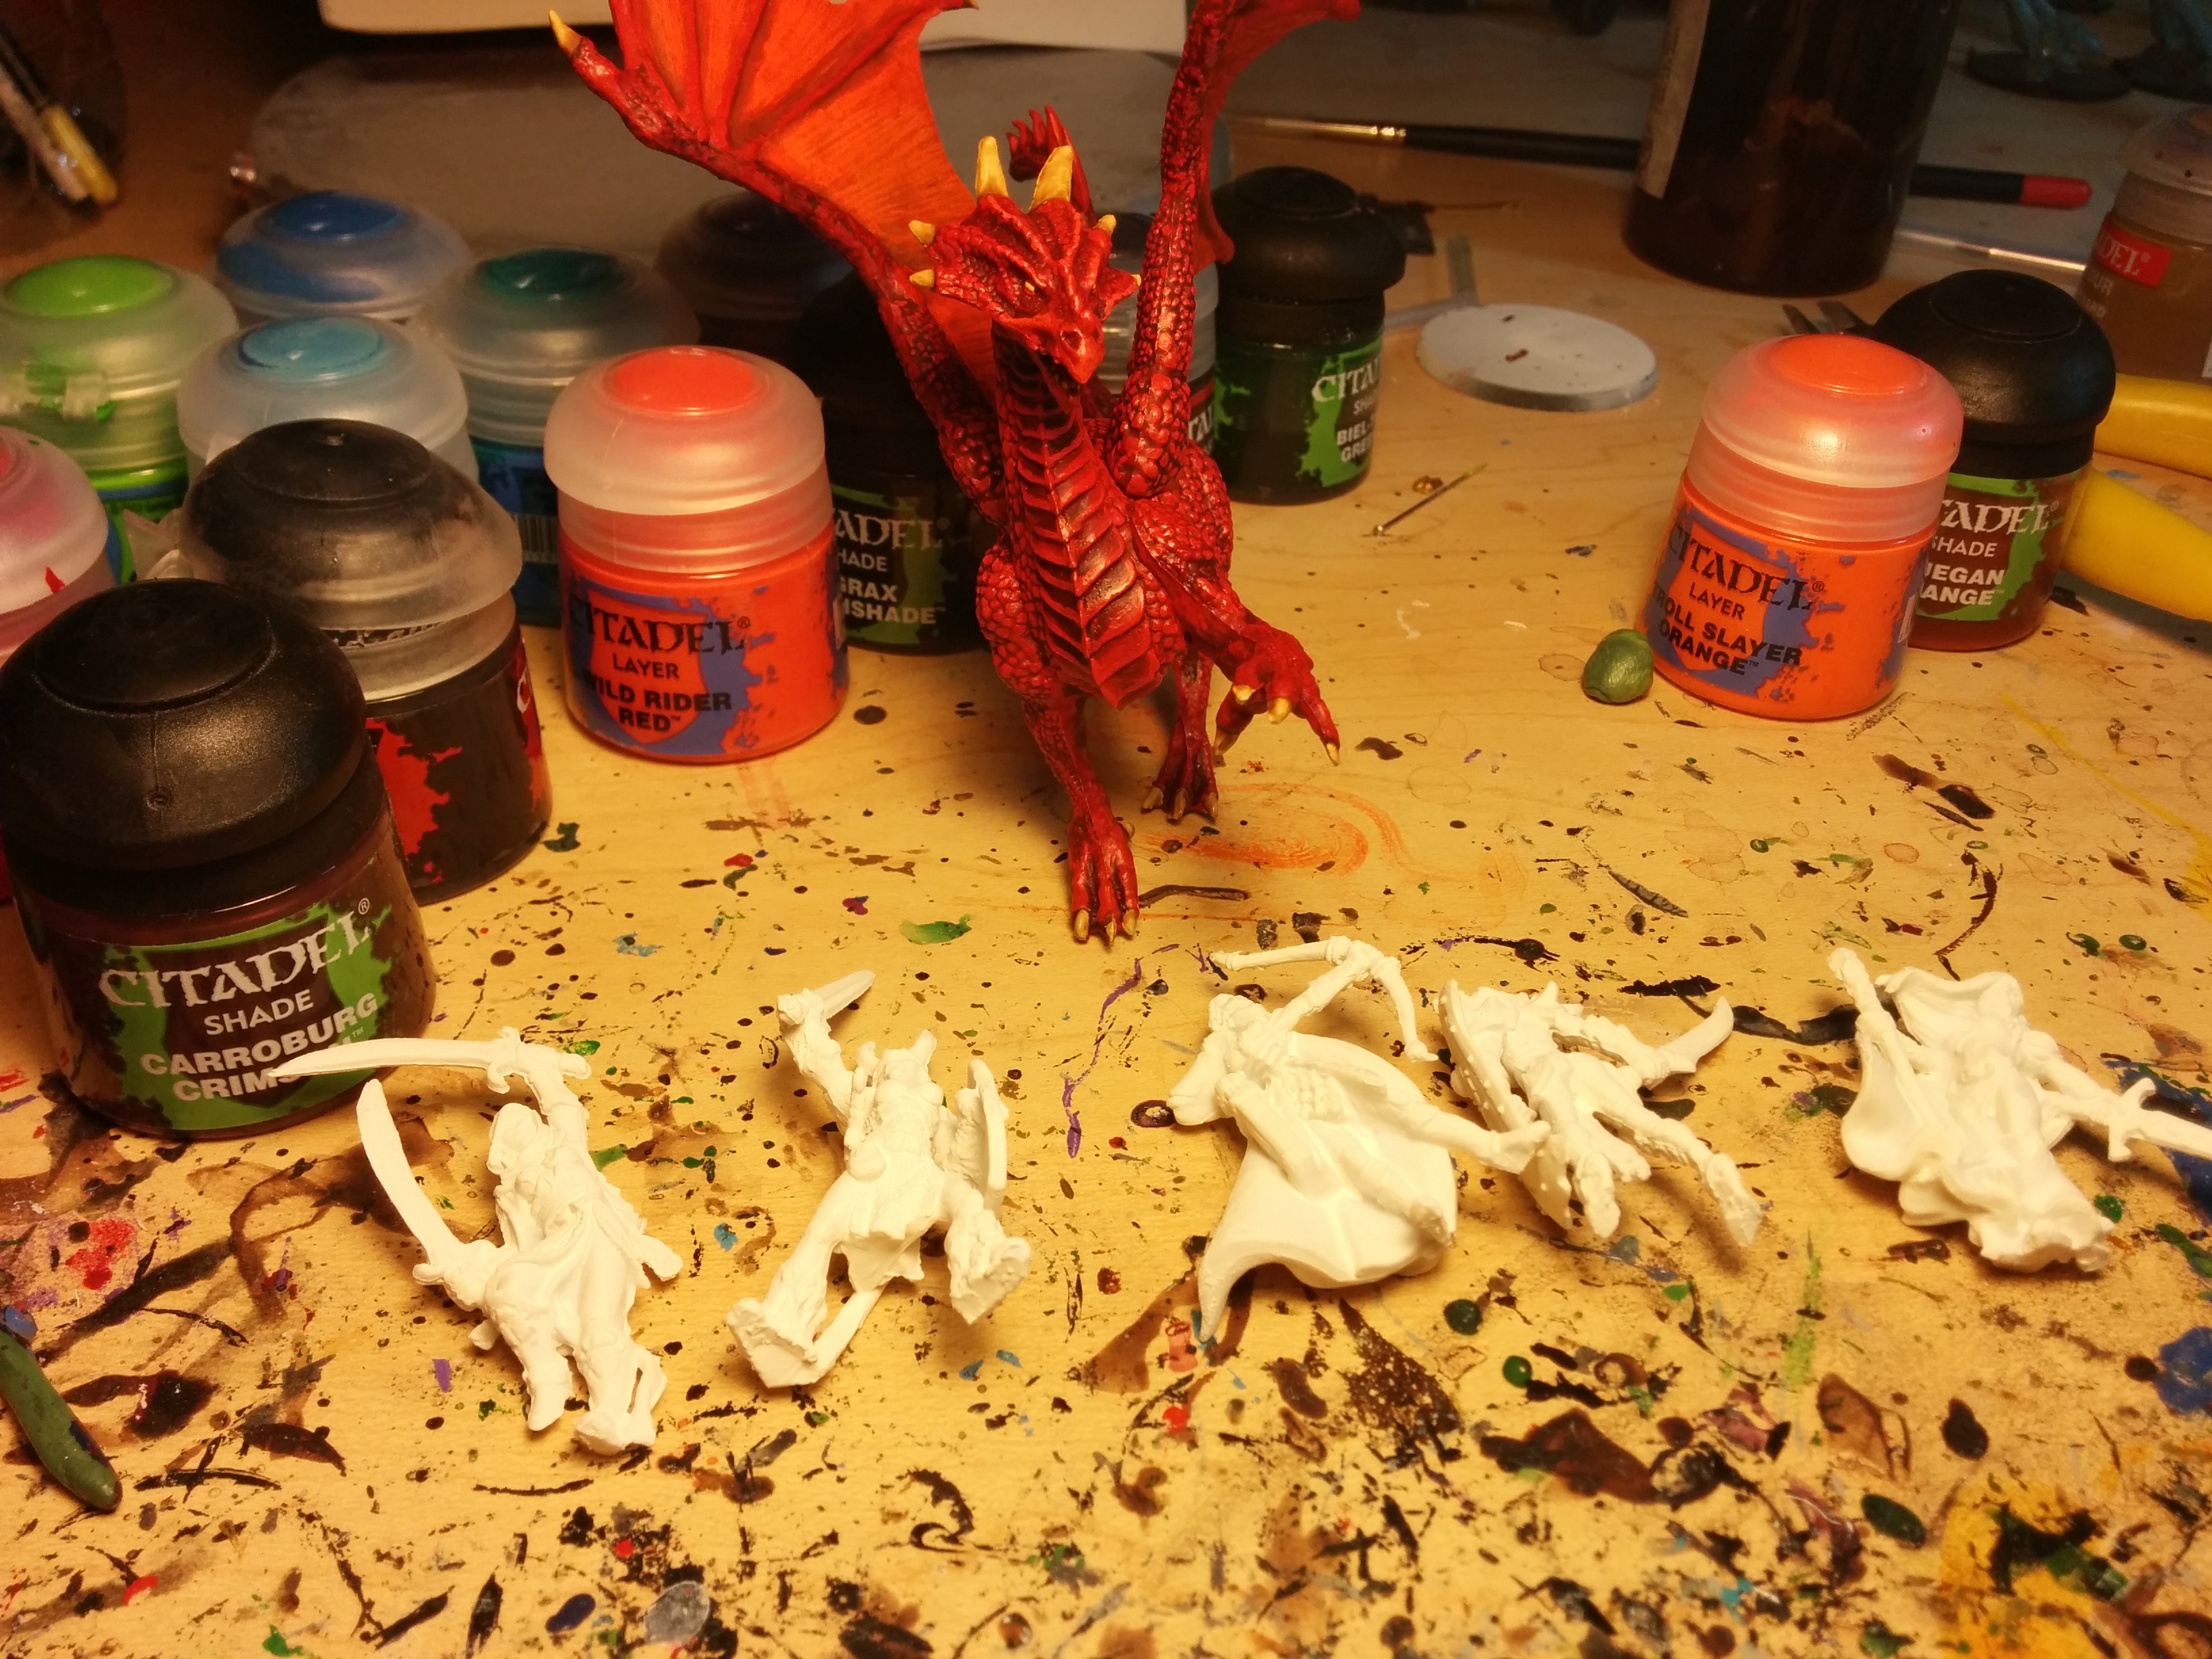
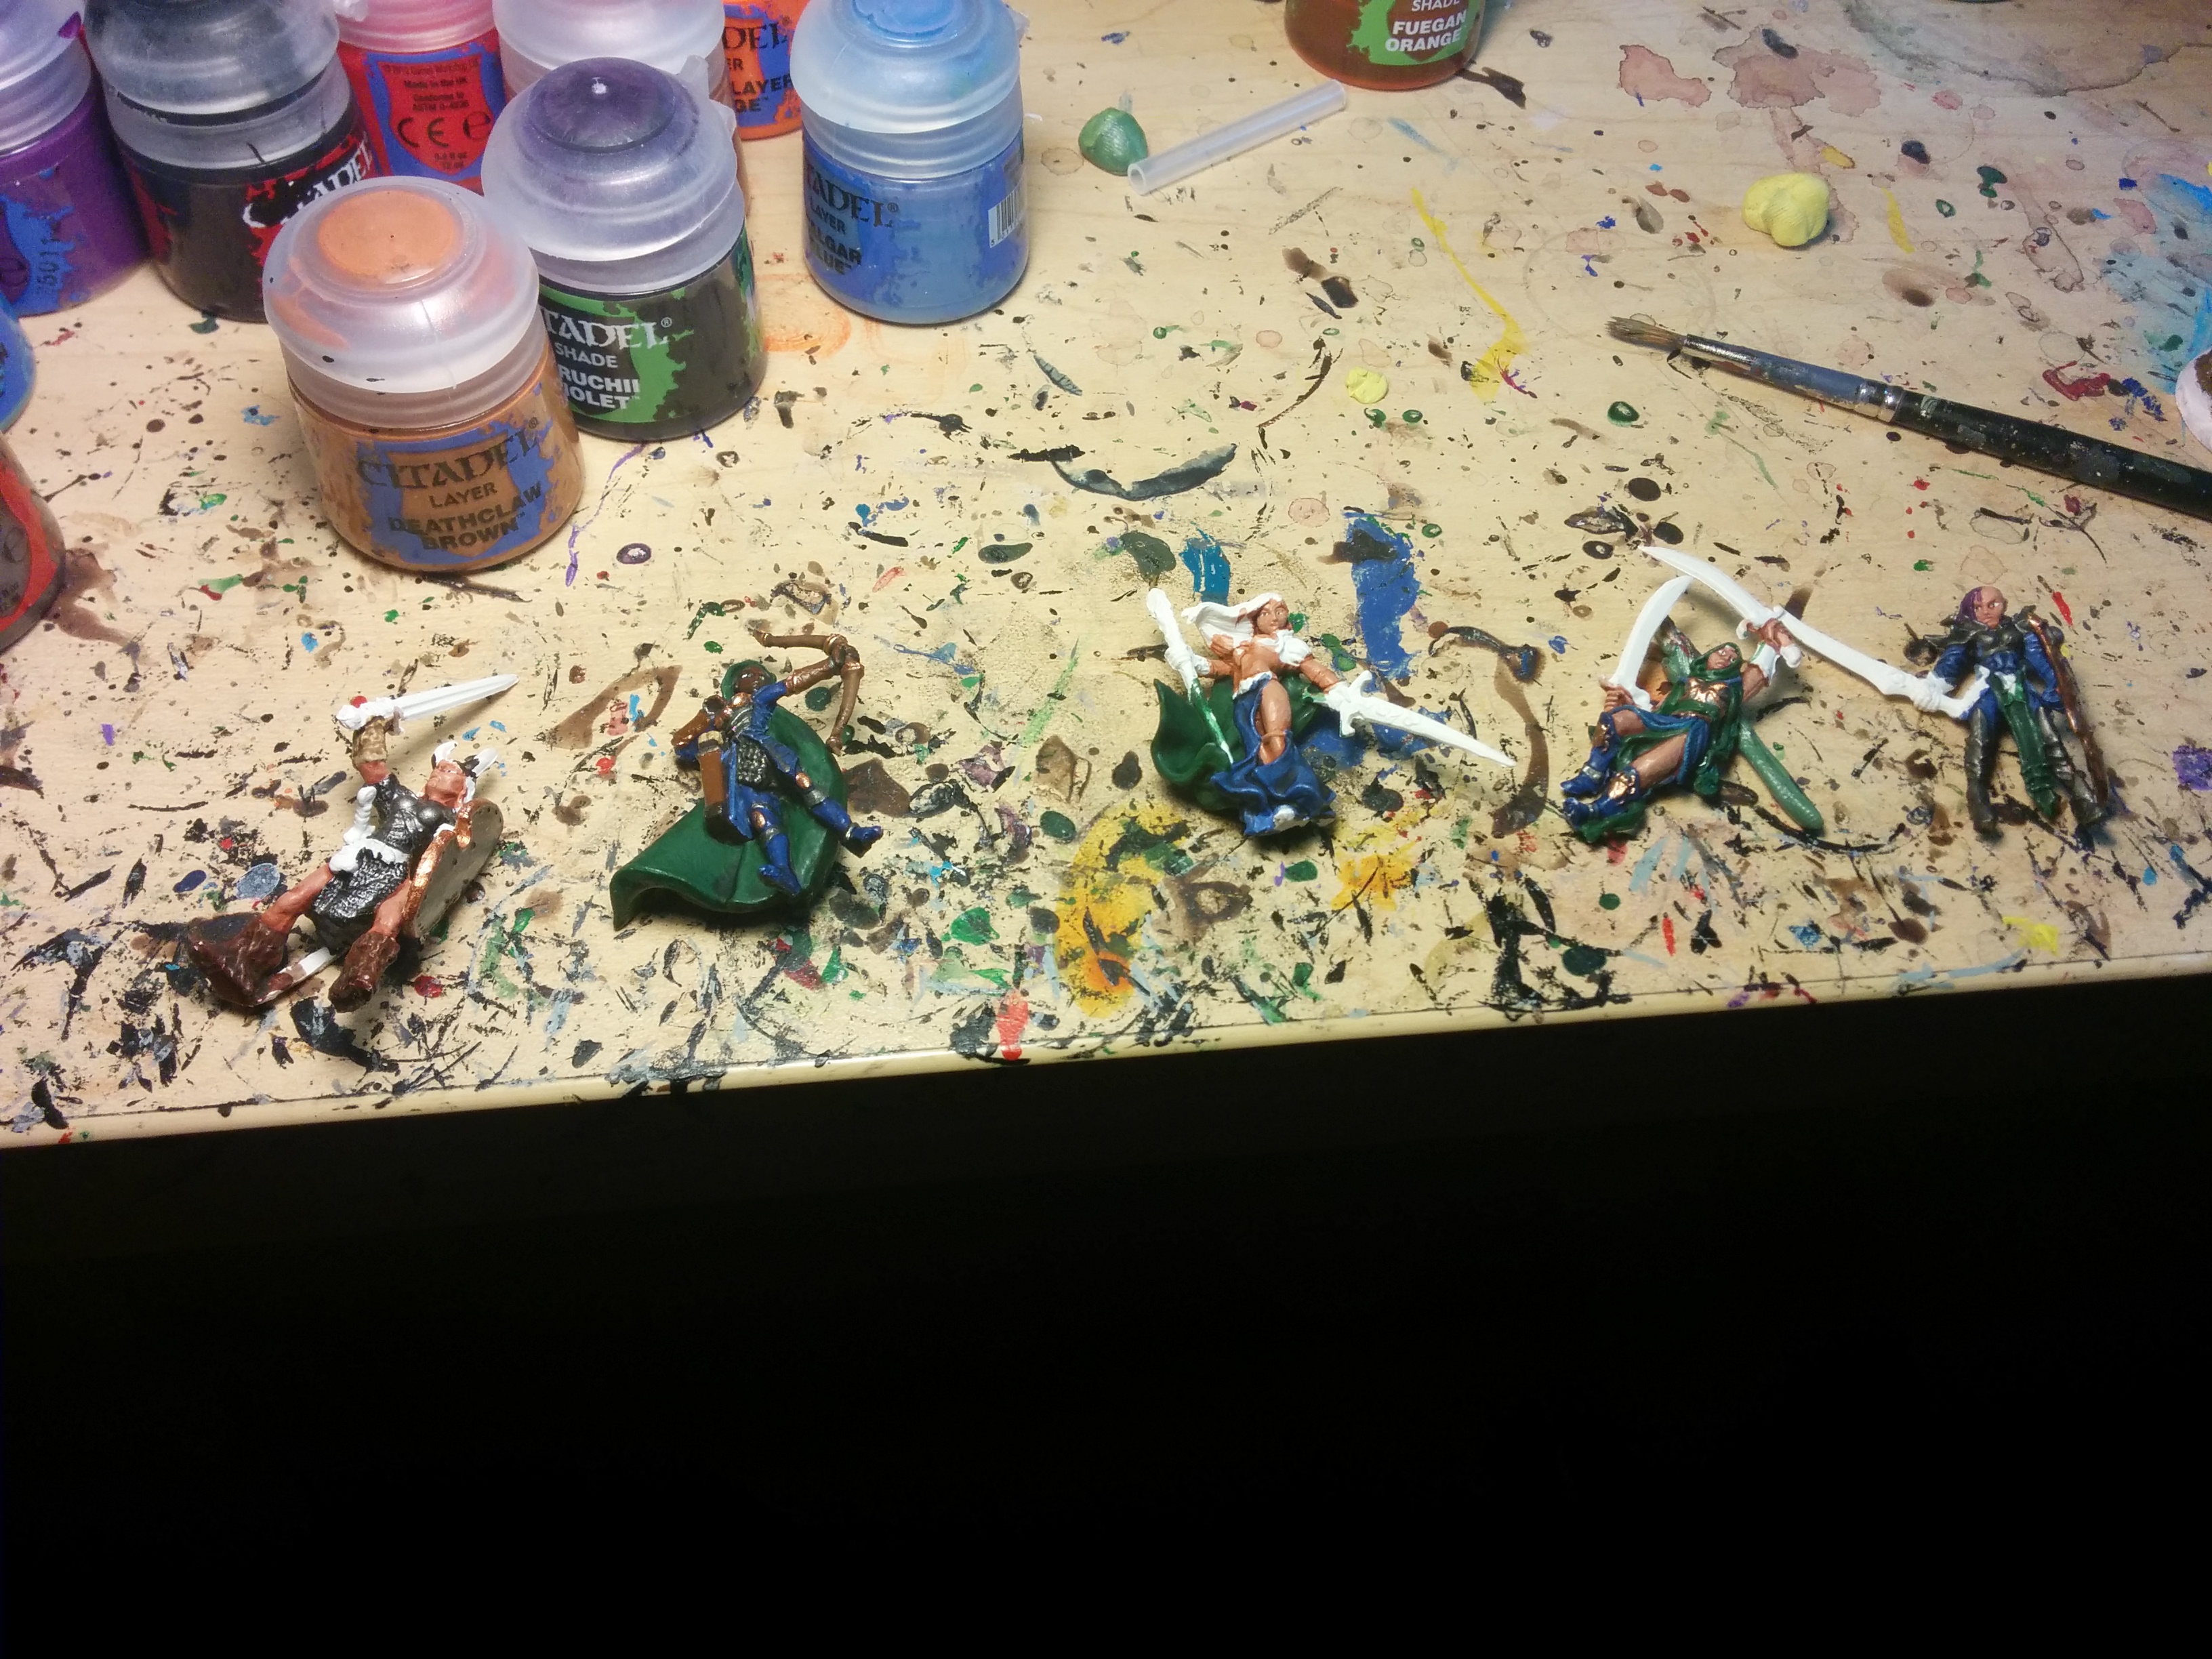
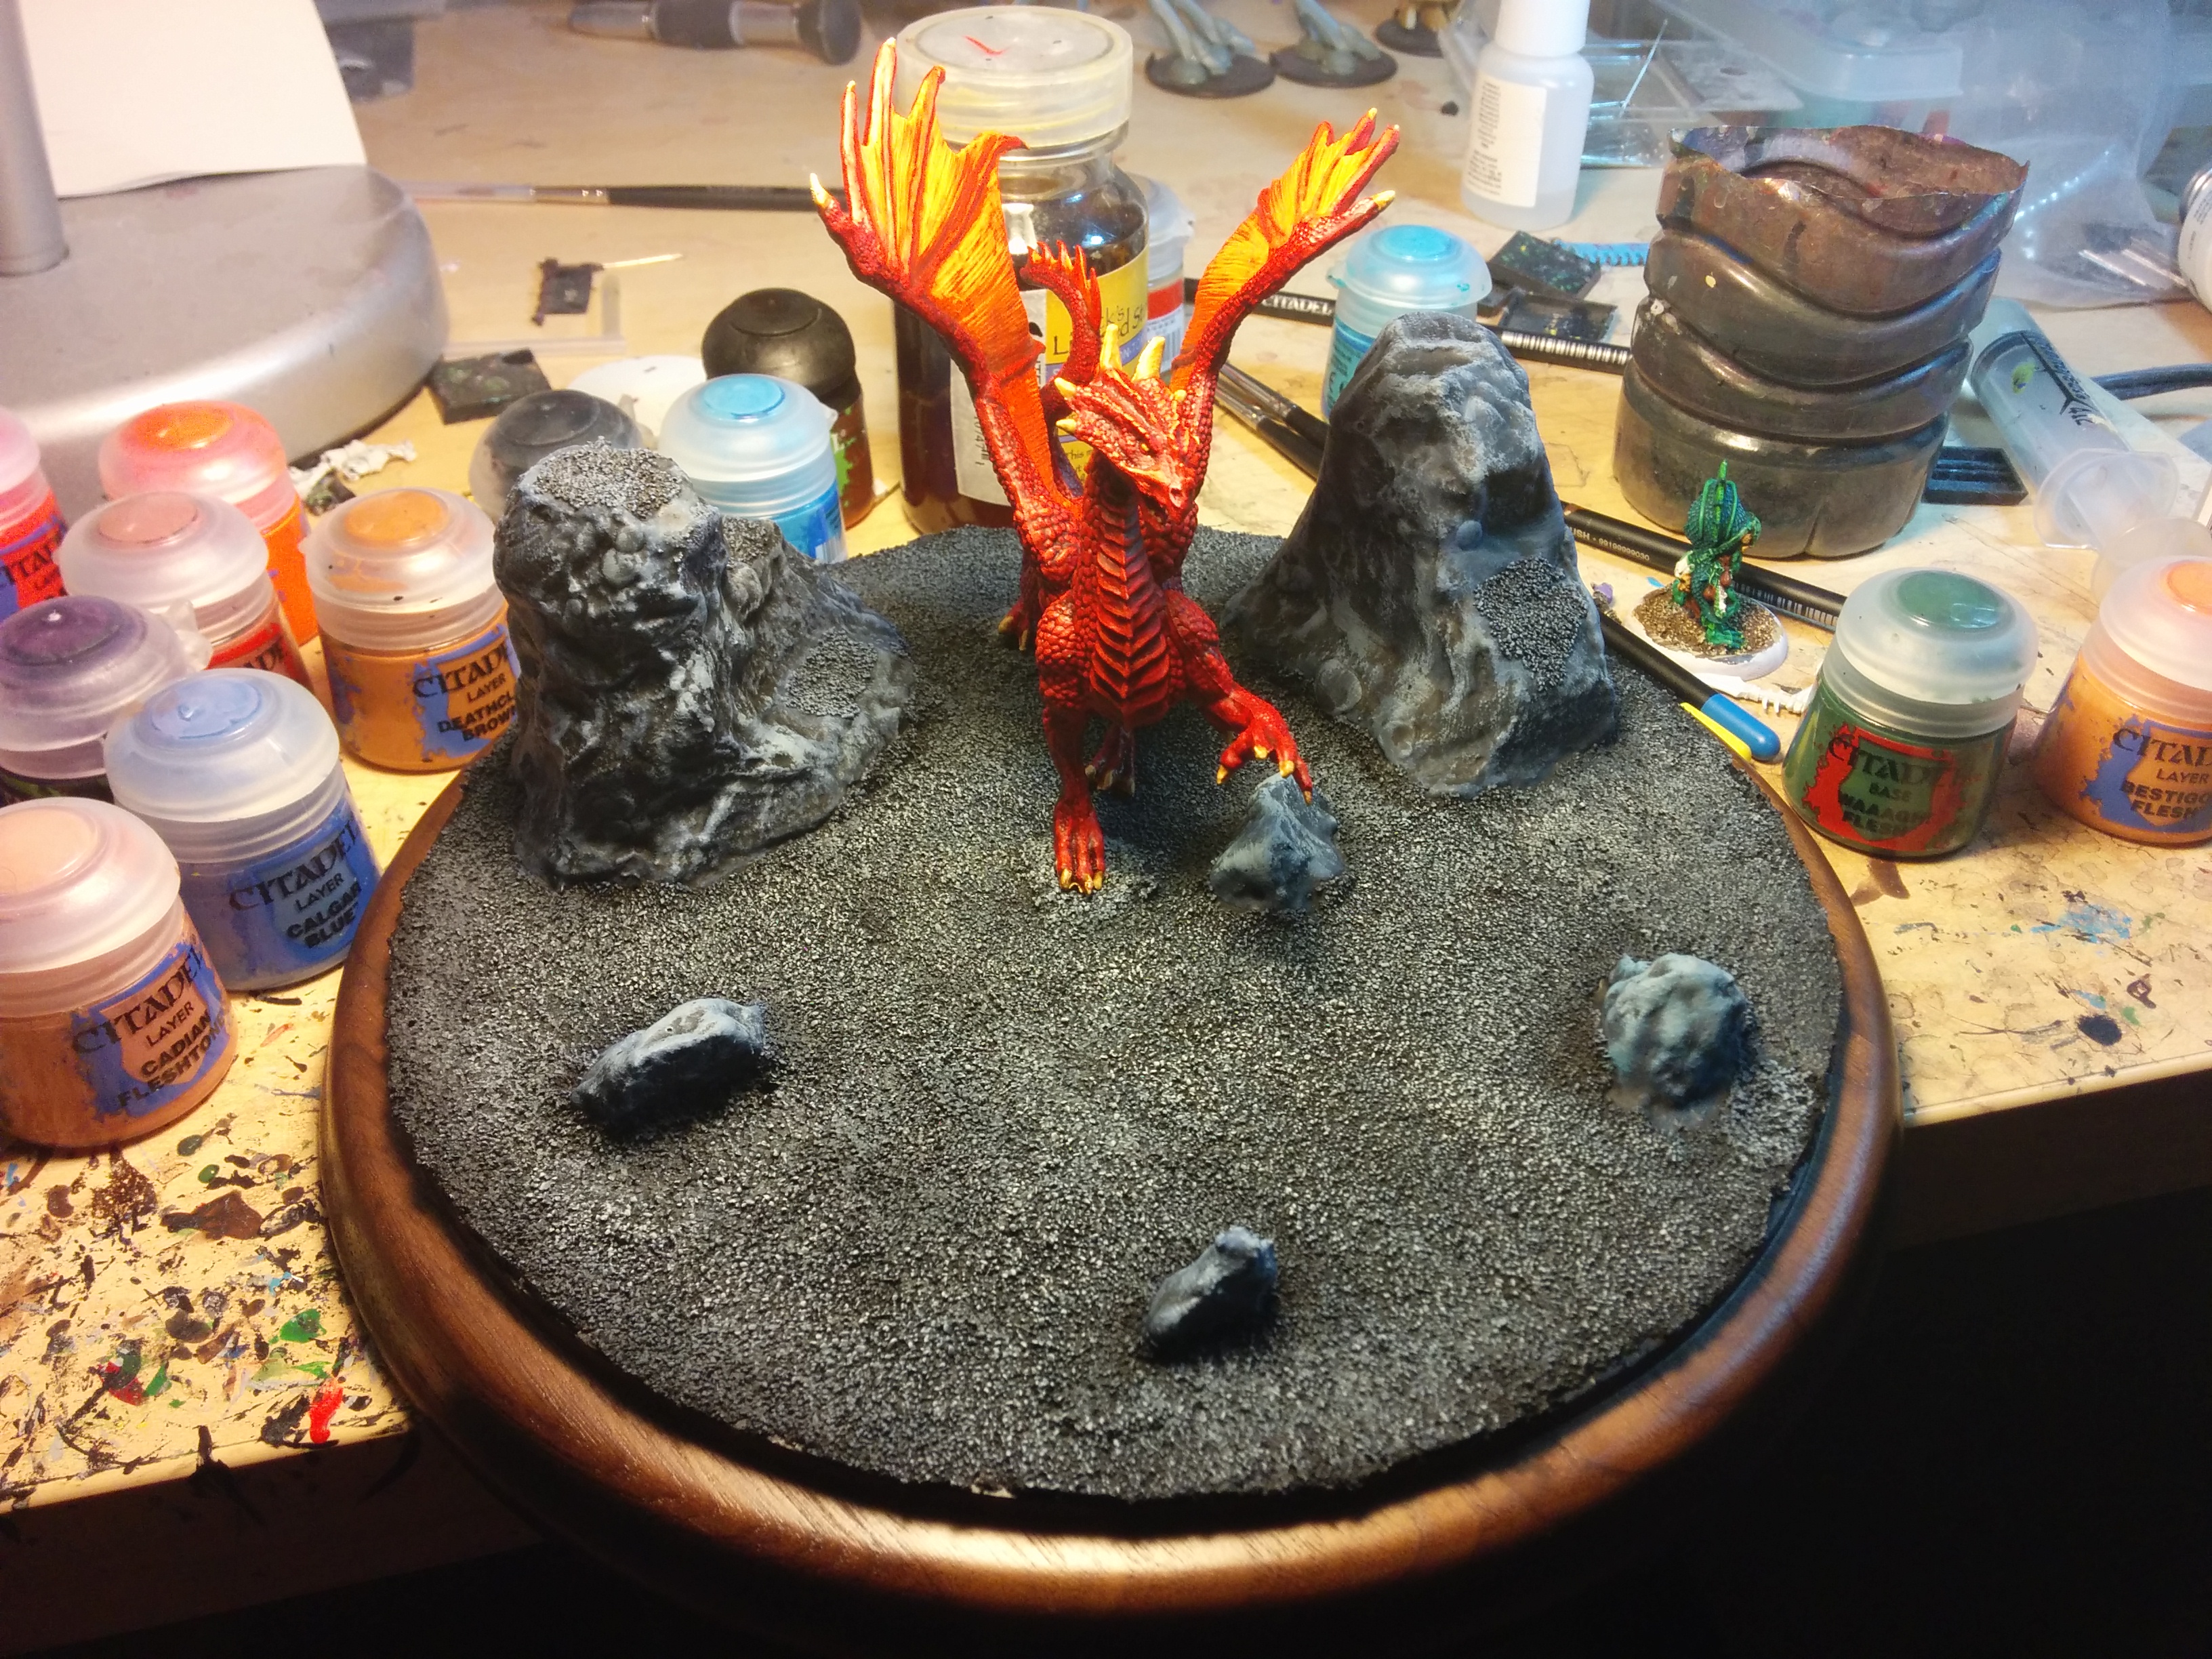
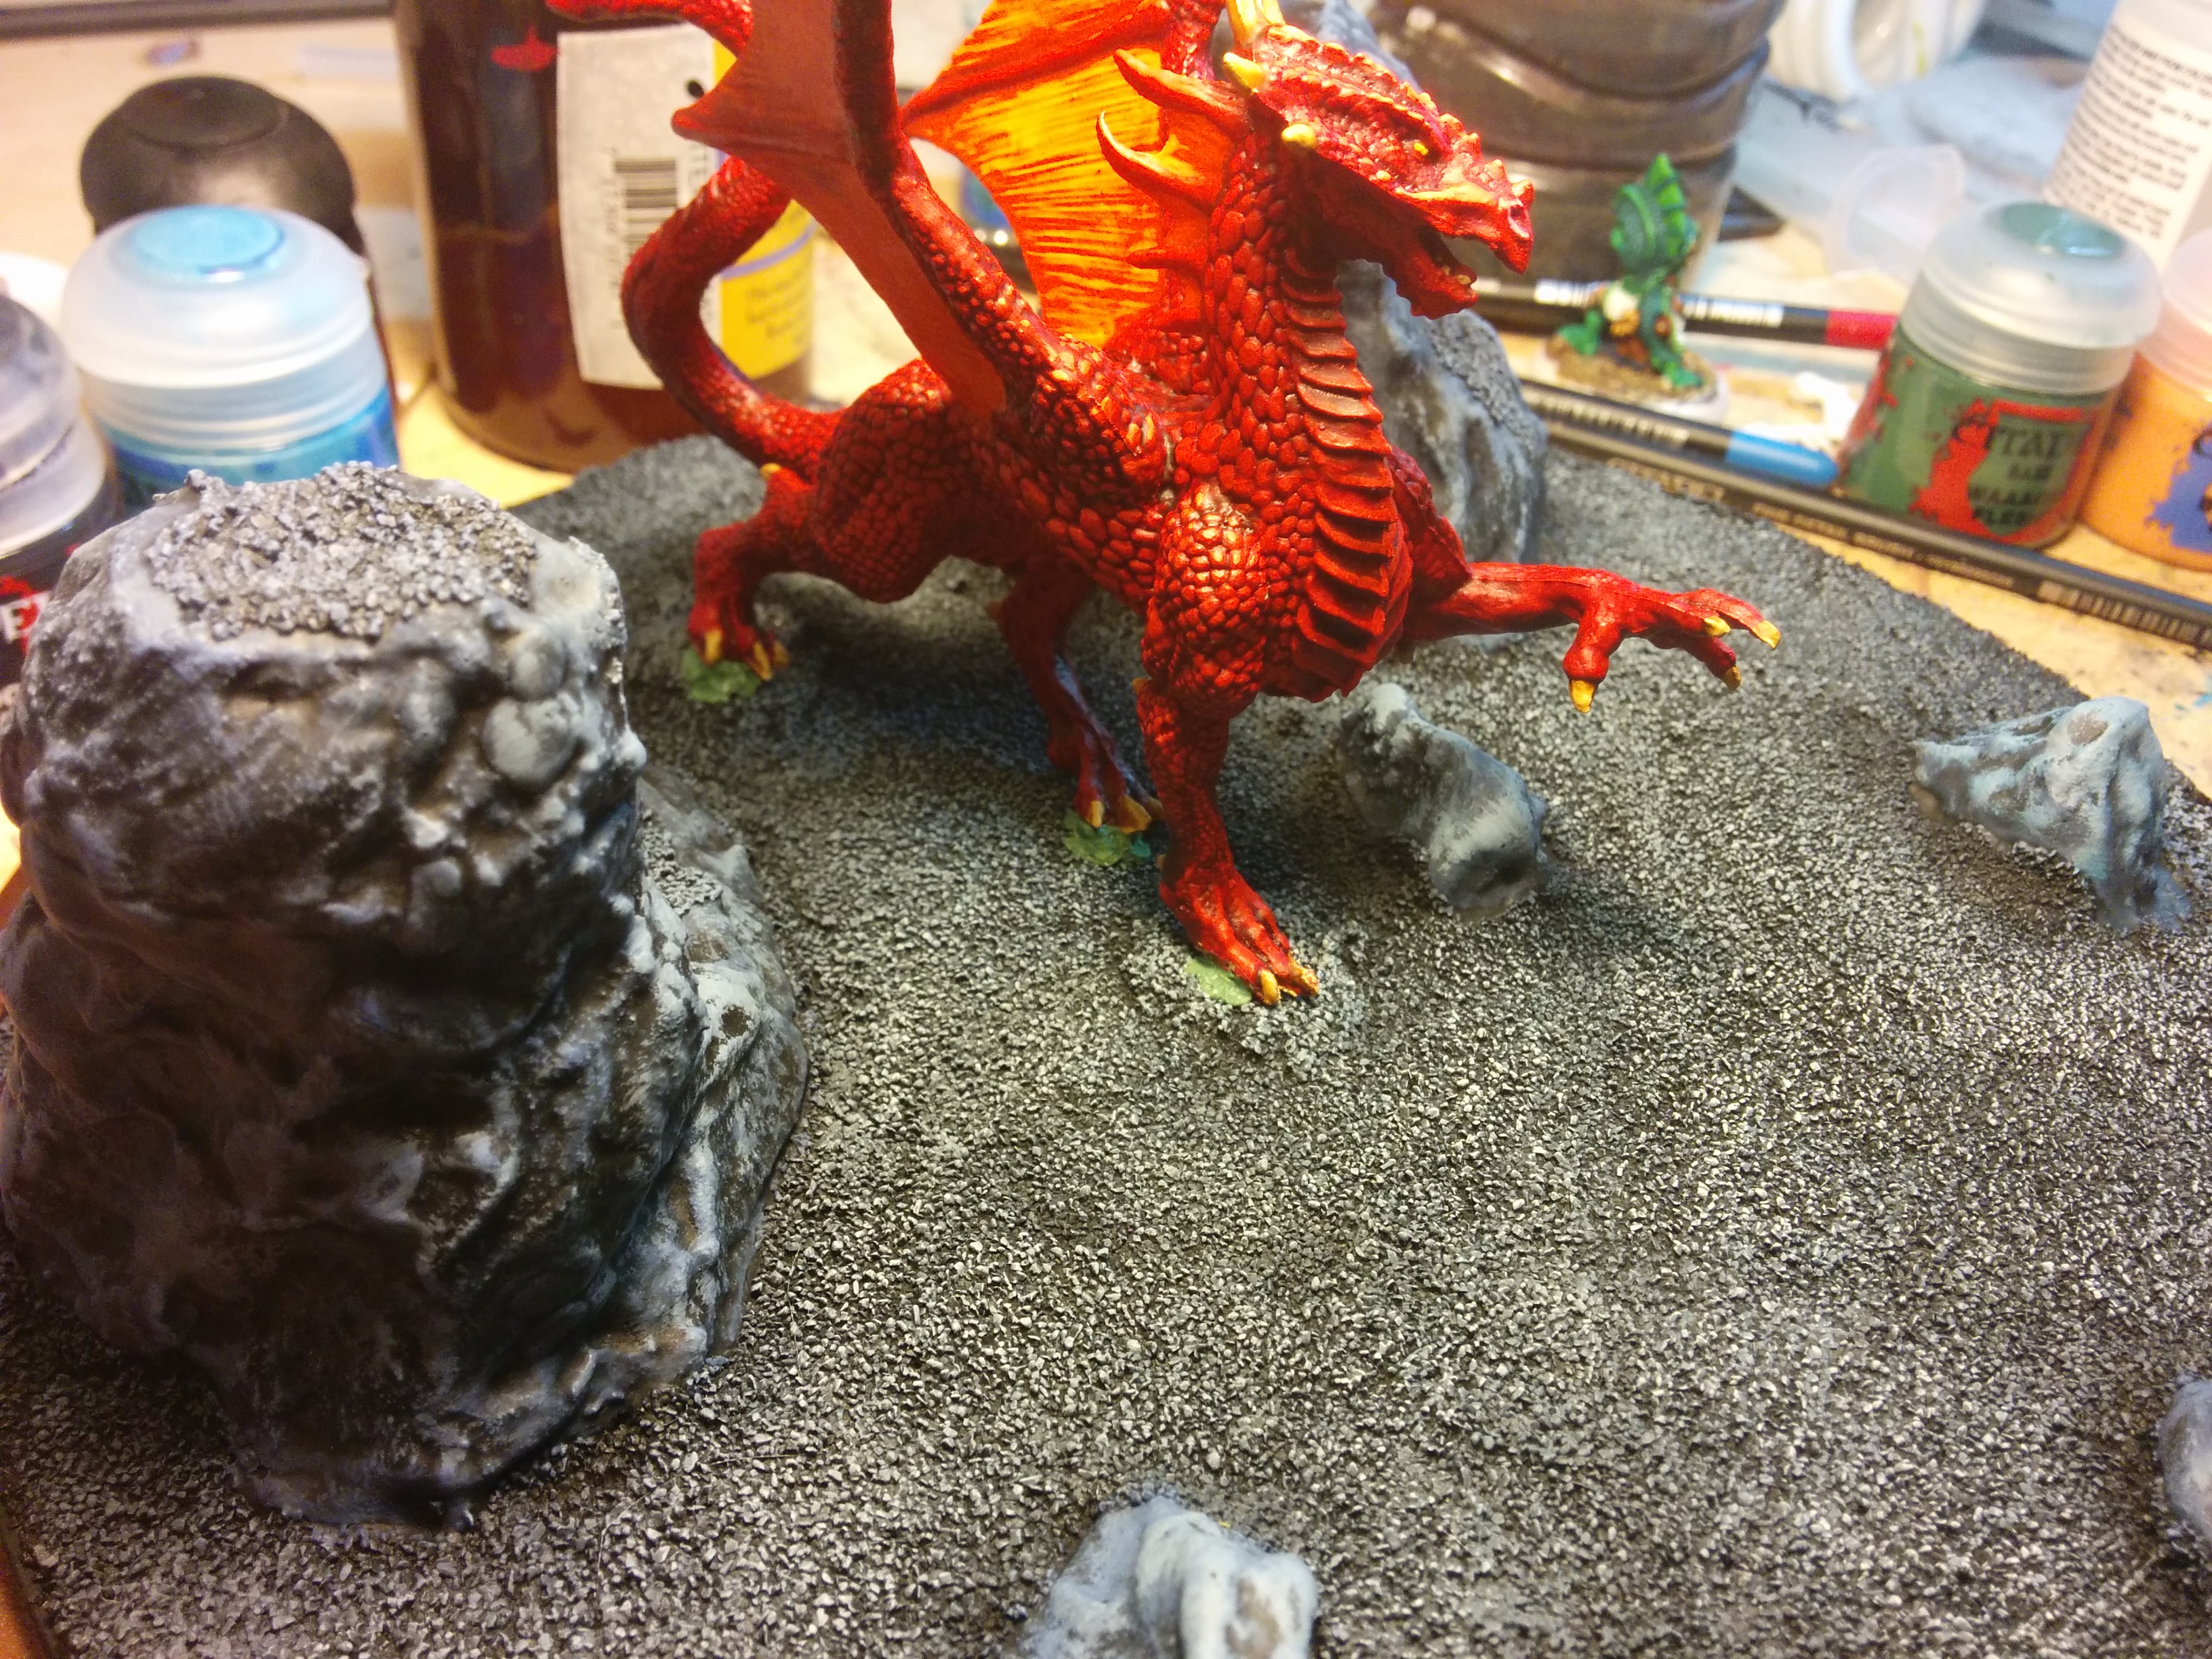
I first came up with this idea when I was looking through the Reaper Bones II minis and trying to figure out what I wanted to paint first. I found an old trophy base, left over from another project. I started messing around with positioning some adventurers fighting a monster, and decided on the party and the dragon.Because of the poses of the minis, I knew I would need some kind of raised platform. (Paladin is looking DOWN, for some reason, and Rogue looks like she’s jumping.) This meant a pause while I ordered some modeling foam and a foam cutter to make the rocks. Here I’ve kind of roughed out the positions and started cutting the rocks into shape. It leaves a lot of foam scrap!First up, painting the dragon. Here he is after his primer coat.Here’s the dragon slathered with his cherry-red basecoat.A wash and drybrush coat makes the scales pop a bit and adds some definition.Highlights added to the scales, and some additional details done. Starting to look a bit draconic!Added one of the wings. This is always an annoying choice — you can put things like wings on before you paint, which makes blending them in easer, but can also make some areas of the mini difficult to reach. As it was I had to spackle in some green stuff and repaint some bits.The base with rocks, sand, and masking tape. The rocks are covered in a foam protectant that is supposed to make it okay to spraypaint them. (Spraypaint eats foam.) This turned out to be a lie, or else I didn’t apply it thick enough, because some of the foam melted. I had to patch it with green stuff.Four drybrush coats on the sand to make it look ash-waste-y. Note the dragon footprints to show where he goes. Starting on the rocks.Wash coat applied and drying.First drybrush coat on the little rocks, but not the big ones yet.Second or third drybrush coat.The base is more or less done!Our brave adventurers, with their bases cut off.Post primer coat.Working on the flesh tones first.These are at (roughly) the end of the day.Progress!Getting there! It’s nice to have multiple things to work on at once, so I can move from one to the other while paint dries.Almost done!Just highlights and some final touchups.The green cloaks got most of the highlighting. This is what they look like beforehand.The dragon attached to the base!Basically finished adventurers.I had to put some green stuff under his feet to make sure he stayed grounded.This is what probably annoyed me most about the whole project, even counting the melting foam. The dragon’s left hind leg bent after I painted him, so that now his pose doesn’t really look natural. Very annoying. The plastic that Reaper Bones is made from is weird.Pretty much done! Some last touchups and fixes, and then off to take good (maybe) photos!
Lessons Learned
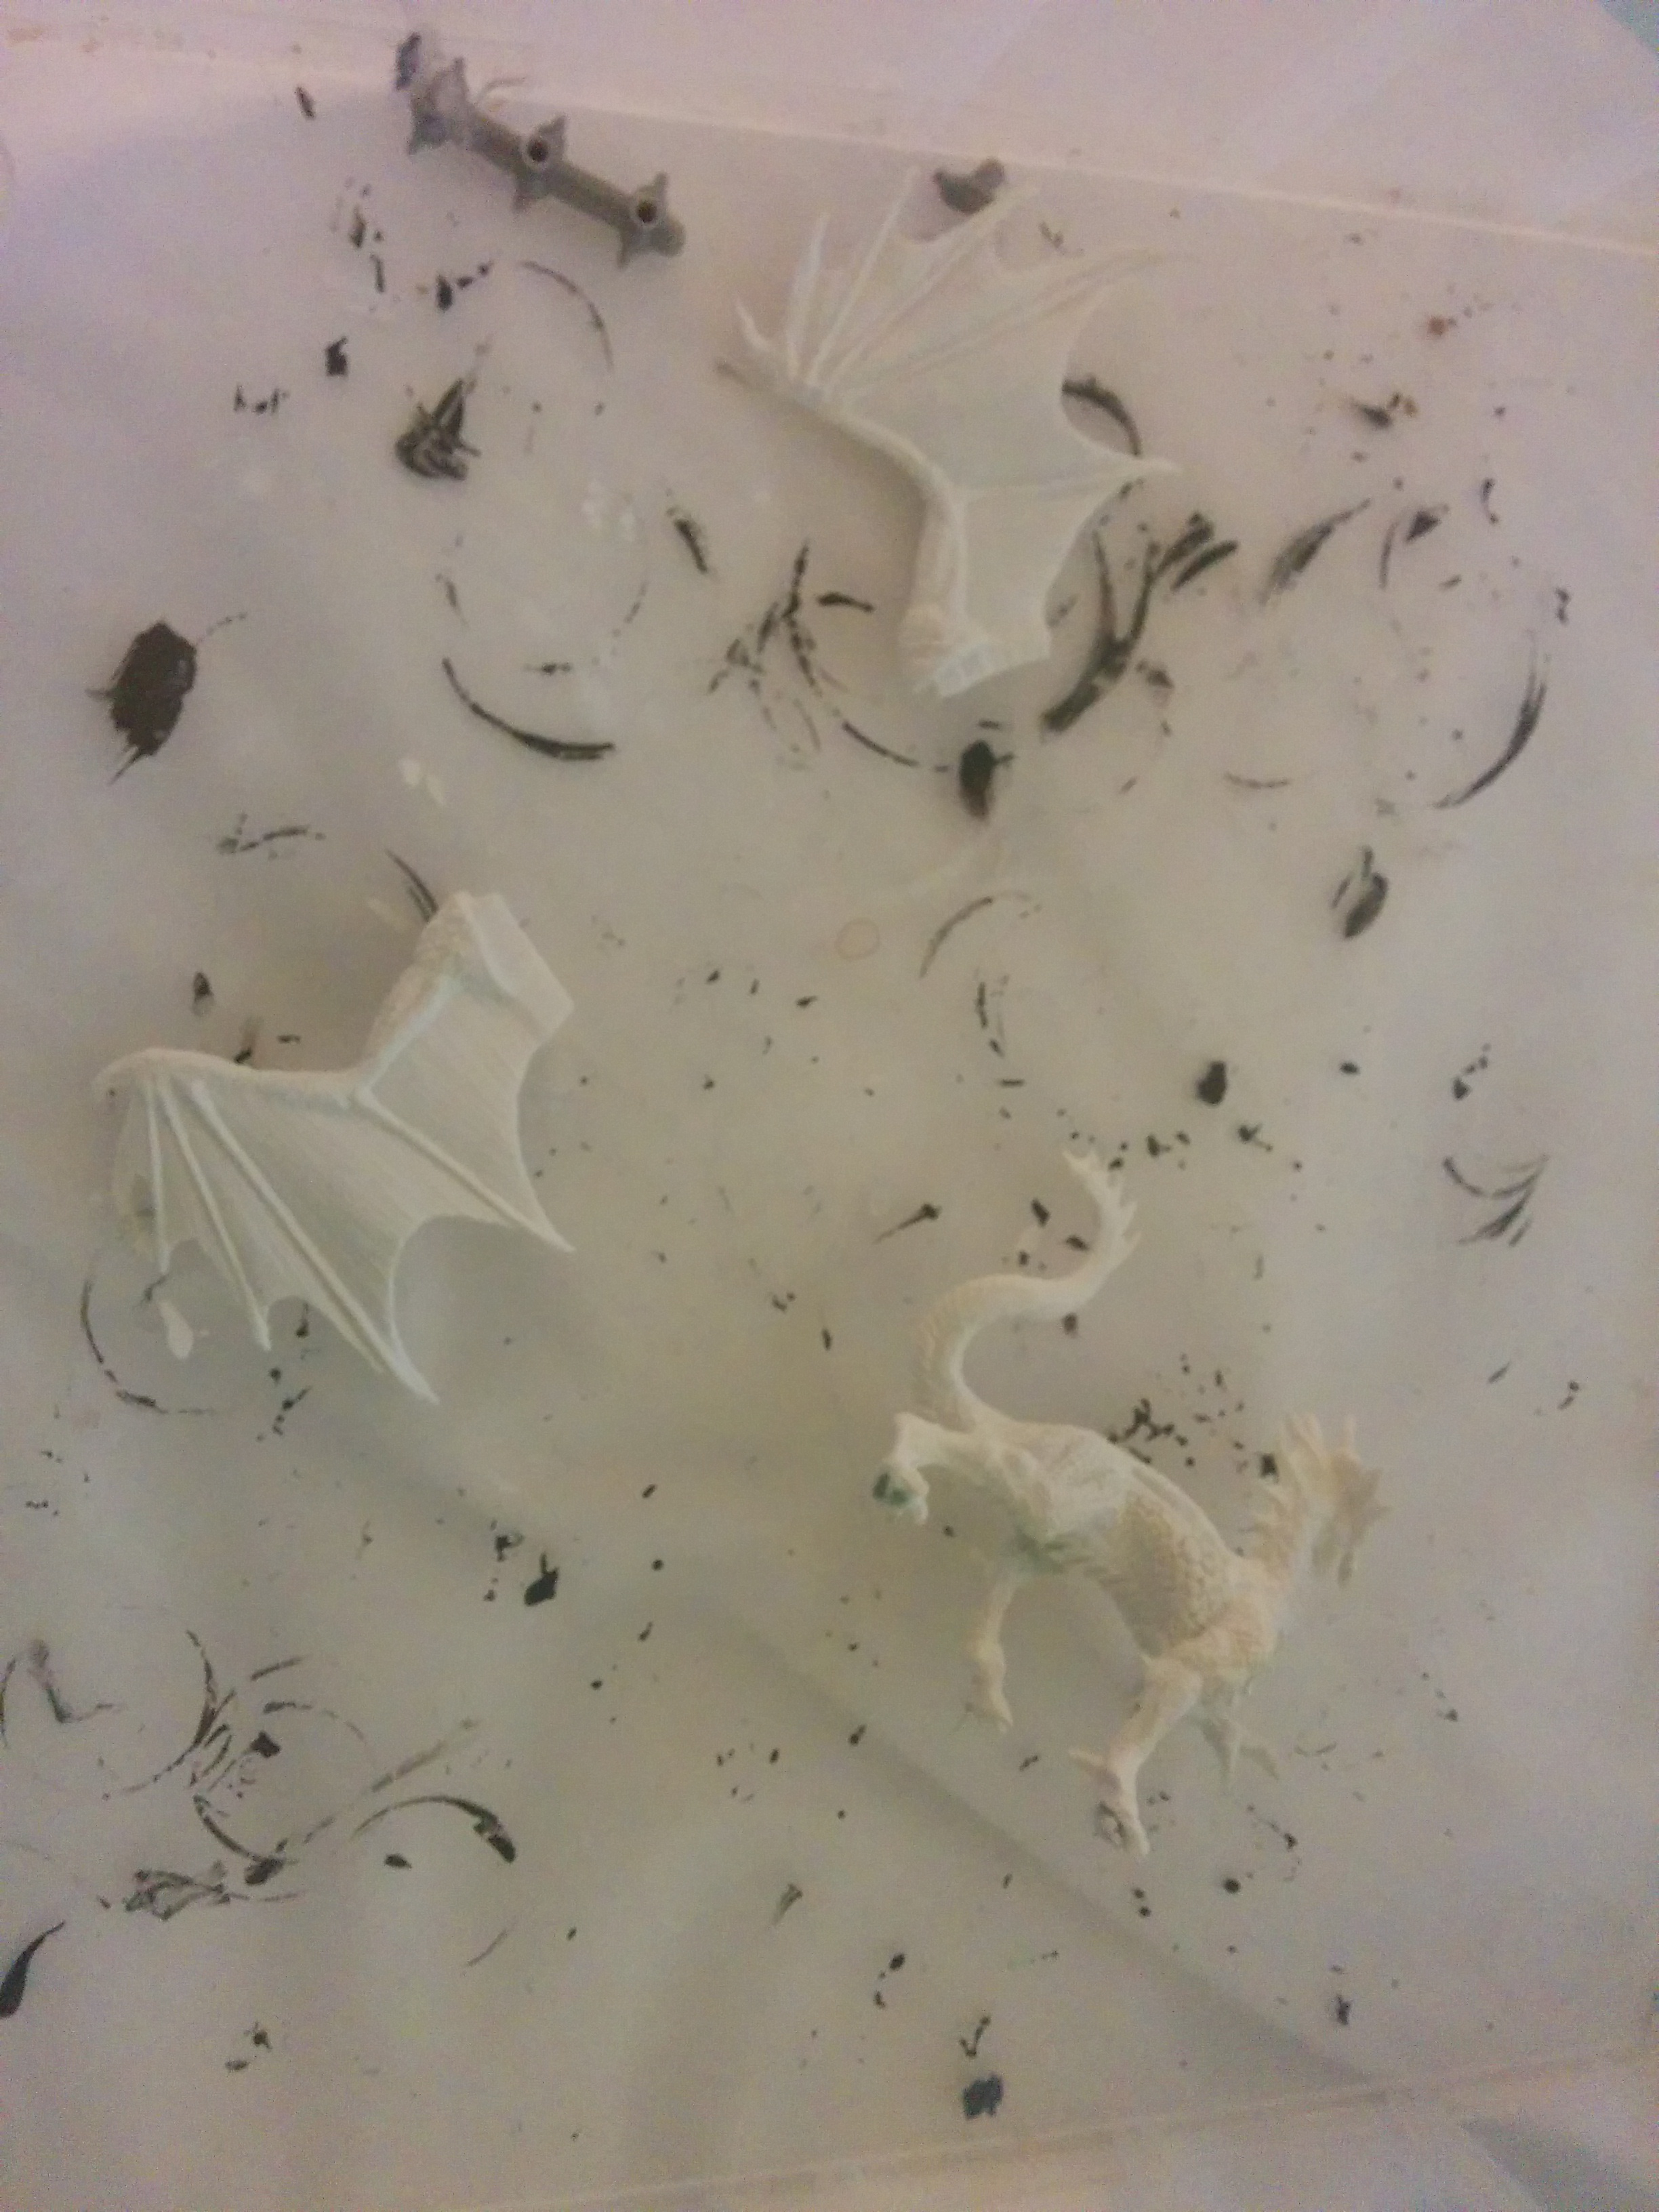
The “bonesium” stuff that Reaper Bones minis are made of is tricky. It’s neat in some ways, as flexible as a plastic toy, so it’s easy to temporarily move an arm out of the way to get an angle at something. But a bunch of the minis I got are twisted or bent permanently, and I’m not sure how to fix them. The approach that works on resin minis — heat in boiling water, re-bend, quench in ice water — seems to work, but the minis return to their bent shape after a couple of days. Internet studies suggest more boiling time? Need to experiment.
Modeling foam is also tricky. Superglue and spray paint both dissolve it like acid. The foam coat stuff protects it somewhat, but not completely, although it does mask the too-regular foam texture. Next time I will probably still use foam coat but paint by hand. This is annoying, though, because painting sand manually is a PITA.
Need to think harder about what happens at the edge of the modeled area. I had masking tape down to protect the wooden base, but when I pulled it off it left ragged bits of sand that I had to fix up and paint. Maybe some kind of lip made of green stuff?
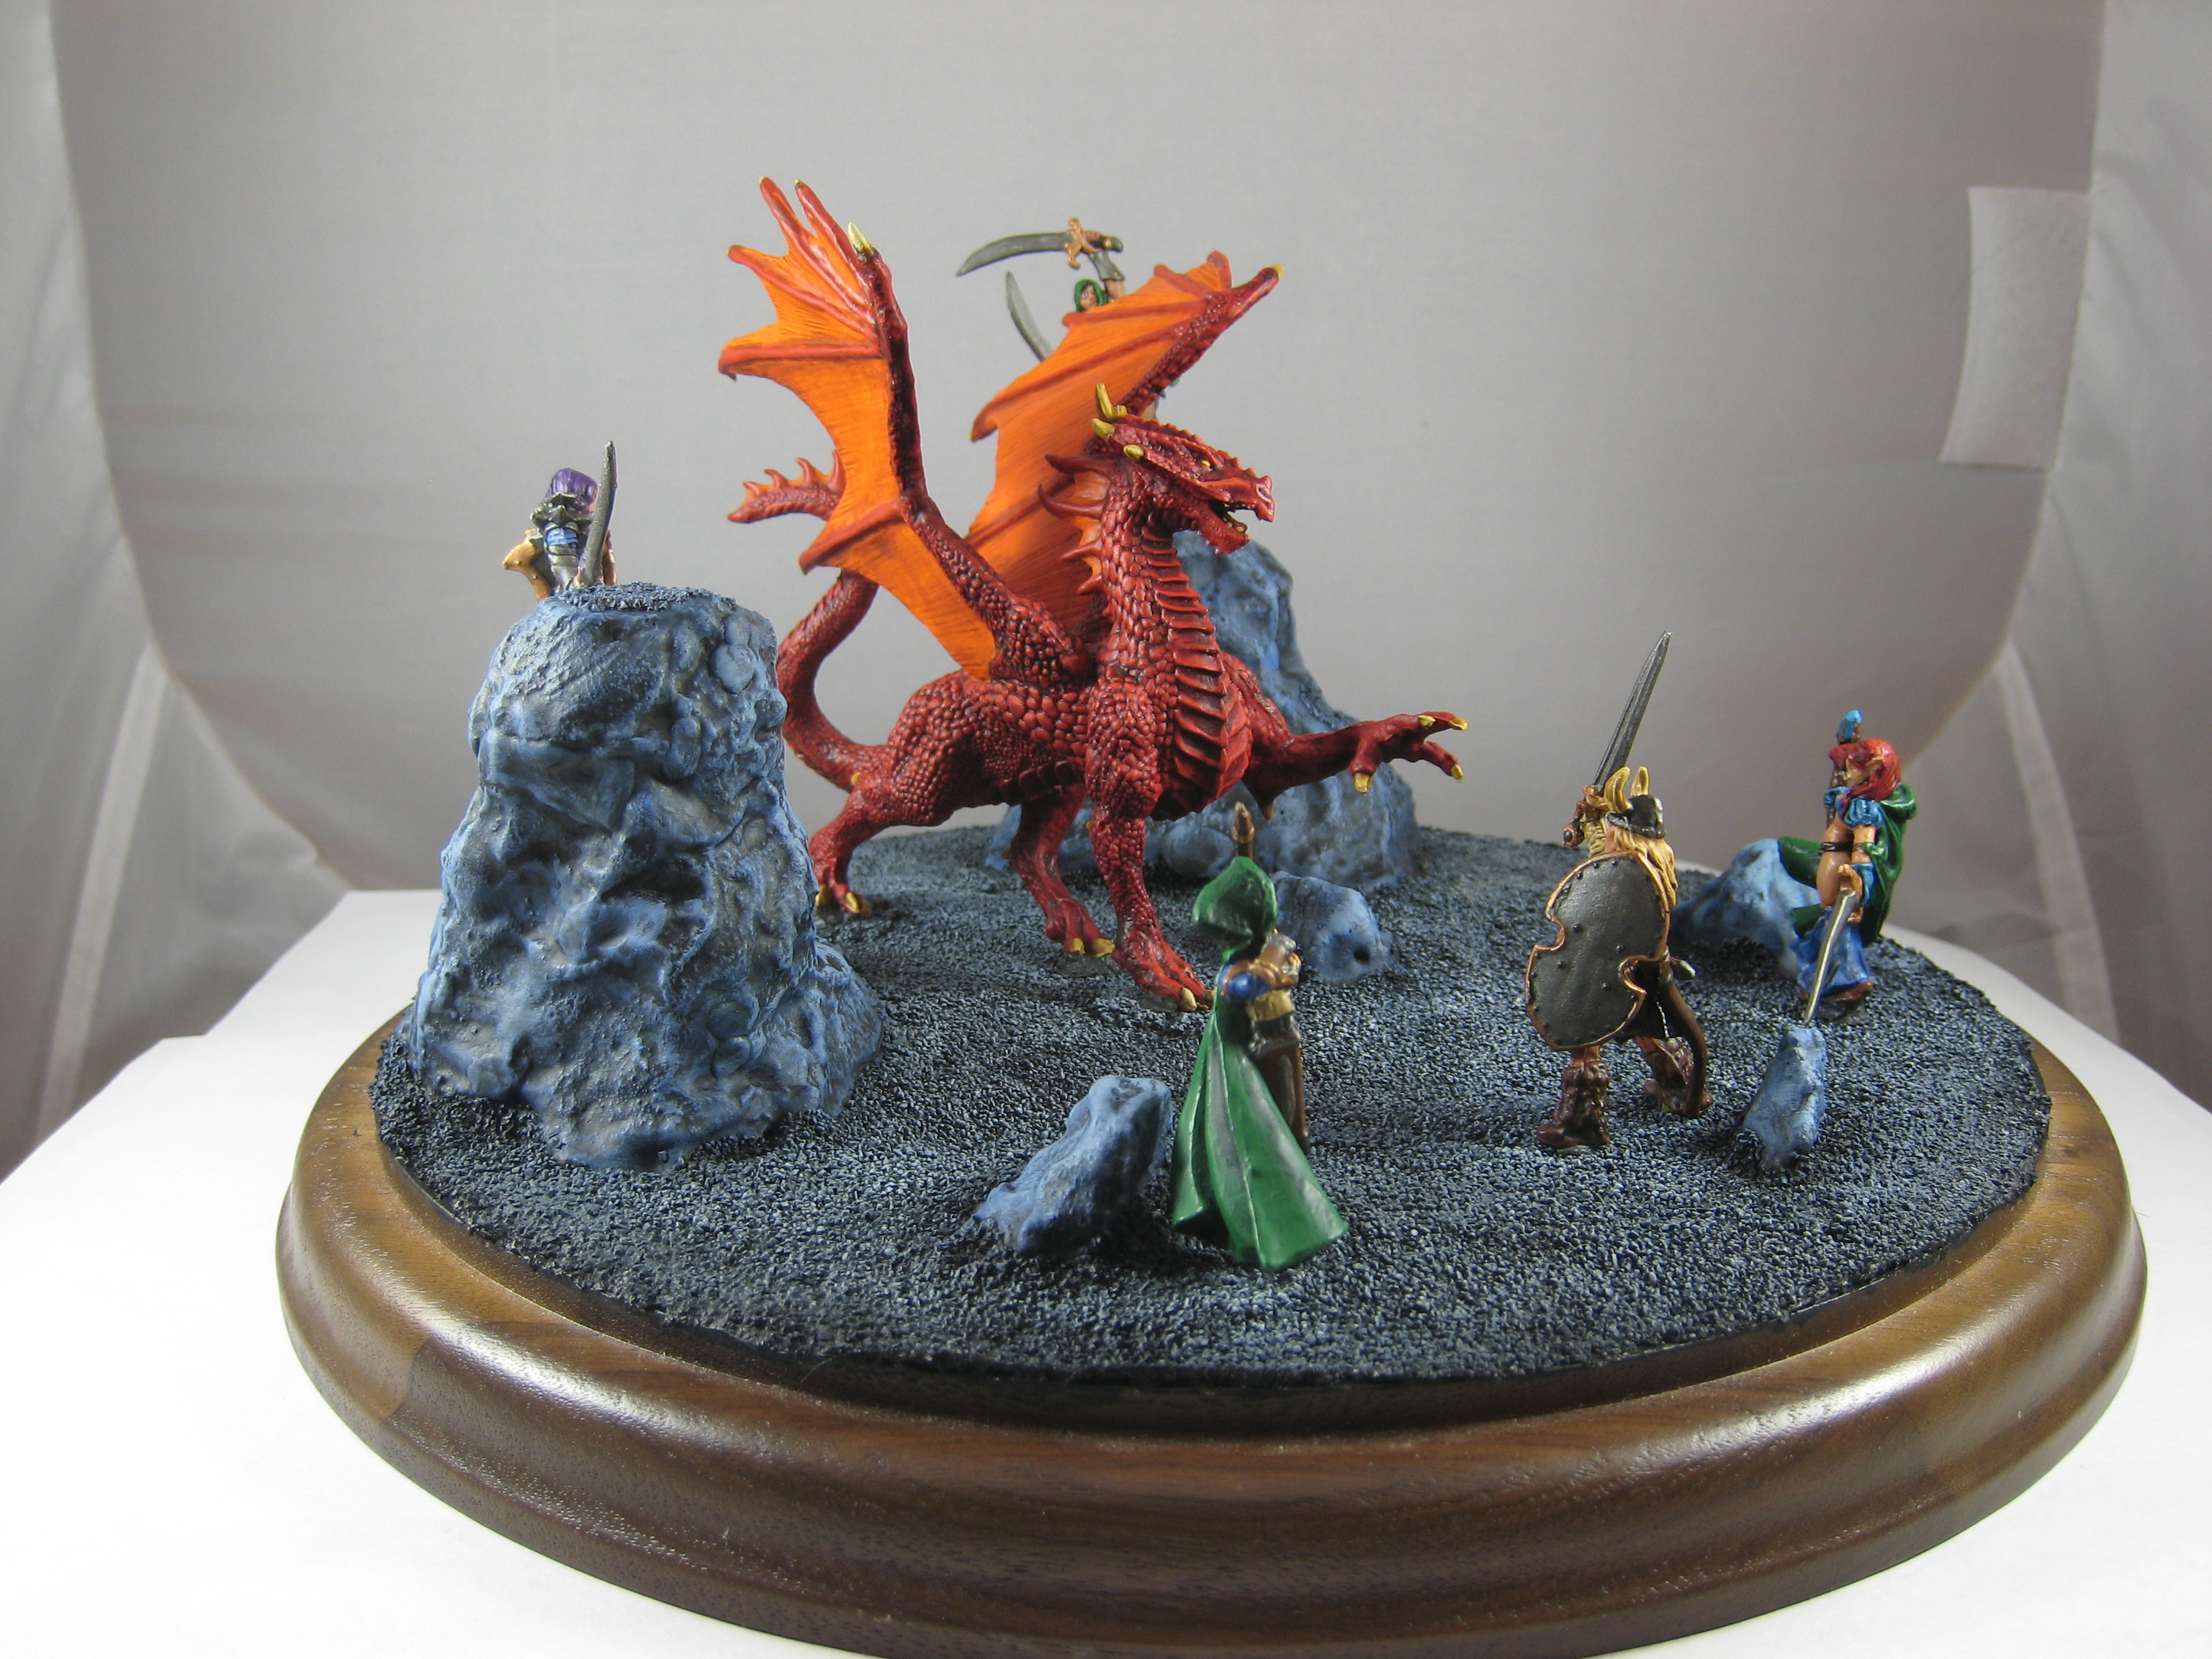
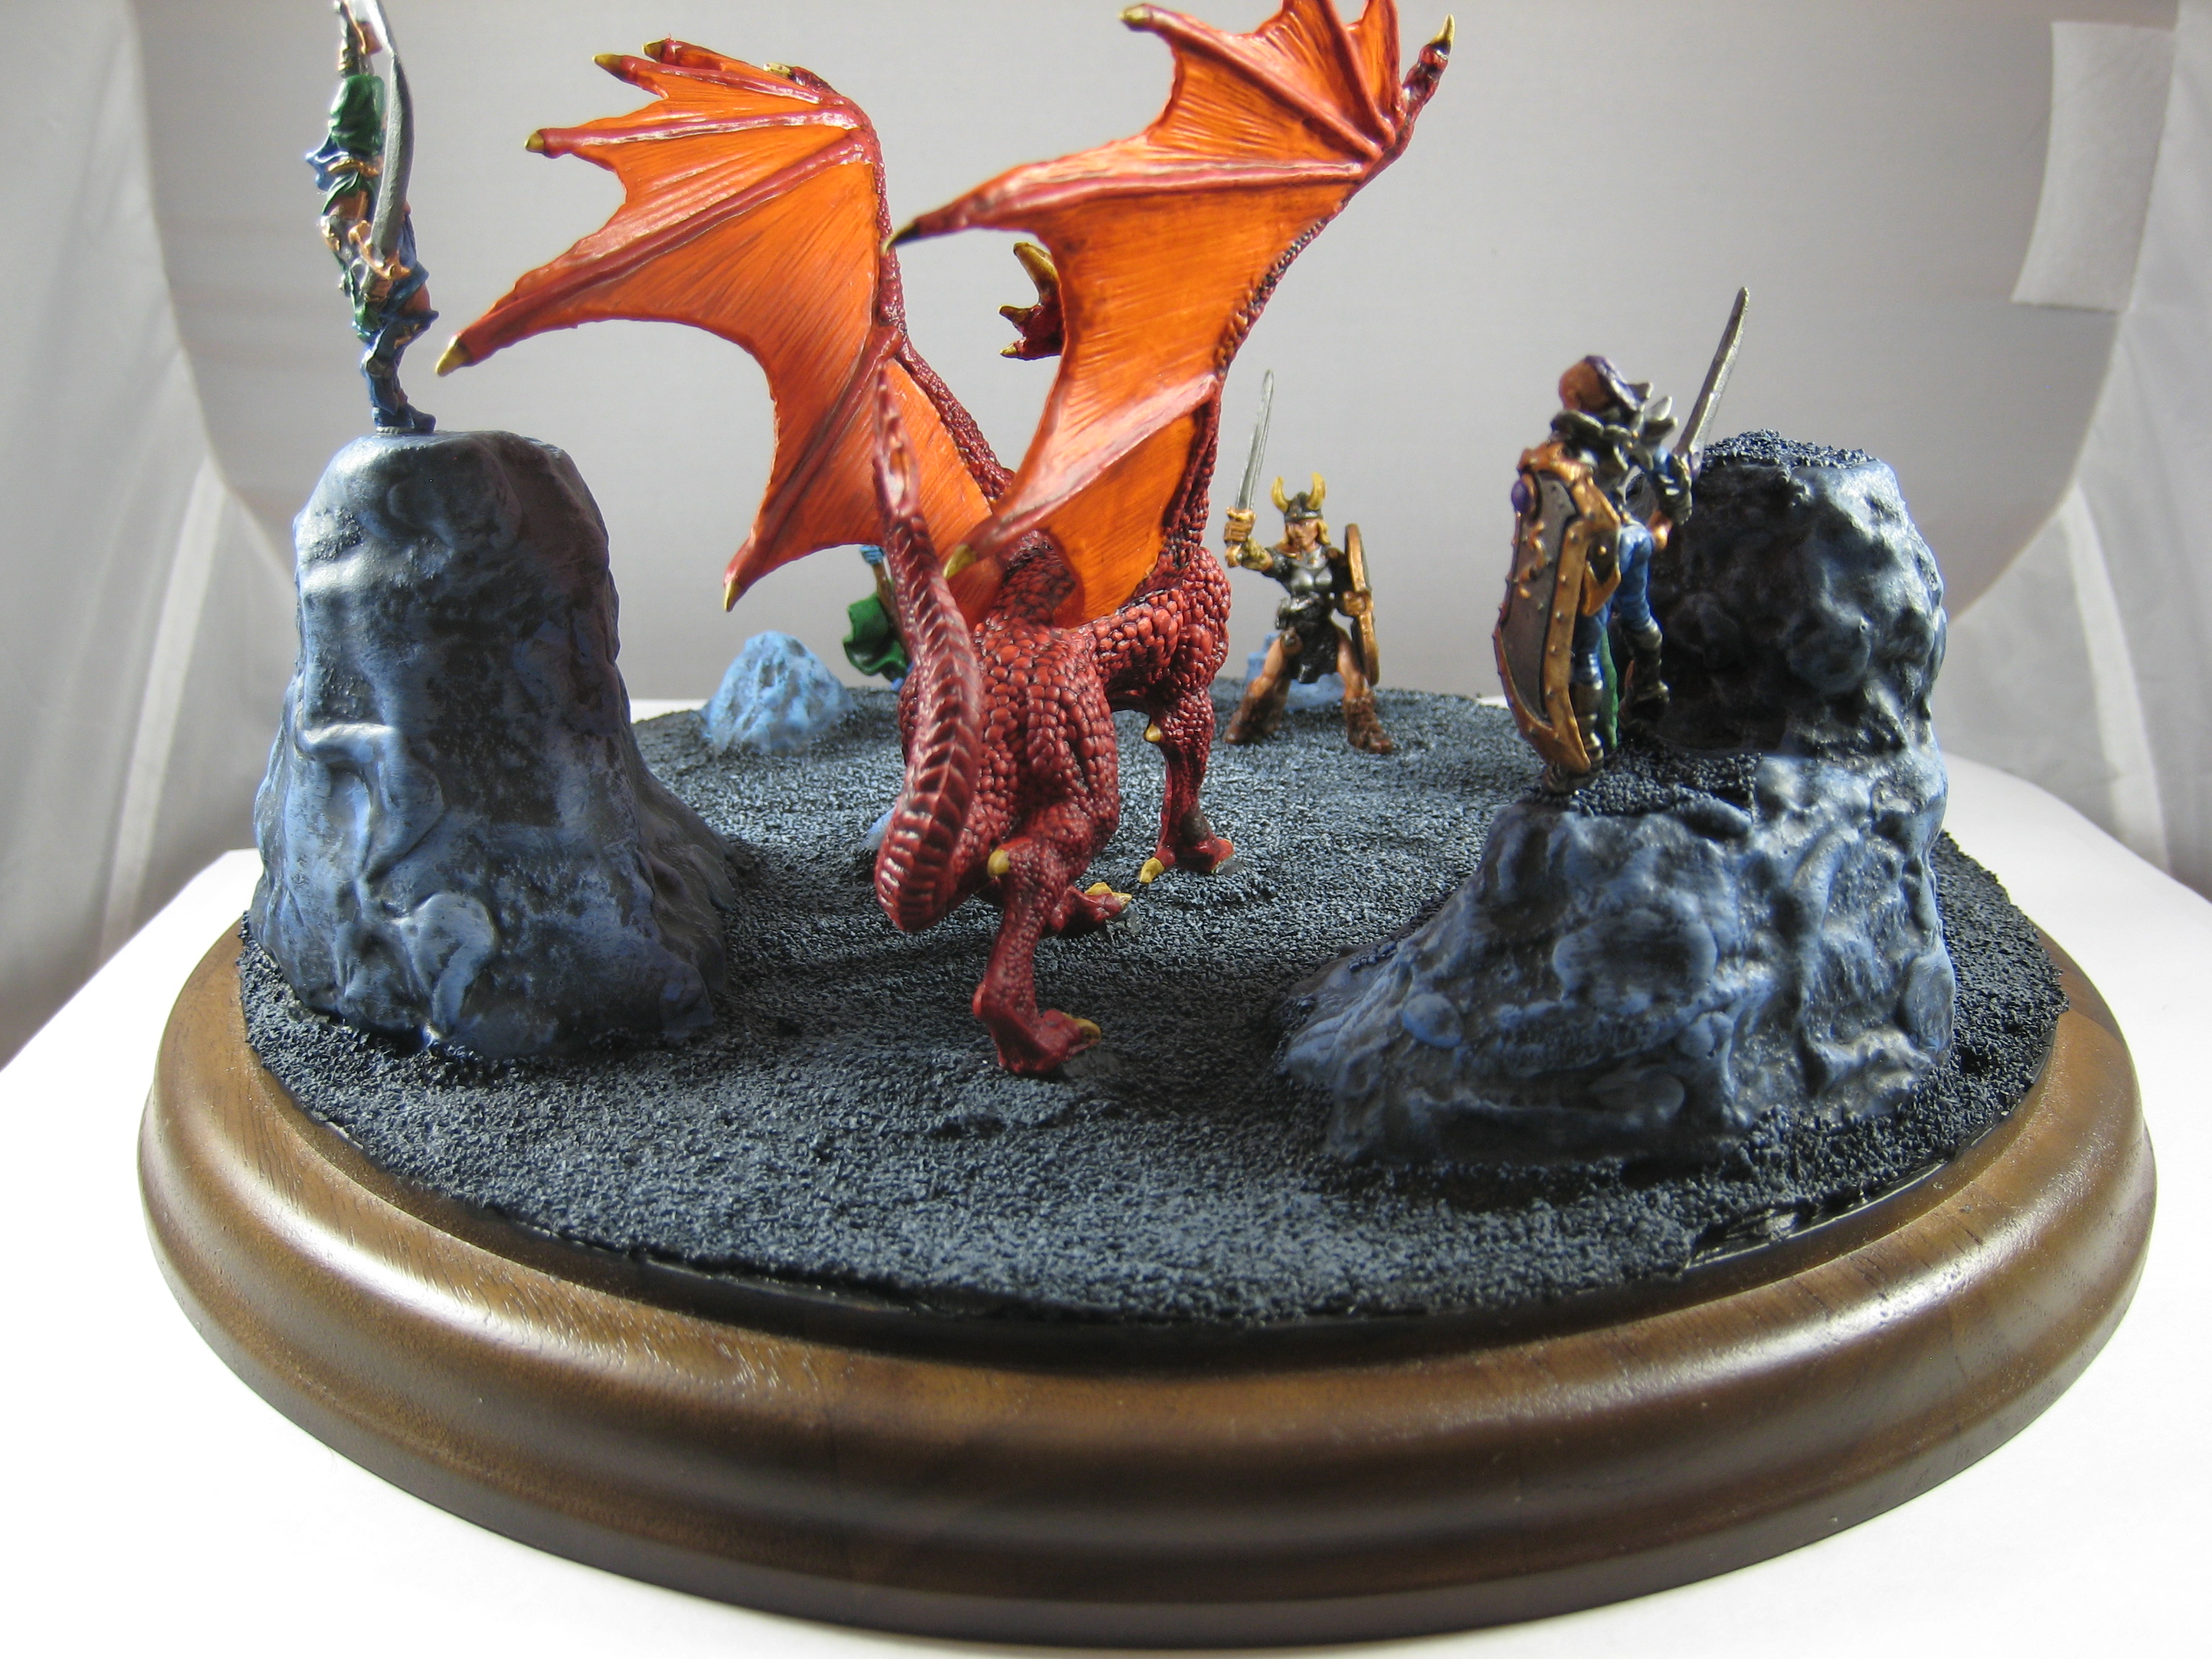
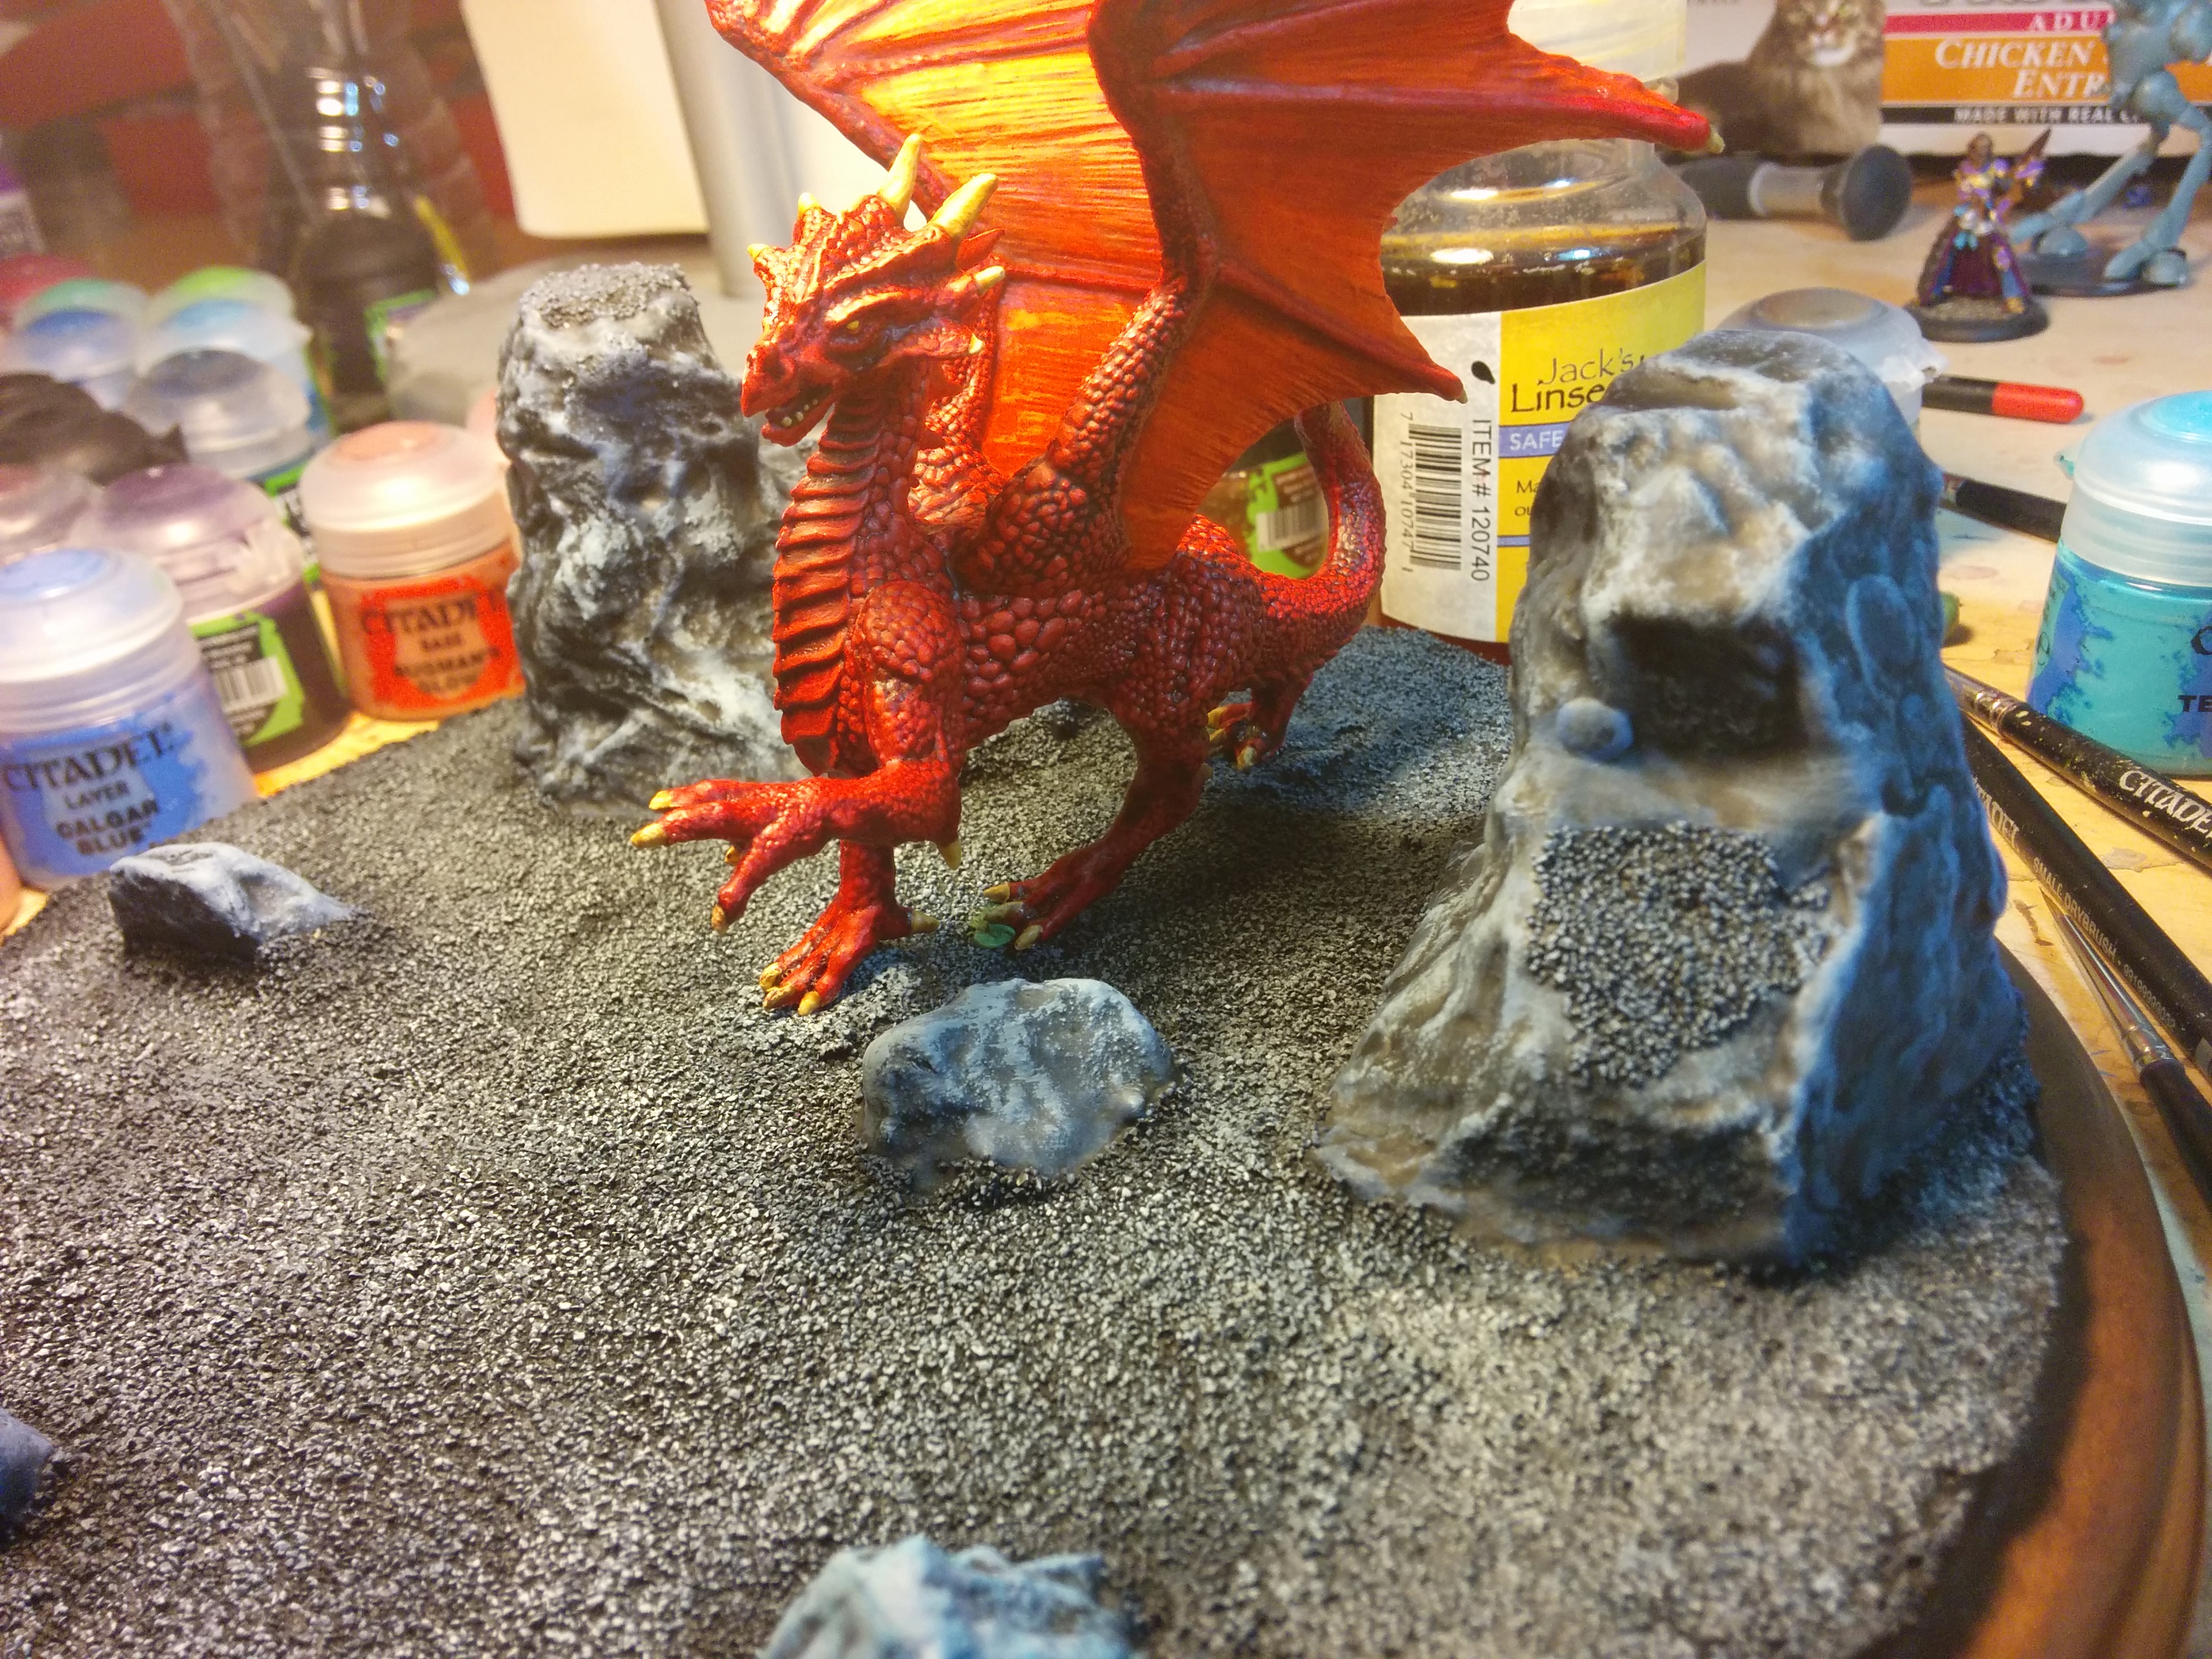
Composition. The color scheme worked well — gray-blue terrain, brilliantly red dragon, mostly blue-green adventurers. Also increasingly getting the hang of skin tones, including dark skin tones. The placement is trickier — this one looks fine if you can pick it up and manipulate it, but with the adversaries facing one another it’s hard to get good-looking pictures from one direction. May need to think of these arrangements as more theater-like with a single intended viewpoint.
Basing. I cut the Reaper minis off their bases, but realized later that unlike, say, GW minis, since they have built-in bases their feet aren’t always level. This meant some last-minute fixes to the terrain, which I should have built in from the start. More testing and mockups.
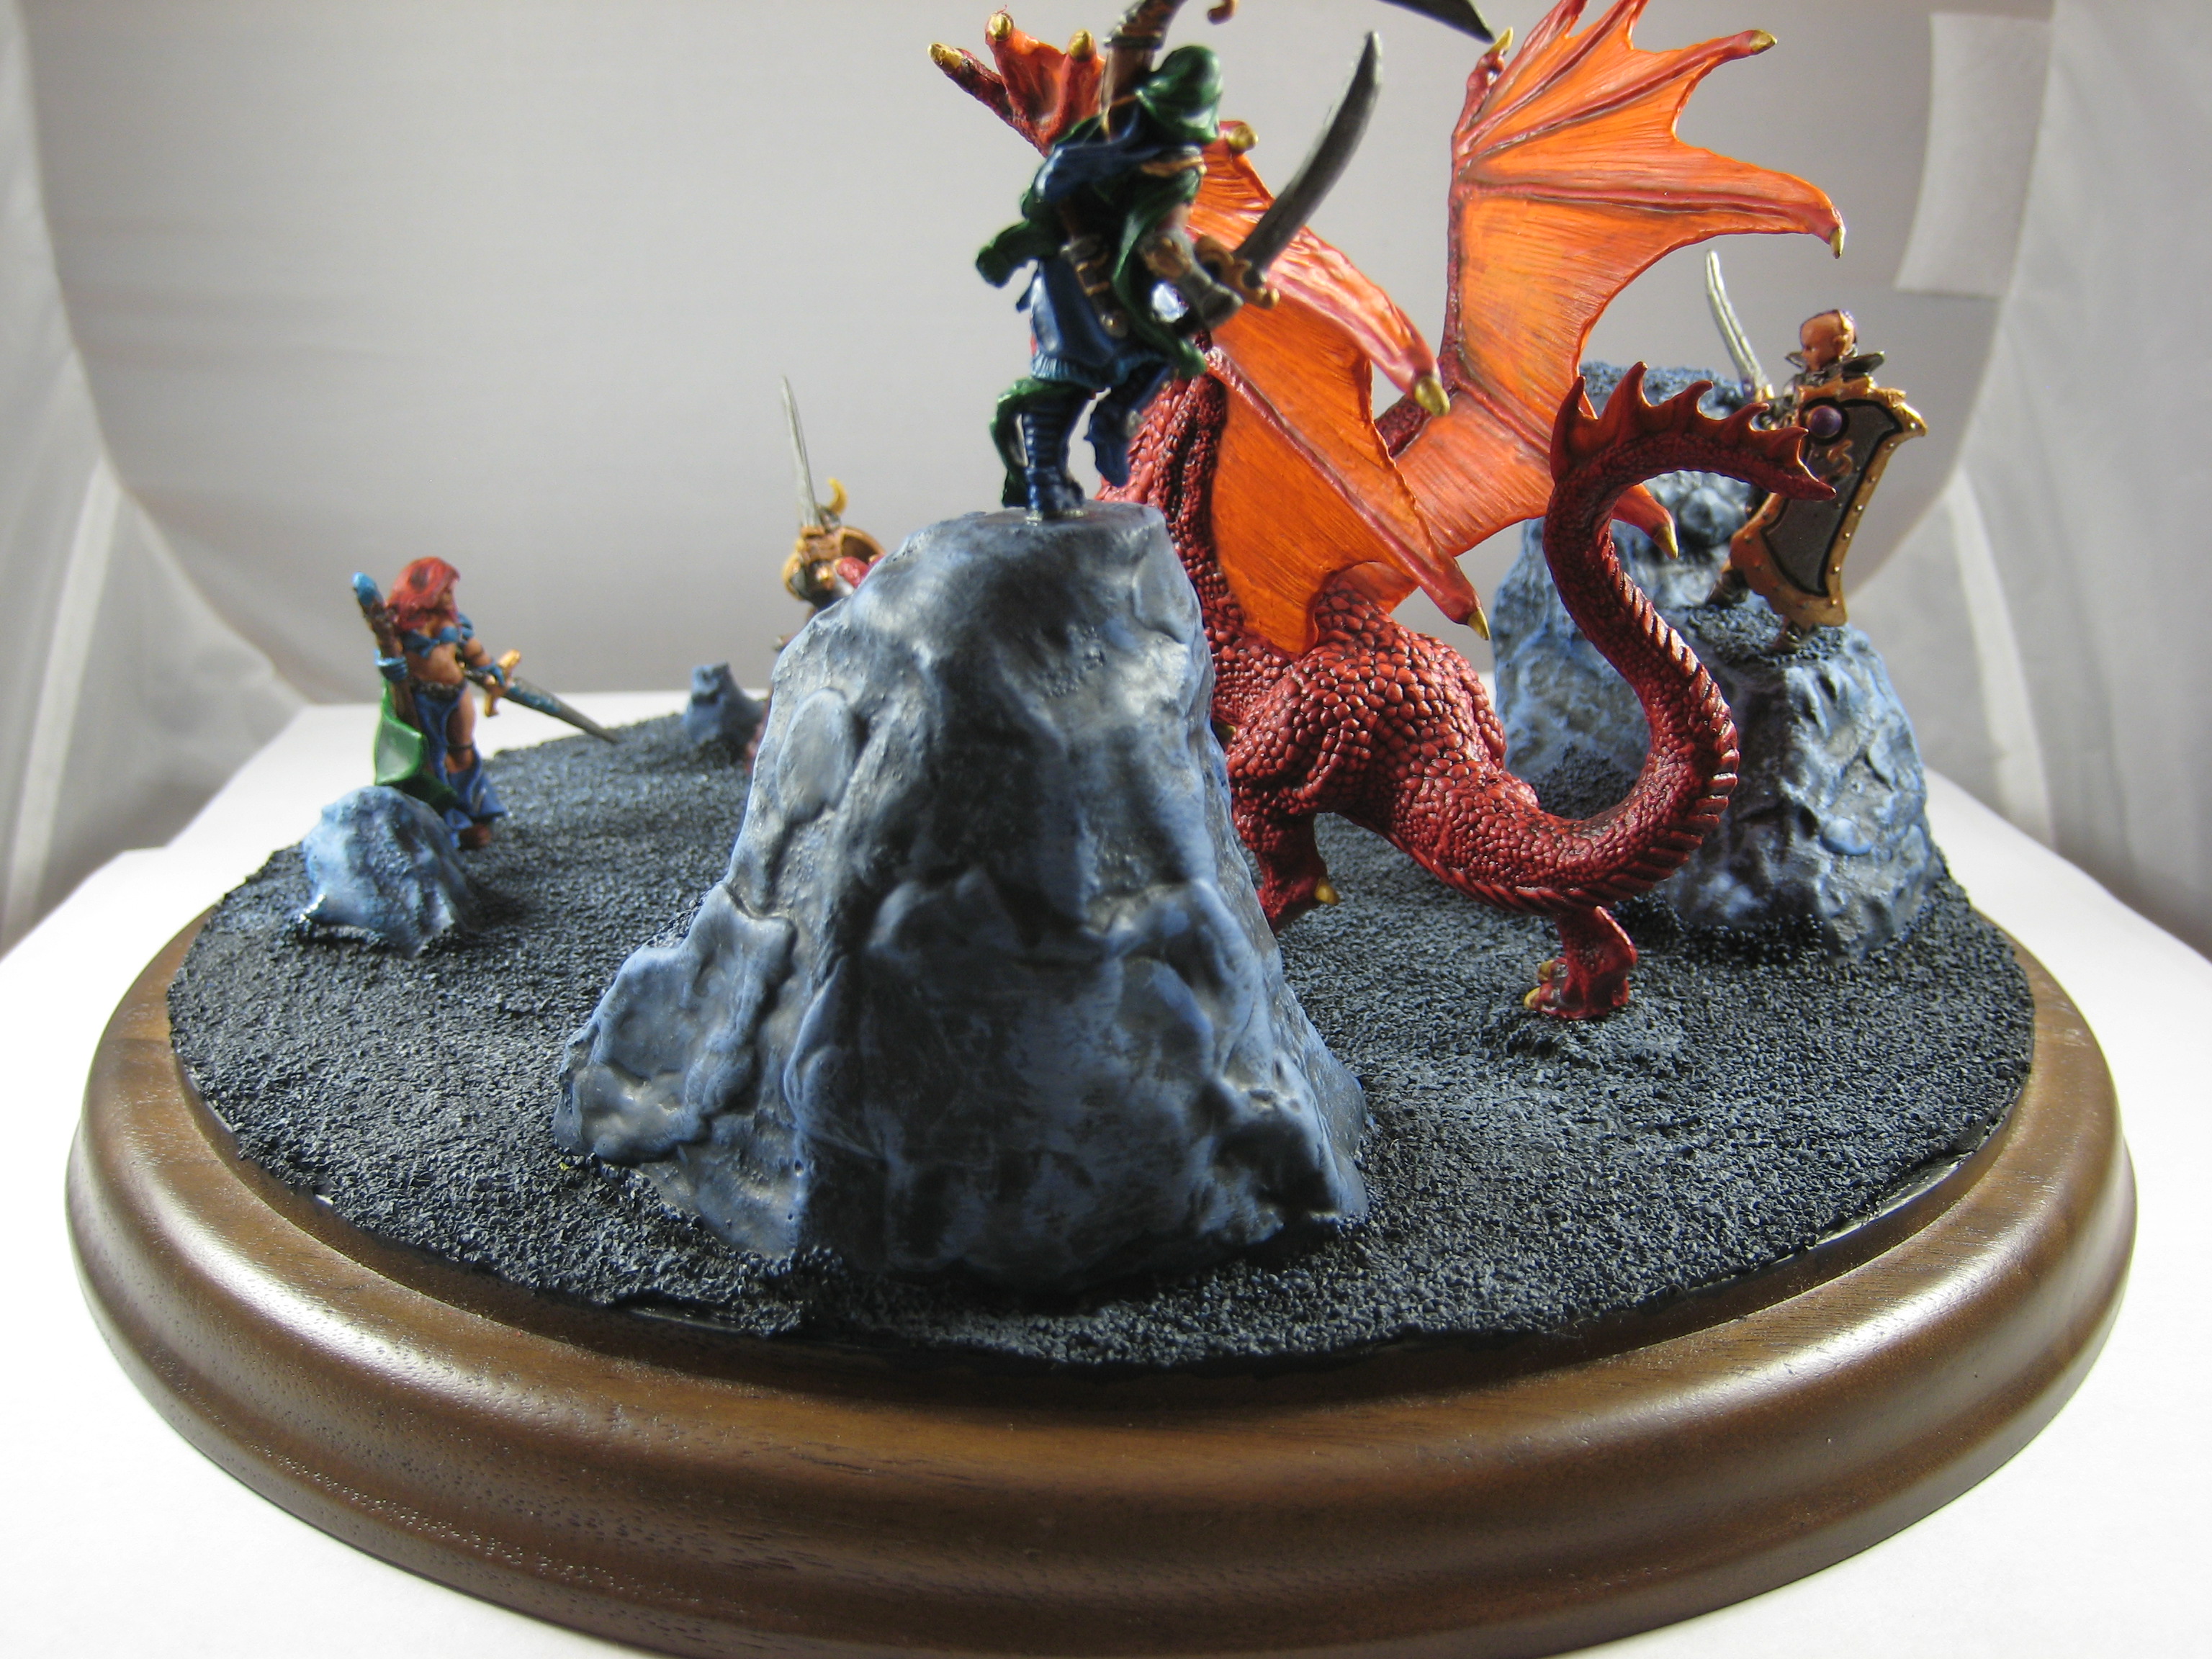
Interresting project, the dragon looks great. What scale did you model this? Have you consudered plast of paris as substitute for the foam? Or paper mache on a metalwireframe? Really like the translucent effect of the yellow on the dragons wings.
Thanks! These are in 28mm scale (that is, 28mm = 6 ft). Modeling foam has advantages — it’s really easy to shape, compared to papier mache, and you don’t have to wait for it to dry. It just takes some special handling to get it to play nice with the paints afterward.